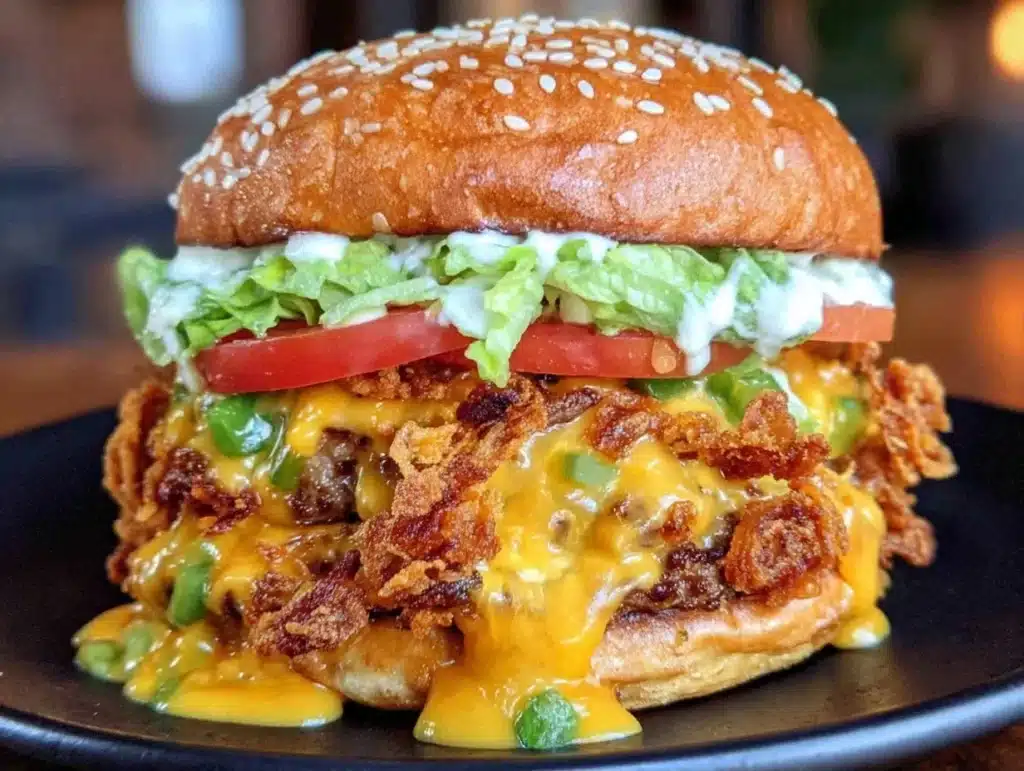
The smell of searing beef hitting a screaming-hot cast iron skillet is arguably the best scent in the entire world. It’s salty, savory, and deeply comforting in a way that feels like a warm hug on a rainy Tuesday. I remember the first time I made smash burgers properly, I was standing over my stove in a tiny apartment kitchen, watching steam rise from the meat. I wasn’t trying to be a chef; I was just hungry. But that first bite? It was different. It was crispier, juicier, and more flavorful than any burger I had ever ordered at a restaurant. Honestly, it changed how I think about home cooking forever.
You know how some recipes feel like a chore? This one is the opposite. It is fast, it is forgiving, and it delivers restaurant-quality results without the wait. I’ve tested this method dozens of times, tweaking the heat and the pressing technique until I got it just right. Whether you are a busy parent needing a quick dinner or just someone who loves good food, these juicy smash burgers are a game-changer. They bring that classic diner vibe right to your backyard or kitchen table. Let’s face it, nobody wants to spend an hour grilling when you could have dinner ready in fifteen minutes.
The secret isn’t fancy meat or expensive equipment. It is all about the Maillard reaction and the press. When you smash that ball of beef flat against the hot surface, you create maximum surface area. That means more crust, more flavor, and that irresistible texture contrast. I’ve shared my best homemade burgers guide before, but this specific smash technique is on another level. It’s simple, yet it requires a bit of muscle and the right heat. Once you master this, you’ll never go back to thick, puffy patties that dry out in the middle. Trust me, your family will thank you for the extra effort.
Why You’ll Love This Recipe
There is a reason why smash burgers have taken over social media feeds and food blogs everywhere. It’s not just a trend; it’s a fundamental improvement in how we cook beef. After years of trial and error, including many failed attempts where the meat stuck to the pan or the edges burned before the center cooked, I have refined this process. It is chef-tested, family-approved, and incredibly reliable. Here is why this method stands out from the crowd:
- Quick & Easy: This comes together in under fifteen minutes. It is perfect for busy weeknights when you need dinner on the table fast, or for last-minute cravings that hit at 7 PM. No marinating overnight, no complicated prep work.
- Simple Ingredients: You likely already have everything in your kitchen. You need ground beef, salt, pepper, buns, cheese, and maybe some onions. No fancy grocery trips or obscure spices needed. It is pantry-friendly comfort food at its finest.
- Perfect for Game Day: These are great for brunch, potlucks, cozy dinners, or holiday mornings. But let’s be real, they are the ultimate game day finger food. Easy to hold, easy to eat, and impossible to resist.
- Crowd-Pleaser: Always gets rave reviews from kids and adults alike. Even the pickiest eaters love the crispy edges and melted cheese combo. It’s a win-win for everyone at the table.
- Unbelievably Delicious: The texture and flavor combo is next-level comfort food. The contrast between the crunchy, caramelized crust and the soft, juicy interior is something you just have to taste to believe. It’s soul-soothing satisfaction in a bun.
What makes this recipe different from the rest is the technique. Many people think they can just flatten a patty with a spatula. But that doesn’t create the same crust. You need a heavy press and high heat to get that lace-like edge. I’ve spent countless hours testing different spatulas and weights to find the most efficient way to do this without breaking your wrist. This isn’t just another version; it’s the best version. It’s the kind of burger that makes you close your eyes after the first bite. It’s comfort food reimagined—healthier because you control the quality, faster, but with the same soul-soothing satisfaction.
What Ingredients You Will Need
This recipe uses simple, wholesome ingredients to deliver bold flavor and satisfying texture without the fuss. The key is quality over quantity here. Since there are so few components, each one matters. I prefer using high-fat ground beef because the fat renders out and keeps the burger moist while creating that delicious crust. You can swap in leaner beef if you prefer, but it might dry out a bit more. For the buns, I love soft brioche, but potato rolls are also a fantastic choice for holding up to the juices. Here is what you need to get started:
- Ground Beef (80/20 Blend): 1.5 lbs total. Look for freshly ground chuck if possible. The 20% fat content is crucial for juiciness. Avoid pre-formed patties as they pack too tightly.
- Salt: Coarse kosher salt is best. It adheres well to the meat and seasons the crust evenly. Use about 1 teaspoon per batch.
- Black Pepper: Freshly cracked black pepper adds a nice bite. Don’t skip this; it balances the richness of the beef.
- Cheddar Cheese: Sharp cheddar slices or shredded American cheese. American cheese melts the best, but sharp cheddar adds a flavor punch. I often use a mix of both.
- Burger Buns: Brioche or potato rolls. Toasting them is non-negotiable for texture. Get a pack of 8-12 buns.
- Butter: Unsalted butter for toasting the buns. It adds a rich, golden crust to the bread.
- Sauces: Ketchup, mustard, and pickles are classic. I also recommend a special sauce made with mayo, ketchup, and relish for extra flair.
- Onions: Thinly sliced yellow onions or caramelized onions. Fresh onions add crunch, while caramelized ones add sweetness.
- Optional Toppings: Lettuce, tomato, bacon, or avocado. Keep it simple so the beef shines.
I recommend using a brand like Strauss or local butcher ground beef for the best texture. If you can’t find 80/20, you can mix 90/10 beef with a little bit of rendered fat or butter, but it’s trickier. For seasonal variations, swap in fresh tomato slices in the summer and mushrooms in the fall. If you need a gluten-free option, use gluten-free buns or lettuce wraps. The ingredients are flexible, but the beef quality is the star of the show.
Equipment Needed
You don’t need a fancy grill to make great smash burgers. In fact, a stovetop often gives you more control. The most important tool is a heavy-bottomed skillet. Cast iron is my go-to because it retains heat incredibly well. A stainless steel skillet works too, but you need to preheat it properly. You will also need a sturdy metal spatula. I use a thin, flexible spatula that can get under the thin patty easily. Some people use a burger press, but I find a heavy can of beans or a dedicated press works just as well. Avoid non-stick pans if you can; they don’t get hot enough to create that crust. If you must use non-stick, lower the heat slightly. A digital thermometer is helpful to ensure the beef is cooked to your liking, though with smash burgers, you are mostly judging by sight. Keep your tools clean and ready, as this process moves fast.
Preparation Method
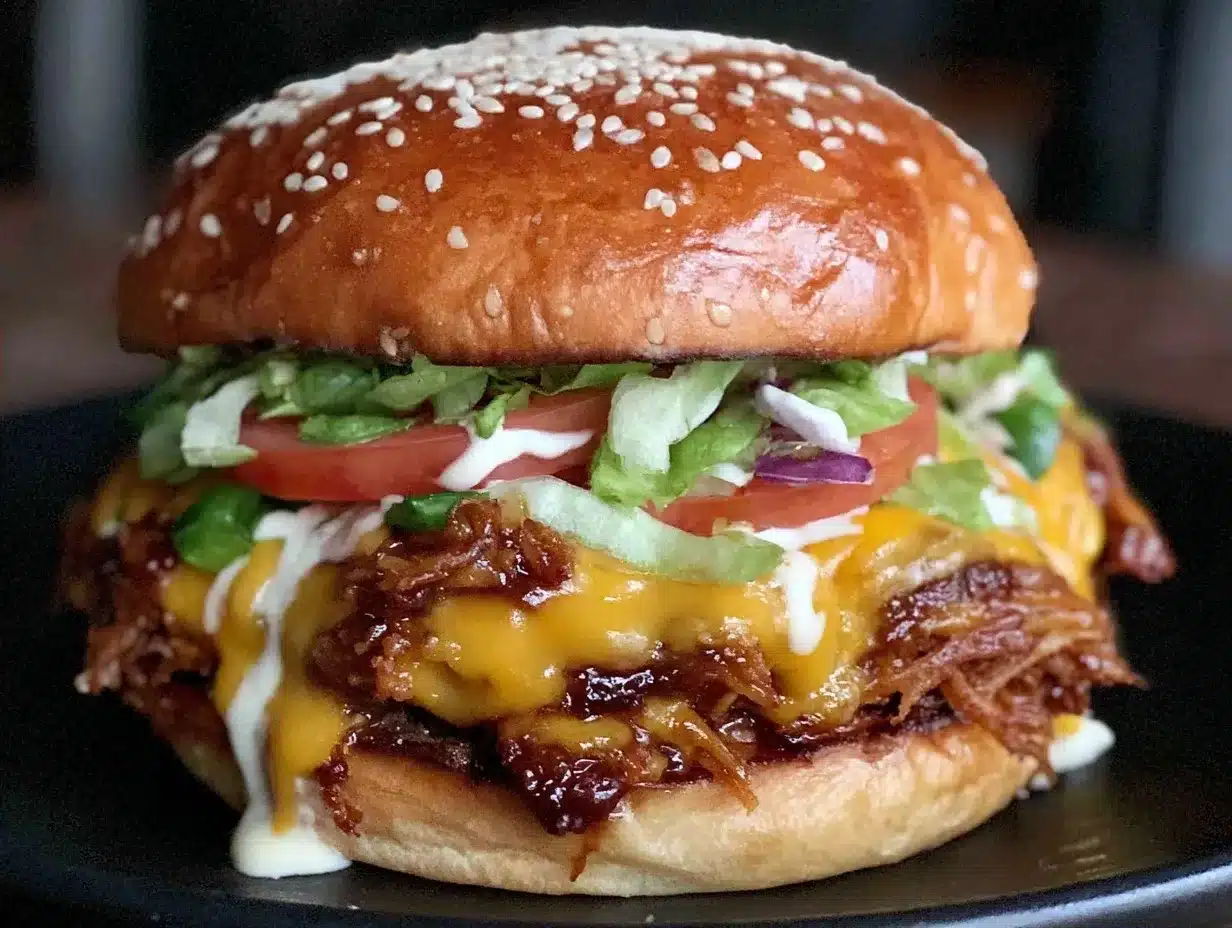
Getting started with these juicy smash burgers is straightforward, but precision is key. First, take your ground beef out of the fridge and let it come to room temperature for about 10 minutes. This helps it cook more evenly. While the meat warms up, place your cast iron skillet over medium-high heat. You want it to get very hot, almost smoking slightly. This usually takes about 5-7 minutes. While the pan heats, divide the beef into 4-6 equal balls. Each ball should weigh about 3 to 4 ounces. Do not overwork the meat; just roll it loosely in your hands. Overworking makes the burgers tough. Keep the balls cold until you are ready to cook them.
Once the pan is screaming hot, place one beef ball in the center. Immediately, take your spatula or press and smash it down flat. You want it to be about 1/4 inch thick. Press firmly and hold for a few seconds to ensure good contact with the pan. Season the top side generously with salt and pepper. Let it cook undisturbed for about 2-3 minutes. You will see the edges start to brown and crisp up. Do not flip it too early, or you will lose the crust. When the bottom is dark brown and crispy, use your spatula to scrape under the edges. It should release easily. If it sticks, it needs more time.
Flip the patty quickly. Immediately place a slice of cheese on top. If you are adding onions, put them on now so they can melt slightly. Cook for another 1-2 minutes, just until the cheese is melted and the inside is cooked through. Remove the patty from the pan and place it on a clean plate. Repeat with the remaining beef balls, wiping the pan clean between batches if there is too much burnt residue. While the last batch cooks, butter your buns and toast them in the pan or a separate skillet until golden brown. Assemble your burgers with your favorite sauces and toppings. Serve immediately while hot and crispy.
Cooking Tips & Techniques
There are a few common mistakes people make with smash burgers that can ruin the result. The biggest one is not getting the pan hot enough. If the pan isn’t hot, the meat will steam instead of sear. You want a loud sizzle when the meat hits the pan. Another mistake is pressing too lightly. You need to press firmly to break up the muscle fibers and create that lace-like crust. Also, don’t flip the patty too early. Patience is key. Let the Maillard reaction do its work. If you are cooking for a crowd, keep the cooked patties warm in a low oven (200°F) while you finish the rest. This prevents them from drying out. Multitasking is essential here. Have your buns toasting, your sauces mixed, and your toppings prepped before you start cooking the meat. This ensures everything is ready at the same time. Consistency comes with practice. Don’t worry if your first few aren’t perfect; you’ll get the hang of the timing quickly.
Variations & Adaptations
While the classic smash burger is hard to beat, there are plenty of ways to mix it up. For a spicy kick, add jalapeños or use pepper jack cheese. You can also try a mushroom smash burger by sautéing mushrooms separately and adding them on top. For a healthier option, use turkey or chicken breast, but keep in mind the cooking time will be shorter. You can also use plant-based ground beef alternatives, though the texture will differ. For a gourmet twist, add a slice of goat cheese and some arugula. If you have leftover cooked burgers, you can chop them up and make a burger salad. I also love adding a fried egg on top for extra richness. These variations allow you to customize the flavor profile to suit your mood or dietary needs. Don’t be afraid to experiment with different cheese blends or sauce combinations.
Serving & Storage Suggestions
Serve these burgers immediately while the crust is still crisp. They pair well with crispy fries, sweet potato fries, or a fresh garden salad. A cold beer or a creamy milkshake is the perfect drink to accompany them. If you have leftovers, store the patties and buns separately in airtight containers in the refrigerator for up to 3 days. Reheat the patties in a skillet over medium heat to restore the crust, or in the microwave for a quick warm-up. The buns can be toasted in the oven. Note that the texture of the patty will change slightly upon reheating, becoming softer. For best results, reassemble the burgers after reheating. The flavors actually meld nicely over time, making leftovers surprisingly good.
Nutritional Information & Benefits
These juicy smash burgers are a good source of protein and iron, thanks to the beef. Using 80/20 beef provides a balance of flavor and moisture, though it is higher in saturated fat. You can reduce the fat by using leaner beef, but the taste may suffer. The buns add carbohydrates, while the toppings provide vitamins and fiber. For a lower-carb option, skip the bun and serve in a lettuce wrap. The recipe is naturally gluten-free if you use gluten-free buns or no bun at all. It is also dairy-free if you omit the cheese. Personally, I enjoy these as an occasional treat because they are so indulgent. They satisfy a craving that healthier meals often miss. Moderation is key, but the joy they bring is worth it.
Conclusion
Making these juicy smash burgers at home is easier than you think. It requires a little bit of heat management and some muscle, but the result is worth every second. I love this recipe because it brings people together. There is something special about cooking and eating burgers with friends and family. It’s casual, fun, and delicious. I encourage you to try this method and see how it transforms your burger game. Feel free to add your own twists and make it your own. Share your creations with me in the comments below. I love seeing how you customize your burgers. Thanks for reading, and happy cooking!
FAQs
What is the best cut of beef for smash burgers?
The best cut is chuck steak, ground yourself if possible. An 80/20 fat-to-lean ratio is ideal for juiciness and flavor. Avoid lean meats as they will dry out quickly.
Can I use a non-stick pan for smash burgers?
You can, but cast iron or stainless steel is better. Non-stick pans don’t get as hot, which means you won’t get the same crispy crust. If you use non-stick, keep the heat at medium-high.
How do I prevent the burgers from sticking to the pan?
Ensure your pan is hot enough before adding the meat. Also, don’t try to flip the patty too early. Let it sear for 2-3 minutes so it releases naturally.
What cheese melts best on smash burgers?
American cheese melts the smoothest and creates that classic diner look. Sharp cheddar or pepper jack also work well if you want more flavor.
Can I make these burgers in advance?
It is best to cook them fresh. However, you can prep the meat balls ahead of time and store them in the fridge. Just cook them when you are ready to eat.
Pin This Recipe!

Juicy Smash Burgers: Best 15-Min Easy Dinner
- Total Time: 15 minutes
- Yield: 4-6 servings 1x
Description
These juicy smash burgers deliver restaurant-quality results in just 15 minutes. With a crispy, caramelized crust and a soft, juicy interior, this stovetop method is perfect for busy weeknights or game day.
Ingredients
- 1.5 lbs Ground Beef (80/20 blend, divided into 4–6 balls)
- 1 tsp Coarse kosher salt (per batch)
- Freshly cracked black pepper
- Cheddar cheese slices or shredded American cheese
- 8–12 Burger Buns (Brioche or potato rolls)
- Unsalted butter (for toasting buns)
- Ketchup, mustard, and pickles
- Special sauce (mayo, ketchup, relish)
- Thinly sliced yellow onions or caramelized onions
- Optional toppings: Lettuce, tomato, bacon, avocado
Instructions
- Take ground beef out of the fridge and let it come to room temperature for about 10 minutes.
- Divide the beef into 4-6 equal balls (3-4 oz each). Do not overwork the meat.
- Place a heavy-bottomed skillet (cast iron or stainless steel) over medium-high heat until very hot, almost smoking (5-7 minutes).
- Place one beef ball in the center of the hot pan.
- Immediately smash the ball flat with a sturdy metal spatula or press until about 1/4 inch thick. Press firmly to ensure good contact.
- Season the top side generously with salt and pepper.
- Cook undisturbed for 2-3 minutes until the edges brown and crisp up.
- Flip the patty quickly. Immediately place a slice of cheese on top.
- Cook for another 1-2 minutes until the cheese is melted and the inside is cooked through.
- Remove the patty from the pan. Repeat with remaining beef balls, wiping the pan between batches if needed.
- Butter the buns and toast them in the pan or a separate skillet until golden brown.
- Assemble burgers with sauces and toppings. Serve immediately.
Notes
Ensure the pan is screaming hot before adding meat to prevent steaming. Do not flip the patty too early to allow the Maillard reaction to create a crispy crust. Keep cooked patties warm in a low oven (200°F) if cooking for a crowd. For gluten-free options, use gluten-free buns or lettuce wraps.
- Prep Time: 10 minutes
- Cook Time: 5 minutes
- Category: Main Course
- Cuisine: American
Nutrition
- Serving Size: 1 burger with toppin
- Calories: 650
- Sugar: 6
- Sodium: 800
- Fat: 45
- Saturated Fat: 18
- Carbohydrates: 35
- Fiber: 2
- Protein: 30
Keywords: smash burgers, easy dinner, quick recipes, stovetop burgers, cast iron recipes, game day food, comfort food, juicy burgers


