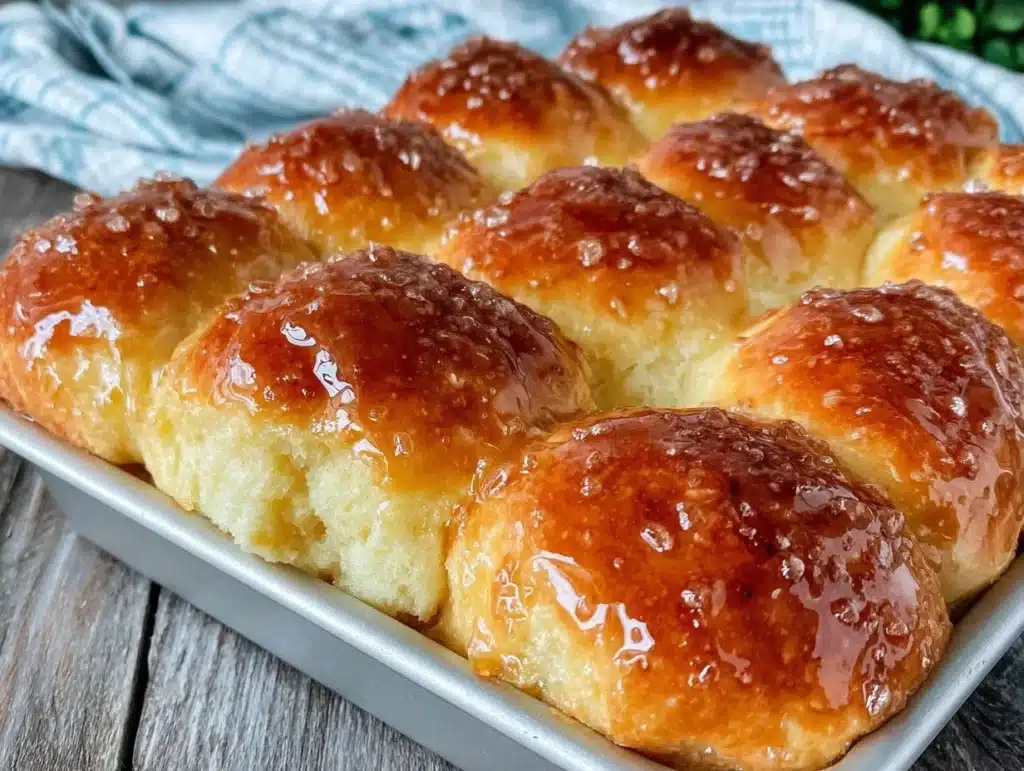
The moment that first bite hits, you’ll understand why these rolls are the undisputed kings of the potluck table. It starts with the smell—warm, yeasty, and deeply sweetened with real honey. Then comes the crunch of the slightly toasted top, giving way to a cloud-like interior that practically melts on your tongue. Honestly, I’ve never seen a dish disappear this fast, not even the spicy wings or the heavy pasta salad. These honey butter rolls have a way of hijacking the conversation, turning a casual gathering into a food-focused event. I still remember the first time I served them at my sister’s barbecue. One bite, and my usually stoic uncle nodded slowly, then asked for the recipe. That’s the power of a well-made roll.
I developed this recipe for homemade honey butter rolls after years of trying to replicate that specific texture found in high-end bakeries. You know the type: soft enough to squeeze but sturdy enough to hold up to a thick slab of butter. The secret isn’t just in the dough; it’s in the honey butter glaze applied while the rolls are still hot. It soaks in, creating a sticky, golden crust that is impossible to resist. I’ve tested this dough over a dozen times, tweaking the hydration and proofing times to get it just right. It’s forgiving, which is great for home bakers, but precise enough to yield professional results.
Whether you’re feeding a crowd at a holiday dinner or just treating yourself to a cozy weekend breakfast, these rolls deliver. They are versatile, comforting, and surprisingly easy to make from scratch. People often think baking bread from scratch is intimidating, but I’m here to tell you it’s not. With a little patience and the right technique, you can achieve restaurant-quality results in your own kitchen. Let’s face it, store-bought rolls just don’t cut it when you’re looking for that soul-soothing comfort. These homemade honey butter rolls are worth every minute of prep time. Trust me, once you try them, you’ll never go back to the frozen aisle again.
Why You’ll Love This Recipe
There is a specific kind of magic that happens when you combine high-quality butter, raw honey, and a perfectly proofed dough. This isn’t just another bread recipe; it’s a technique-driven masterpiece that separates the home bakers from the pros. I’ve spent years analyzing what makes bakery rolls so addictive, and it usually comes down to two things: texture and flavor balance. Most home recipes lean too heavy on the flour or skip the hydration, resulting in dense, brick-like biscuits. This recipe is different because it uses a slightly wetter dough and a unique glazing method that locks in moisture. It’s the kind of recipe that makes you close your eyes after the first bite and just sigh.
Here is why this recipe stands out from the crowd:
- Restaurant-Style Texture: The inside is airy and soft, while the outside has a delicate, sugary crust. It’s not chewy like sourdough, nor is it crumbly like a scone. It’s that perfect middle ground that feels luxurious.
- Simple, Wholesome Ingredients: You don’t need fancy flours or obscure additives. Just flour, yeast, honey, butter, milk, and a pinch of salt. If you have these in your kitchen, you’re already halfway done.
- Perfect for Any Occasion: Whether it’s a Sunday dinner, a potluck, or a quick weeknight meal, these rolls fit right in. They pair beautifully with roasted meats, soups, or even just a cup of coffee.
- Crowd-Pleaser Guaranteed: I’ve served these at weddings, casual picnics, and family reunions. The reaction is always the same: wide eyes, second helpings, and questions about where I bought them.
- Unbelievably Delicious Glaze: The honey butter mixture isn’t just a topping; it’s an integral part of the flavor profile. It adds a subtle floral sweetness that complements the savory dough without overwhelming it.
What makes this recipe truly special is the technique borrowed from professional kitchens. By brushing the rolls with the honey butter mixture immediately after they come out of the oven, you create a glossy, sticky coating that seeps into the cracks. It’s a small step that makes a massive difference. This isn’t just comfort food; it’s elevated comfort food. It’s the kind of dish that shows you care, without requiring you to be a professional chef. You’ll love the confidence that comes from making something that looks and tastes store-bought, but with a fraction of the effort and a whole lot more heart.
What Ingredients You Will Need
Creating the perfect homemade honey butter rolls starts with selecting ingredients that bring out the best in each other. You don’t need a pantry full of exotic spices, but you do need quality basics. The magic here lies in the balance between the rich butter, the floral honey, and the soft, pillowy dough. I always recommend using unsalted butter so you can control the sodium level, and raw honey for that complex, earthy sweetness that refined sugar just can’t match. Let’s break down exactly what you’ll need and why each component matters.
- High-Protein Bread Flour (500g / 4 cups): I prefer bread flour over all-purpose flour because of its higher protein content. This creates more gluten, which gives the rolls their signature chew and structure. If you only have all-purpose, it will work, but the texture will be slightly softer and less substantial.
- Active Dry Yeast (7g / 1 packet): This is the engine that powers the rise. Make sure your yeast is fresh; old yeast leads to dense rolls. I like to bloom it in warm milk to ensure it’s alive and kicking before adding it to the dry ingredients.
- Whole Milk (240ml / 1 cup): Whole milk adds richness and tenderness to the crumb. You can use 2% or skim, but the fat content in whole milk helps create that bakery-soft texture. Warm it up to about 110°F (43°C) to activate the yeast.
- Large Eggs (2, room temperature): Eggs add structure, color, and richness. Bringing them to room temperature helps them incorporate more evenly into the dough, leading to a smoother mix.
- Raw Honey (60ml / ¼ cup): This is the star of the glaze. Raw honey has a more robust flavor than processed honey. It also helps with browning, giving those rolls that beautiful golden crust.
- Unsalted Butter (115g / ½ cup, softened): Half goes into the dough for richness, and half is melted for the glaze. Using high-quality butter makes a noticeable difference in flavor.
- Salt (8g / 1.5 tsp): Salt is crucial for flavor and yeast regulation. Don’t skip it, or the rolls will taste flat. I use fine sea salt for even distribution.
- All-Purpose Flour (for dusting): You’ll need a little extra flour for handling the dough and lining your baking sheet to prevent sticking.
For the glaze, you’ll also need a pinch of cinnamon if you want a hint of spice, though I often keep it plain to let the honey shine. Some people add a splash of vanilla extract for extra aroma, which is a nice touch if you’re serving these for breakfast. I’ve tried many brands of honey, and I find that local wildflower honey works best for its distinct taste. When sourcing your butter, look for one with a higher butterfat content if possible. It just tastes better. Remember, the quality of your ingredients directly impacts the final result, so don’t be afraid to spend a little extra on the good stuff.
Equipment Needed
You don’t need a fancy kitchen to make these rolls, but having the right tools makes the process much smoother. A digital kitchen scale is my most valuable tool. Measuring flour by volume can lead to inconsistent results because of how much air is packed in. Weighing your ingredients ensures every batch turns out exactly the same. If you don’t have a scale, spoon the flour into your measuring cup and level it off, but try not to pack it down.
A large mixing bowl is essential for combining the dough. A glass or stainless steel bowl works best because they are easy to clean and don’t retain heat. An electric hand mixer or a stand mixer with a dough hook can save you a lot of arm fatigue, especially when kneading. However, you can absolutely knead this dough by hand. It’s a bit of work, but there’s something satisfying about feeling the dough come together under your palms. If you knead by hand, just be prepared to spend about 10-15 minutes on it.
For baking, a 9×13 inch baking dish is ideal for pulling the rolls close together. This ensures they rise upward rather than outward, creating that soft, pull-apart texture. If you don’t have this size, a large sheet pan works too, but you’ll need to adjust the baking time slightly as the rolls will spread more. A pastry brush is necessary for applying the honey butter glaze evenly. Silicone brushes are great because they hold more liquid and are easy to clean. Finally, a cooling rack is important. Letting the rolls cool completely on the pan can make them soggy on the bottom. A rack allows air to circulate, keeping the crust crisp.
Preparation Method
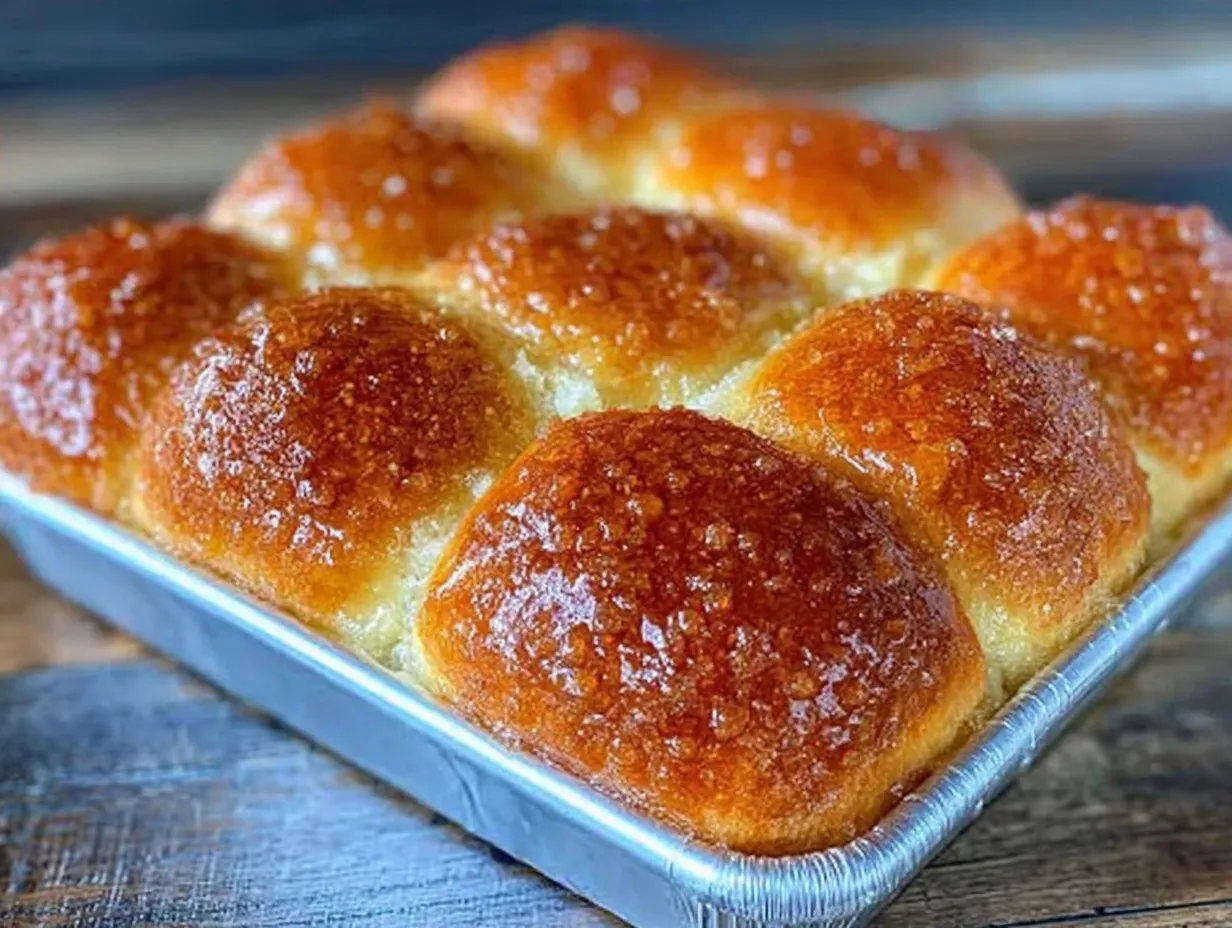
Making these rolls is a straightforward process, but attention to detail is key. Follow these steps carefully to achieve the best results.
- Bloom the Yeast (5 minutes): In a small bowl, warm the milk until it’s about 110°F (43°C). It should feel warm to the touch, like a baby’s bathwater. Stir in the honey and sprinkle the yeast over the top. Let it sit for 5-10 minutes until it becomes foamy. If it doesn’t foam, your yeast might be dead, and you’ll need to start over.
- Mix the Dough (10 minutes): In a large bowl, combine the bread flour and salt. Make a well in the center and pour in the yeast mixture, eggs, and softened butter. Mix until a shaggy dough forms. If using a stand mixer, attach the dough hook and mix on low speed. If mixing by hand, use a sturdy spoon or your hands.
- Knead the Dough (10-15 minutes): Turn the dough onto a lightly floured surface. Knead by pushing the dough away from you with the heel of your hand, then folding it back over. Repeat this motion for 10-15 minutes. The dough is ready when it is smooth, elastic, and springs back when you poke it. It should be slightly tacky but not sticky. If it’s too sticky, add a sprinkle of flour. If it’s too dry, add a teaspoon of water.
- First Rise (1-2 hours): Place the dough in a lightly oiled bowl, turning once to coat. Cover with plastic wrap or a damp towel. Let it rise in a warm, draft-free place for 1-2 hours, or until it has doubled in size. The time will vary depending on the temperature of your kitchen.
- Shape the Rolls (15 minutes): Punch down the dough to release air bubbles. Turn it out onto a floured surface and divide it into 12 equal pieces. Roll each piece into a smooth ball by tucking the edges underneath. Place the balls seam-side down in a greased 9×13 inch baking dish. They should be touching each other.
- Second Rise (30-45 minutes): Cover the pan and let the rolls rise again for 30-45 minutes. They should look puffy and jiggle slightly when you shake the pan. Preheat your oven to 375°F (190°C) during the last 15 minutes of rising.
- Bake (20-25 minutes): Bake the rolls for 20-25 minutes, or until they are golden brown on top. If they start browning too quickly, cover them loosely with foil. You can test for doneness by inserting a thermometer into the center; it should read 190°F (88°C).
- Apply the Glaze (2 minutes): While the rolls bake, melt the remaining butter and mix it with the rest of the honey. As soon as the rolls come out of the oven, brush this mixture generously over the top. The heat will help the glaze soak in.
Let the rolls cool in the pan for about 5-10 minutes before serving. This allows the structure to set slightly, making them easier to handle. Enjoy them warm for the best experience.
Cooking Tips & Techniques
I’ve made these rolls enough times to know where things can go wrong. The most common mistake is over-kneading or under-kneading. You want the gluten to develop, but you don’t want to tear the dough. The windowpane test is a great way to check. Take a small piece of dough and stretch it out. If it can be stretched thin enough to let light pass through without tearing, it’s ready. Another tip is to not rush the rising process. Cold kitchens will slow down the yeast, so if your kitchen is chilly, try rising the dough in the turned-off oven with just the light on. This creates a warm, enclosed space that encourages yeast activity.
When shaping the rolls, try to create surface tension. Pull the edges of the dough ball tight against the counter. This helps the rolls rise upward rather than spreading out. If you don’t do this, you might end up with flat, wide rolls instead of tall, pillowy ones. Also, be generous with the butter in your baking dish. It prevents sticking and adds flavor to the bottom of the rolls. If you’re worried about sticking, line the pan with parchment paper, but greasing is traditional and adds to the richness.
For the glaze, make sure it’s warm when you apply it, but not boiling hot. If it’s too hot, it might burn the honey slightly. If it’s too cold, it won’t soak in as well. I like to apply the glaze in two layers. Brush a thin layer on, let it absorb for a minute, then brush on a thicker layer. This creates a deeper flavor and a shinier finish. Don’t skip the rest time after baking. Cutting into hot rolls can make them gummy. Letting them rest allows the crumb to set.
Variations & Adaptations
While the classic honey butter flavor is amazing, there are plenty of ways to customize these rolls. For a savory twist, omit the honey from the dough and glaze. Instead, mix minced garlic and dried rosemary into the softened butter for the glaze. These garlic herb rolls are perfect with pasta dishes or soups. If you want a sweet variation, add a teaspoon of cinnamon and a tablespoon of brown sugar to the glaze. This creates a cinnamon roll-like flavor that is incredibly aromatic.
For a dairy-free version, substitute the milk with almond or oat milk and use a plant-based butter alternative. The texture might be slightly different, but the flavor will still be delicious. You can also add mix-ins to the dough. Fold in chopped nuts, dried cranberries, or chocolate chips before the second rise for a more indulgent treat. Just be careful not to add too much, as it can weigh down the dough. I once tried adding chopped pecans, and they added a wonderful crunch that complemented the softness of the bread.
If you’re looking for a lower-sugar option, you can reduce the honey in the dough by half and use a sugar substitute in the glaze. It won’t be exactly the same, but it’s a viable alternative for those watching their sugar intake. You can also use whole wheat flour for half of the bread flour to add a nuttier flavor and more fiber. Just note that whole wheat flour absorbs more liquid, so you might need to add a little extra milk. Experimenting with these variations is part of the fun of baking.
Serving & Storage Suggestions
These rolls are best served warm, fresh out of the oven. They pair wonderfully with roasted chicken, beef stew, or a simple green salad. For a dessert-style serving, pair them with a cup of tea or coffee. If you’re serving them at a potluck, keep them warm in a low-temperature oven (around 200°F) until everyone is ready to eat. Cover them loosely with foil to prevent the tops from drying out.
For storage, allow the rolls to cool completely before placing them in an airtight container. They can be kept at room temperature for up to 2 days. For longer storage, wrap them tightly in plastic wrap and freeze them for up to 3 months. To reheat, thaw them at room temperature and then warm them in the oven at 350°F for 10 minutes, or in the microwave for 30 seconds. The texture will be slightly different after freezing, but they will still be delicious. I find that reheating them in the oven restores the crispness of the crust better than the microwave.
Leftover honey butter glaze can be saved and used as a spread for toast or pancakes. It keeps well in the refrigerator for up to a week. Just let it come to room temperature and stir it before using. The flavors develop over time, so the glaze actually tastes better on the second day. Don’t throw it away! It’s a versatile condiment that adds a touch of sweetness to many dishes.
Nutritional Information & Benefits
While these rolls are a treat, they can fit into a balanced diet when enjoyed in moderation. Each roll contains approximately 180-200 calories, depending on the size. They are a good source of carbohydrates for energy and provide some protein from the flour and eggs. The honey offers natural sugars and antioxidants, which are a better alternative to refined white sugar. However, due to the butter content, they are also high in fat. I recommend enjoying one or two rolls as part of a meal rather than eating them alone.
For those with dietary restrictions, these rolls are not gluten-free or dairy-free unless modified. If you have gluten intolerance, look for gluten-free flour blends that are designed for yeast breads. They may require more liquid and a different rising time. For dairy-free options, use plant-based milks and butters. The nutritional value can vary based on the specific ingredients used, so always check labels if you have specific health goals. I like to think of these rolls as a special occasion food, something to savor and enjoy rather than a daily staple.
Conclusion
Making homemade honey butter rolls is a rewarding experience that pays off in every bite. The technique is simple, but the results are anything but ordinary. These rolls have the potential to become a staple in your home, whether for everyday meals or special gatherings. I love that they bring people together, creating a shared moment of comfort and joy. I hope you try this recipe and find as much pleasure in making them as I did in developing it.
Feel free to experiment with the variations and make them your own. Add your favorite spices, mix-ins, or glazes. The beauty of baking is that it’s a creative outlet. Once you’ve made them, I’d love to hear how they turned out for you. Leave a comment below with your thoughts, tips, or questions. Share your photos on social media and tag me—I love seeing your creations. And if you enjoy this recipe, consider sharing it with a friend who loves baking. Let’s spread the joy of homemade bread, one roll at a time. Happy baking!
FAQs
Can I make these rolls ahead of time?
Yes, you can prepare the dough and let it rise in the refrigerator overnight. In the morning, take them out, shape them, and let them do their second rise before baking. This is great for planning ahead.
Why did my rolls turn out dense?
This usually happens if the yeast was inactive or if the dough was over-proofed. Make sure your milk isn’t too hot when blooming the yeast, and don’t let the dough rise for too long during the second rise.
Can I use all-purpose flour instead of bread flour?
Yes, you can use all-purpose flour, but the texture will be softer and less chewy. If using all-purpose, consider adding a tablespoon of vital wheat gluten to improve the structure.
How do I know when the rolls are done baking?
The rolls should be golden brown on top and sound hollow when tapped on the bottom. An internal temperature of 190°F (88°C) is also a reliable indicator.
Can I freeze the honey butter glaze?
Yes, you can freeze the glaze in an airtight container for up to 3 months. Thaw it in the refrigerator and warm it slightly before brushing it onto the rolls.
Pin This Recipe!
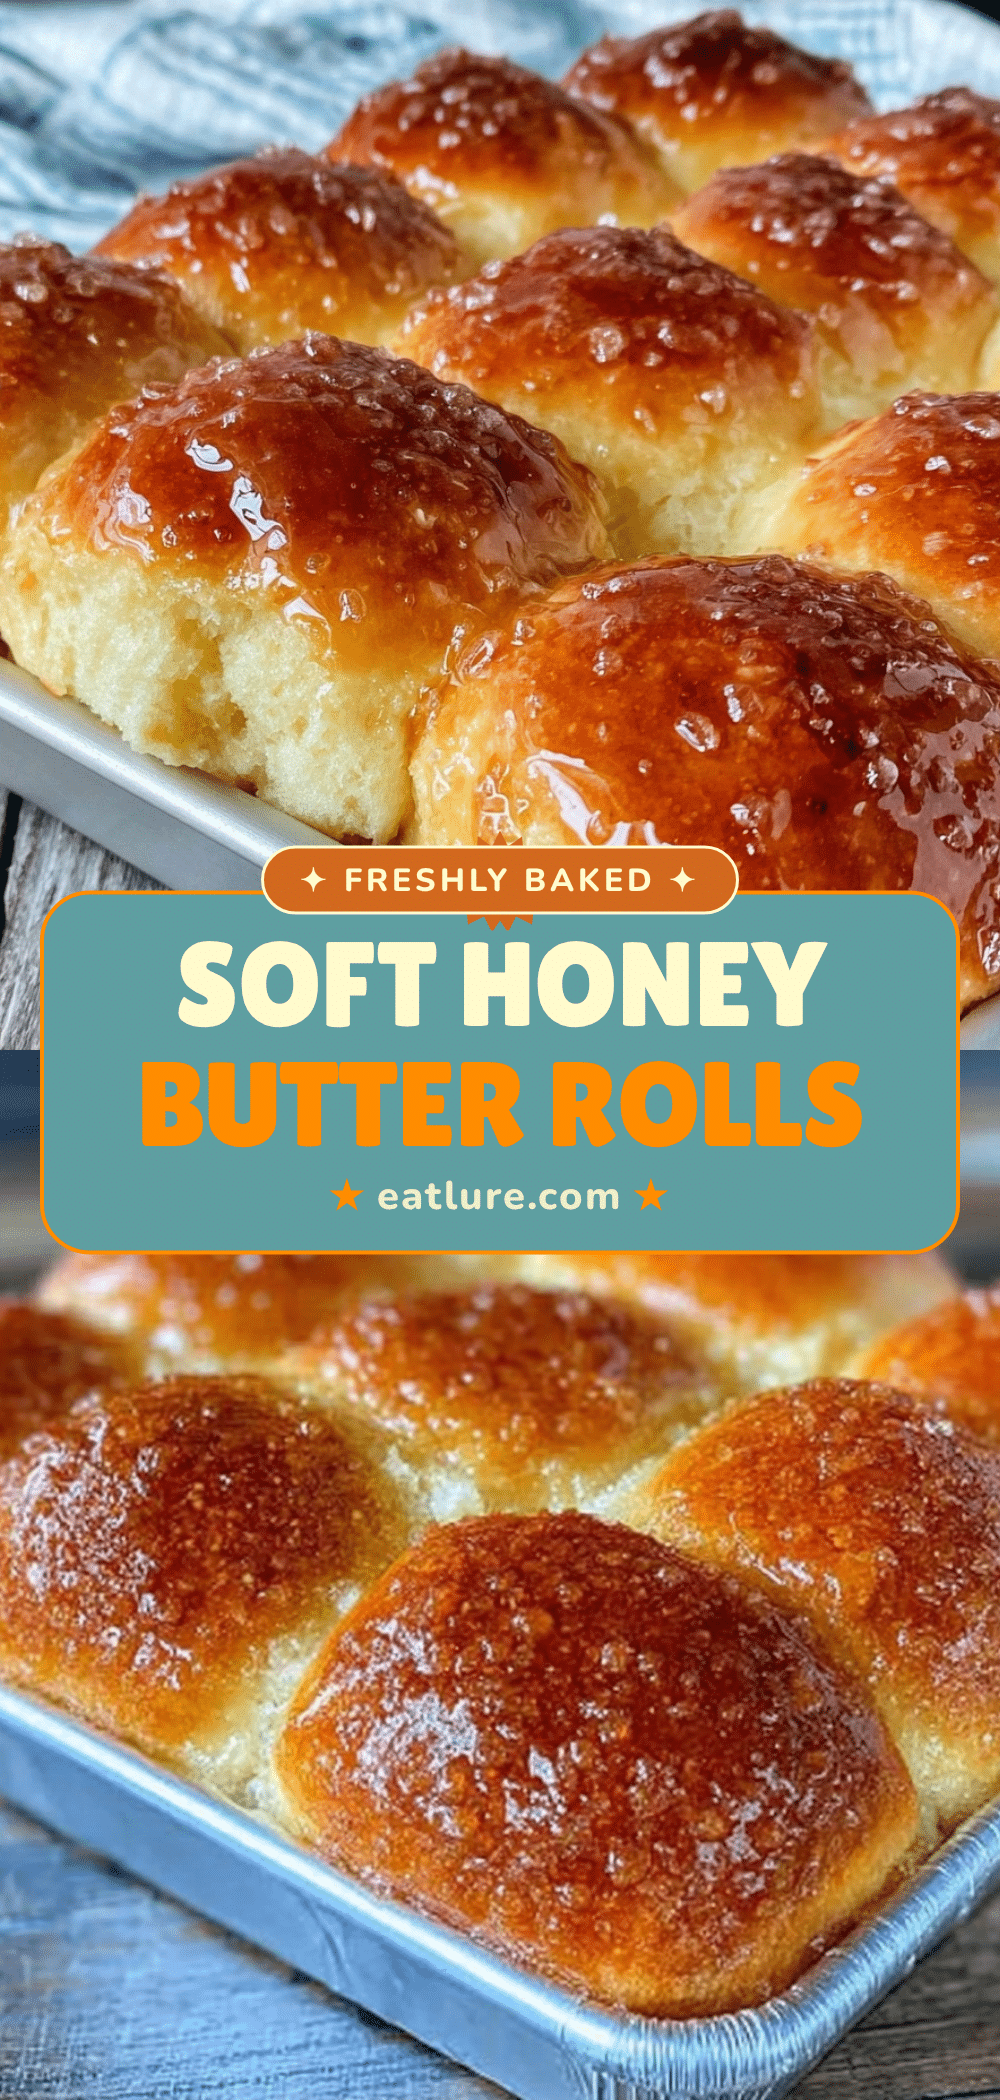

Homemade Honey Butter Rolls: Restaurant Secret Technique
- Total Time: 3 hours 10 minutes
- Yield: 12 servings 1x
Description
Soft, pillowy homemade rolls with a sticky, golden honey butter glaze. These restaurant-quality rolls are easy to make from scratch and perfect for any occasion.
Ingredients
- 500g (4 cups) High-Protein Bread Flour
- 7g (1 packet) Active Dry Yeast
- 240ml (1 cup) Whole Milk, warmed to 110°F (43°C)
- 60ml (¼ cup) Raw Honey, divided
- 115g (½ cup) Unsalted Butter, softened (divided)
- 2 Large Eggs, room temperature
- 8g (1.5 tsp) Fine Sea Salt
- All-Purpose Flour, for dusting
- Pinch of Cinnamon (optional)
- Splash of Vanilla Extract (optional)
Instructions
- Bloom the yeast: Warm milk to 110°F, stir in 30ml (2 tbsp) honey, sprinkle yeast over top, and let sit for 5-10 minutes until foamy.
- Mix the dough: In a large bowl, combine bread flour and salt. Add yeast mixture, eggs, and softened butter. Mix until a shaggy dough forms.
- Knead the dough: Turn onto a floured surface and knead for 10-15 minutes until smooth, elastic, and slightly tacky.
- First Rise: Place dough in an oiled bowl, cover, and let rise in a warm place for 1-2 hours until doubled in size.
- Shape the rolls: Punch down dough, divide into 12 equal pieces, and roll into smooth balls. Place seam-side down in a greased 9×13 inch baking dish.
- Second Rise: Cover and let rise for 30-45 minutes until puffy. Preheat oven to 375°F (190°C) during the last 15 minutes.
- Bake: Bake for 20-25 minutes until golden brown and internal temperature reaches 190°F (88°C).
- Apply glaze: Melt remaining butter and mix with remaining honey. Brush generously over hot rolls immediately after removing from oven.
- Cool: Let rolls cool in pan for 5-10 minutes before serving.
Notes
Ensure yeast is fresh and milk is warm but not hot to avoid killing the yeast. For best texture, use bread flour. If using all-purpose flour, the rolls will be softer. Do not rush the rising process; cold kitchens may require longer rising times. The glaze should be warm, not boiling, when applied.
- Prep Time: 45 minutes
- Cook Time: 25 minutes
- Category: Side Dish
- Cuisine: American
Nutrition
- Serving Size: 1 roll
- Calories: 190
- Sugar: 6
- Sodium: 150
- Fat: 8
- Saturated Fat: 5
- Carbohydrates: 25
- Fiber: 1
- Protein: 4
Keywords: honey butter rolls, homemade rolls, bread recipe, yeast rolls, side dish, comfort food, bakery style rolls


