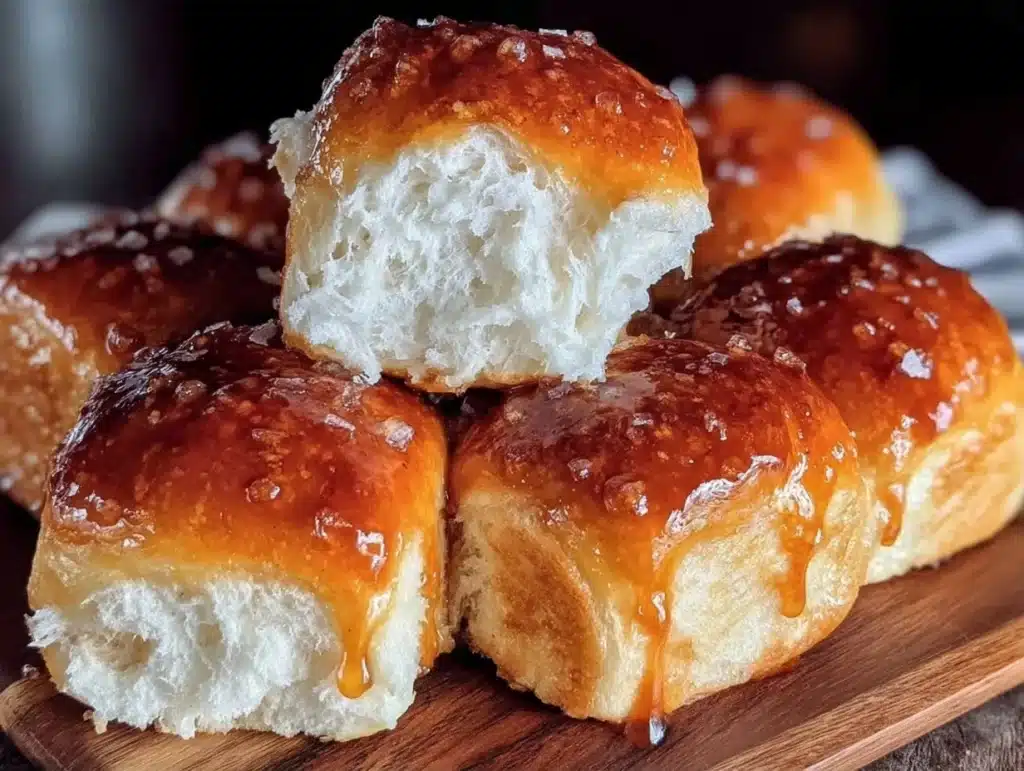
There is a specific moment when you pull a pan of perfectly golden, pillowy soft rolls out of the oven that changes everything. It’s that split second when the buttery aroma hits your nose and you realize you’re not just baking bread—you’re capturing a feeling. Honestly, I spent years buying those little pink-packaged Hawaiian rolls for holidays. They were fine. But they lacked that soul-soothing warmth that only comes from making something from scratch. Let’s face it, store-bought versions are often too sweet or have a texture that feels more like foam than bread.
My breakthrough happened three years ago during a particularly chaotic Thanksgiving prep. I was desperate for a roll that could hold up to turkey gravy but melt in your mouth. I tried six different yeast bread recipes before stumbling on the right balance of sugar, fat, and kneading time. That batch? It was magical. The crust was barely there, and the interior was so tender it felt like eating a cloud dipped in butter. Since then, I’ve tested this Homemade Hawaiian Rolls recipe over a dozen times. I’ve adjusted the hydration, swapped milks, and even experimented with different flours to get it just right.
What makes these homemade Hawaiian rolls truly special is their versatility. They are the perfect companion to a hearty bowl of chili, a festive Easter dinner, or even a quick weeknight chicken sandwich. Unlike dense artisanal loaves, these rolls are approachable. They are forgiving for beginner bakers yet impressive enough to serve to food-critic friends. Plus, there is no comparison between fresh-baked and packaged. The difference is night and day. Once you taste the difference, you’ll never go back to the store-bought variety again. This recipe is about taking a classic comfort food and making it better than you ever imagined possible.
Why You’ll Love This Recipe
After testing this recipe dozens of times in my own kitchen, I can confidently say that these homemade Hawaiian rolls are the ultimate crowd-pleaser. They strike that perfect balance between sweet and savory, making them incredibly versatile. Whether you are serving them alongside a spicy pulled pork sandwich or using them to soak up extra gravy at dinner, these rolls always disappear first. Here is why this specific recipe stands out from the hundreds of other bread recipes out there:
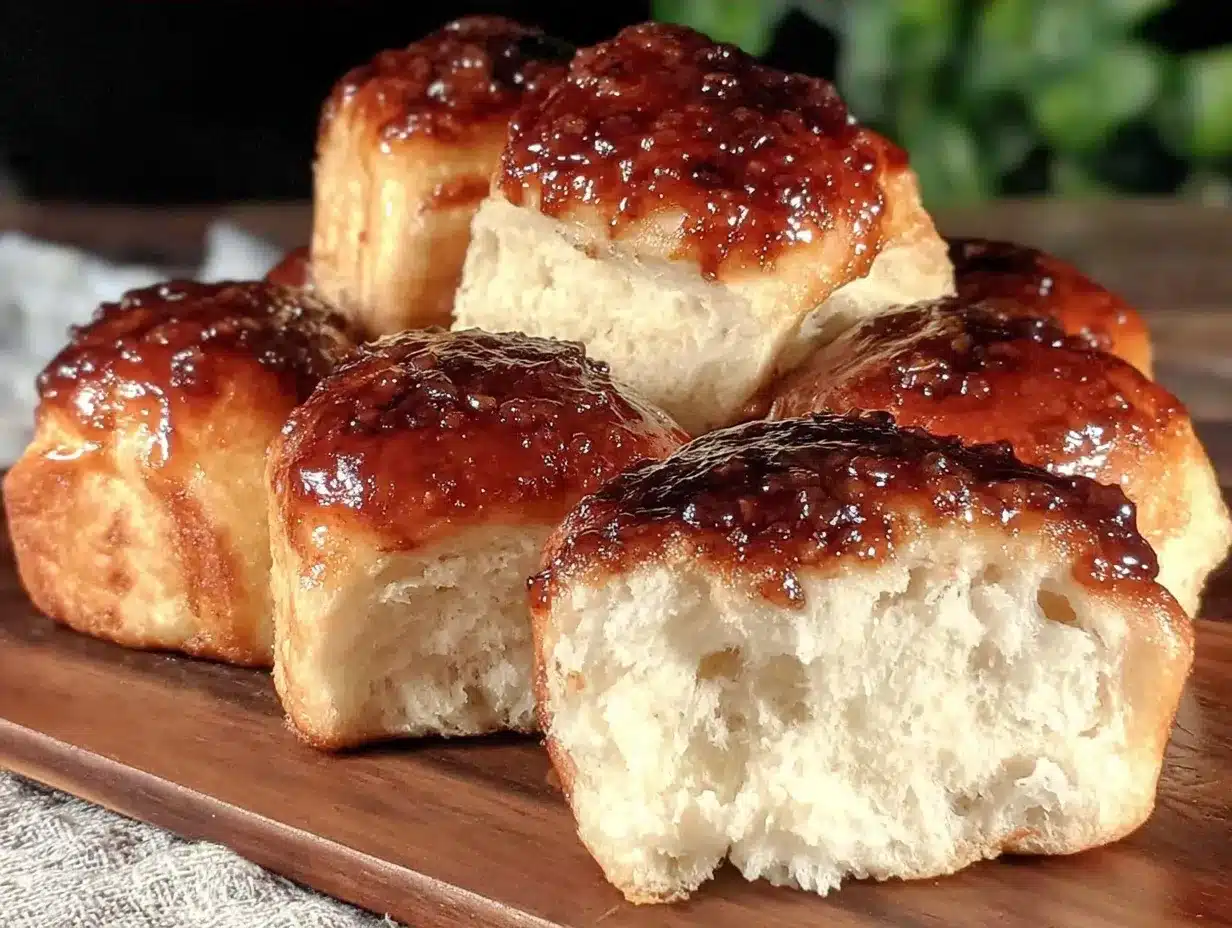
- Unbelievably Soft Texture: The secret lies in the high hydration and the use of milk powder. This creates a crumb that is tender enough to tear apart with your fingers but sturdy enough to hold its shape. It’s the kind of texture that makes you close your eyes after the first bite.
- Simple Ingredients: You don’t need fancy, hard-to-find ingredients. Everything you need is likely already in your pantry or fridge. Flour, sugar, yeast, butter, milk, and eggs. That’s it. No obscure flours or expensive specialty items.
- Perfect for Any Occasion: These rolls are a chameleon. They work for casual Tuesday night dinners, elaborate holiday feasts, or even as a base for gourmet sliders. They are always a hit with kids and adults alike.
- Make-Ahead Friendly: One of the best parts is the flexibility. You can mix the dough the night before and let it rise slowly in the fridge. This develops a deeper, more complex flavor that is absolutely worth the extra effort.
- Restaurant-Quality Results: Most home cooks skip the step of brushing the rolls with butter immediately after baking. I won’t. That final touch creates a glossy, golden crust that smells incredible and adds a rich, savory note that balances the sweetness.
This isn’t just another bread recipe. It’s a perfected version of a childhood favorite. It combines the nostalgia of those little pink packages with the superior quality of artisanal baking. It’s comfort food reimagined—healthier because you control the sugar, faster because you use a simple mixing method, and infinitely more satisfying. These rolls have the power to turn a simple meal into a memorable event. They are the kind of bread that brings people together around the table.
What Ingredients You Will Need
Creating the perfect homemade Hawaiian rolls relies on a few key components that work together to create that signature sweet, soft, and slightly buttery profile. You don’t need a specialty store to find these items, but choosing the right quality matters. I’ve spent years testing different brands and types to find what yields the best rise and texture. Here is exactly what you need to get started.
- High-Protein Bread Flour (500g / 3 ½ cups): I strongly recommend using bread flour instead of all-purpose flour. The higher protein content creates more gluten, which gives the rolls their signature chew and structure without making them tough. King Arthur Bread Flour is my go-to for consistency.
- Instant Yeast (7g / 1 packet): Instant yeast is preferred because it can be mixed directly with the dry ingredients without needing to be bloomed in water first. It rises faster and more reliably in sweet doughs. SAF Instant Yeast is a reliable brand I trust.
- Whole Milk Powder (30g / ¼ cup): This is the secret weapon. Milk powder adds richness, improves the crumb structure, and helps the rolls stay soft for days. If you don’t have it, you can substitute with extra flour, but the texture won’t be quite as tender.
- Granulated Sugar (80g / ⅓ cup): Hawaiian rolls are known for their slight sweetness. Sugar also feeds the yeast and helps with browning. You can reduce this to 60g if you prefer a less sweet roll, but I don’t recommend going lower.
- Large Eggs (2, room temperature): Eggs add richness, color, and structure. Room temperature eggs incorporate into the dough more easily, leading to a smoother mix. I use large eggs for consistent sizing.
- Unsalted Butter (50g / ¼ cup, softened): Softened butter is crucial for emulsifying into the dough. It adds flavor and tenderness. Make sure it is soft but not melted, or it will kill the yeast.
- Whole Milk (120ml / ½ cup, warm): Warm milk activates the yeast and adds moisture. Aim for a temperature of 110°F (43°C)—warm to the touch but not hot. Too hot will kill the yeast.
- Salt (8g / 1 ½ tsp): Salt is essential for flavor and controlling yeast activity. Don’t skip it, or the rolls will taste flat and rise too quickly.
- Butter for Brushing (60g / ¼ cup, melted): This is applied immediately after baking to create that shiny, golden crust and add a final layer of flavor.
For the best results, ensure your eggs and milk are at room temperature before you start. Cold ingredients can shock the yeast and slow down the rising process. Also, if you are making these for a specific dietary need, you can substitute the butter with a high-quality plant-based alternative, though the flavor will be slightly different. The milk powder can be swapped with regular milk, but you will need to reduce the added liquid in the recipe to maintain the correct dough hydration.
Do I need bread flour or can I use all-purpose?
Bread flour is highly recommended because it has more protein, which creates the chewy, soft texture characteristic of Hawaiian rolls. All-purpose flour can work, but the rolls will be slightly denser and less pillowy. If you only have all-purpose, it will still be delicious, just not quite the same.
Can I use active dry yeast instead of instant?
Yes, you can use active dry yeast. You will need to bloom it in the warm milk with a teaspoon of the sugar from the recipe before mixing it with the flour. The rising time might be slightly longer, so keep an eye on the dough volume rather than the clock.
Equipment Needed
You don’t need a fancy kitchen to bake these homemade Hawaiian rolls, but having the right tools makes the process much smoother. I’ve tested this recipe with various equipment, and these are the essentials that ensure consistent results.
- Stand Mixer with Dough Hook: Kneading this dough by hand is possible but tedious. A stand mixer does the heavy lifting in about 8-10 minutes. It ensures the gluten develops evenly without overworking the dough by hand.
- Measuring Cups and Spoons: Baking is a science. Volume measurements are okay, but weight measurements (grams) are far more accurate. I highly recommend a digital kitchen scale for precision.
- 9×13 Inch Baking Pan: This size pan is perfect for arranging the rolls in a grid pattern. It allows them to rise together and create that soft, pull-apart texture. A glass pan will brown the bottoms more evenly than metal.
- Clean Kitchen Towel or Plastic Wrap: You need something to cover the dough while it rises to prevent a skin from forming and to keep it warm. A slightly damp towel works well to maintain humidity.
- Pastry Brush: Essential for brushing the melted butter on the hot rolls. A silicone brush is durable and easy to clean.
- Instant Read Thermometer: While not strictly necessary, checking the internal temperature of the rolls (aiming for 190°F / 88°C) ensures they are fully baked through.
If you don’t have a stand mixer, you can knead by hand, but expect to spend about 15-20 minutes. The dough will be sticky at first, so resist the urge to add too much extra flour. Patience is key. Also, ensure your baking pan is clean and lightly greased. A well-seasoned pan or one with a non-stick coating will help prevent sticking, but a light coat of oil is still necessary.
Preparation Method
Now for the fun part—making the dough. This process is straightforward, but attention to detail is what separates good rolls from great ones. Follow these steps carefully for the best results.
- Mix the Dry Ingredients: In the bowl of a stand mixer fitted with a dough hook, combine the bread flour, instant yeast, milk powder, and sugar. Whisk them together briefly to distribute the yeast evenly. This step is crucial to prevent concentrated spots of yeast that can affect rising.
- Add Wet Ingredients: Add the warm milk, eggs, and softened butter to the dry mixture. Start the mixer on low speed for 2 minutes. The dough will look shaggy and messy at this point. Don’t worry; this is normal. Scrape down the sides of the bowl with a spatula to ensure all flour is incorporated.
- Knead the Dough: Increase the mixer speed to medium-low and knead for 6-8 minutes. The dough will gradually become smooth, elastic, and slightly tacky but not sticky. It should pass the “windowpane test”—when you stretch a small piece of dough, it should thin out without tearing. If the dough is too sticky, add flour one tablespoon at a time. If it’s too dry, add water one teaspoon at a time.
- First Rise: Transfer the dough to a lightly oiled bowl. Cover it with plastic wrap or a damp towel. Place it in a warm, draft-free spot for 1-1.5 hours, or until it has doubled in size. The ideal temperature is around 75-78°F (24-26°C). You can speed this up by placing the bowl in a turned-off oven with the light on.
- Shape the Rolls: Once doubled, gently punch down the dough to release air bubbles. Turn it out onto a lightly floured surface. Divide the dough into 12 equal pieces. Roll each piece into a smooth ball by tucking the edges underneath and rolling in a circular motion on the counter. This creates surface tension, which helps the rolls rise upward rather than outward.
- Second Rise: Arrange the dough balls in your greased 9×13 pan, leaving a small gap between each. Cover loosely and let them rise again for 30-45 minutes. They should puff up and touch each other. This is the final proof before baking.
- Bake: Preheat your oven to 350°F (175°C). Bake the rolls for 20-25 minutes, or until they are golden brown and sound hollow when tapped on the bottom. If they are browning too quickly, tent them with foil after 15 minutes.
- Butter and Cool: Immediately upon removing from the oven, brush the tops generously with melted butter. Let them cool in the pan for 5 minutes, then transfer to a wire rack to cool completely or serve warm.
One common mistake is over-proofing the rolls. If they rise too much in the second proof, they may collapse in the oven. Keep an eye on them. They should look puffy and jiggly, not stretched thin. Another tip is to ensure your oven is fully preheated. An underheated oven can lead to dense rolls.
Cooking Tips & Techniques
Baking bread is part science, part intuition. Over the years, I’ve learned a few tricks that make this homemade Hawaiian Rolls recipe fail-proof. The most critical step is mastering the dough consistency. Many home cooks add too much flour during kneading, which leads to dry, dense rolls. The dough should be soft and slightly tacky to the touch. If it sticks to your hands, resist the urge to dust more flour. Instead, wet your hands with water or oil.
Temperature control is another vital factor. Yeast is sensitive. If your milk is too hot, it will kill the yeast, and your dough won’t rise. If it’s too cold, the yeast will be sluggish. Aim for 110°F (43°C). You can test this by sprinkling a little on your wrist—it should feel warm, like baby bottle milk, not hot. Also, avoid drafting. Cold drafts can stop the rising process in its tracks. If your kitchen is cold, use the oven light trick or place the dough in a microwave with a cup of boiling water to create a warm, humid environment.
Another professional technique is the “autolyse” method, though I skip it for speed in this recipe. For even softer rolls, you can let the flour and milk rest for 20 minutes before adding the yeast and salt. This allows the flour to fully hydrate, resulting in a more extensible dough that stretches easily. However, for this specific recipe, the direct method works beautifully if you knead adequately.
Don’t skip the butter brush after baking. This step is non-negotiable for authentic Hawaiian roll flavor and appearance. It keeps the crust soft and adds a savory richness that balances the sweetness. Also, let the rolls cool slightly before serving. They are incredibly hot inside and can steam the crust if covered too soon, making them soggy. Patience pays off.
Variations & Adaptations
While the classic sweet Hawaiian roll is a timeless favorite, there are many ways to adapt this recipe to suit your taste or dietary needs. Here are a few variations I’ve tried and loved.
- Garlic Herb Rolls: Omit the sugar from the dough and add 1 teaspoon of garlic powder and 1 teaspoon of dried parsley. Brush the tops with a mixture of melted butter, minced fresh garlic, and parsley after baking. These are perfect for pasta nights.
- Brown Sugar Cinnamon Rolls: After the first rise, roll the dough out into a rectangle. Spread with butter, brown sugar, and cinnamon. Roll up tightly, slice into 12 pieces, and place in the pan. These are a breakfast favorite.
- Gluten-Free Option: Use a 1:1 gluten-free flour blend that contains xanthan gum. You may need to add an extra egg or a bit more liquid, as GF flour absorbs moisture differently. The texture will be slightly different but still delicious.
- Dairy-Free: Substitute the milk with almond or oat milk and use coconut oil or vegan butter. The milk powder can be replaced with a tablespoon of cornstarch to help with browning, though the richness will be slightly less.
I also recommend experimenting with different sugars. Honey or maple syrup can replace the granulated sugar for a deeper, more complex flavor. Just reduce the liquid in the recipe slightly to account for the extra moisture in the syrup. These variations allow you to keep the core technique but customize the flavor profile to your liking.
Serving & Storage Suggestions
Homemade Hawaiian rolls are best served warm, fresh from the oven. They pair beautifully with roasted meats, soups, and stews. For a festive touch, serve them with a side of whipped butter and a sprinkle of sea salt. They are also excellent for making sandwiches. Their soft texture holds up well to moist fillings without falling apart.
If you have leftovers, store them in an airtight container at room temperature for up to 2 days. For longer storage, wrap them tightly in plastic wrap and freeze for up to 3 months. To reheat, thaw at room temperature and warm in the oven at 300°F (150°C) for 10 minutes, or microwave for 20-30 seconds. They will taste almost as good as fresh.
Do not refrigerate the rolls, as this will cause them to stale faster. The cold temperature accelerates the retrogradation of starch, making the bread dry and hard. Always opt for room temperature or freezer storage. The flavors develop slightly over the first few hours, becoming even softer and more cohesive.
Nutritional Information & Benefits
While homemade Hawaiian rolls are a treat, they are made with wholesome ingredients. Each roll contains approximately 180-200 calories, depending on size. They provide carbohydrates for energy and a small amount of protein from the flour and eggs. The use of whole milk adds calcium and vitamin D.
Making them at home allows you to control the sugar content, reducing the amount compared to store-bought versions. You can also opt for whole wheat flour for added fiber, though this will change the texture. For those with dietary restrictions, the dairy-free and gluten-free adaptations make this recipe accessible to more people. Enjoying these rolls as part of a balanced meal adds a comforting element to your dining experience.
Conclusion
Making homemade Hawaiian Rolls is a rewarding experience that yields results far superior to anything you can buy at the store. The process is simple, the ingredients are accessible, and the taste is absolutely divine. I hope this recipe inspires you to spend some time in the kitchen and create something truly special for your family and friends. Don’t be afraid to experiment with variations and make it your own. I’d love to hear how they turn out for you.
Please share your creations on social media and tag me! Your feedback helps me improve and inspires others to try baking. Happy baking, and enjoy every bite of your homemade perfection.
FAQs
Why are my homemade Hawaiian Rolls dense?
This usually happens if the dough is over-kneaded or if too much flour is added. Ensure you are using the correct amount of liquid and that the dough is soft and tacky. Also, check that your yeast is fresh and active.
Can I freeze the dough before baking?
Yes, you can freeze the shaped rolls after their second rise. Place them in the freezer, then transfer to a bag. When ready to bake, let them thaw and rise at room temperature before baking. Alternatively, you can freeze the shaped dough before the second rise, then thaw and let it rise before baking.
How do I know when the rolls are done baking?
The rolls should be golden brown on top and sound hollow when tapped on the bottom. If you have a thermometer, the internal temperature should reach 190°F (88°C). Avoid over-baking, as this will dry them out.
Can I make these rolls ahead of time?
Absolutely. After shaping the rolls, cover the pan tightly with plastic wrap and refrigerate overnight. In the morning, let them come to room temperature and rise for 30-45 minutes before baking. This is a great option for holiday mornings.
What is the best way to store leftover rolls?
Store them in an airtight container at room temperature for up to 2 days. For longer storage, freeze them in a freezer-safe bag. Avoid refrigeration, as it will cause them to stale quickly.
Pin This Recipe!
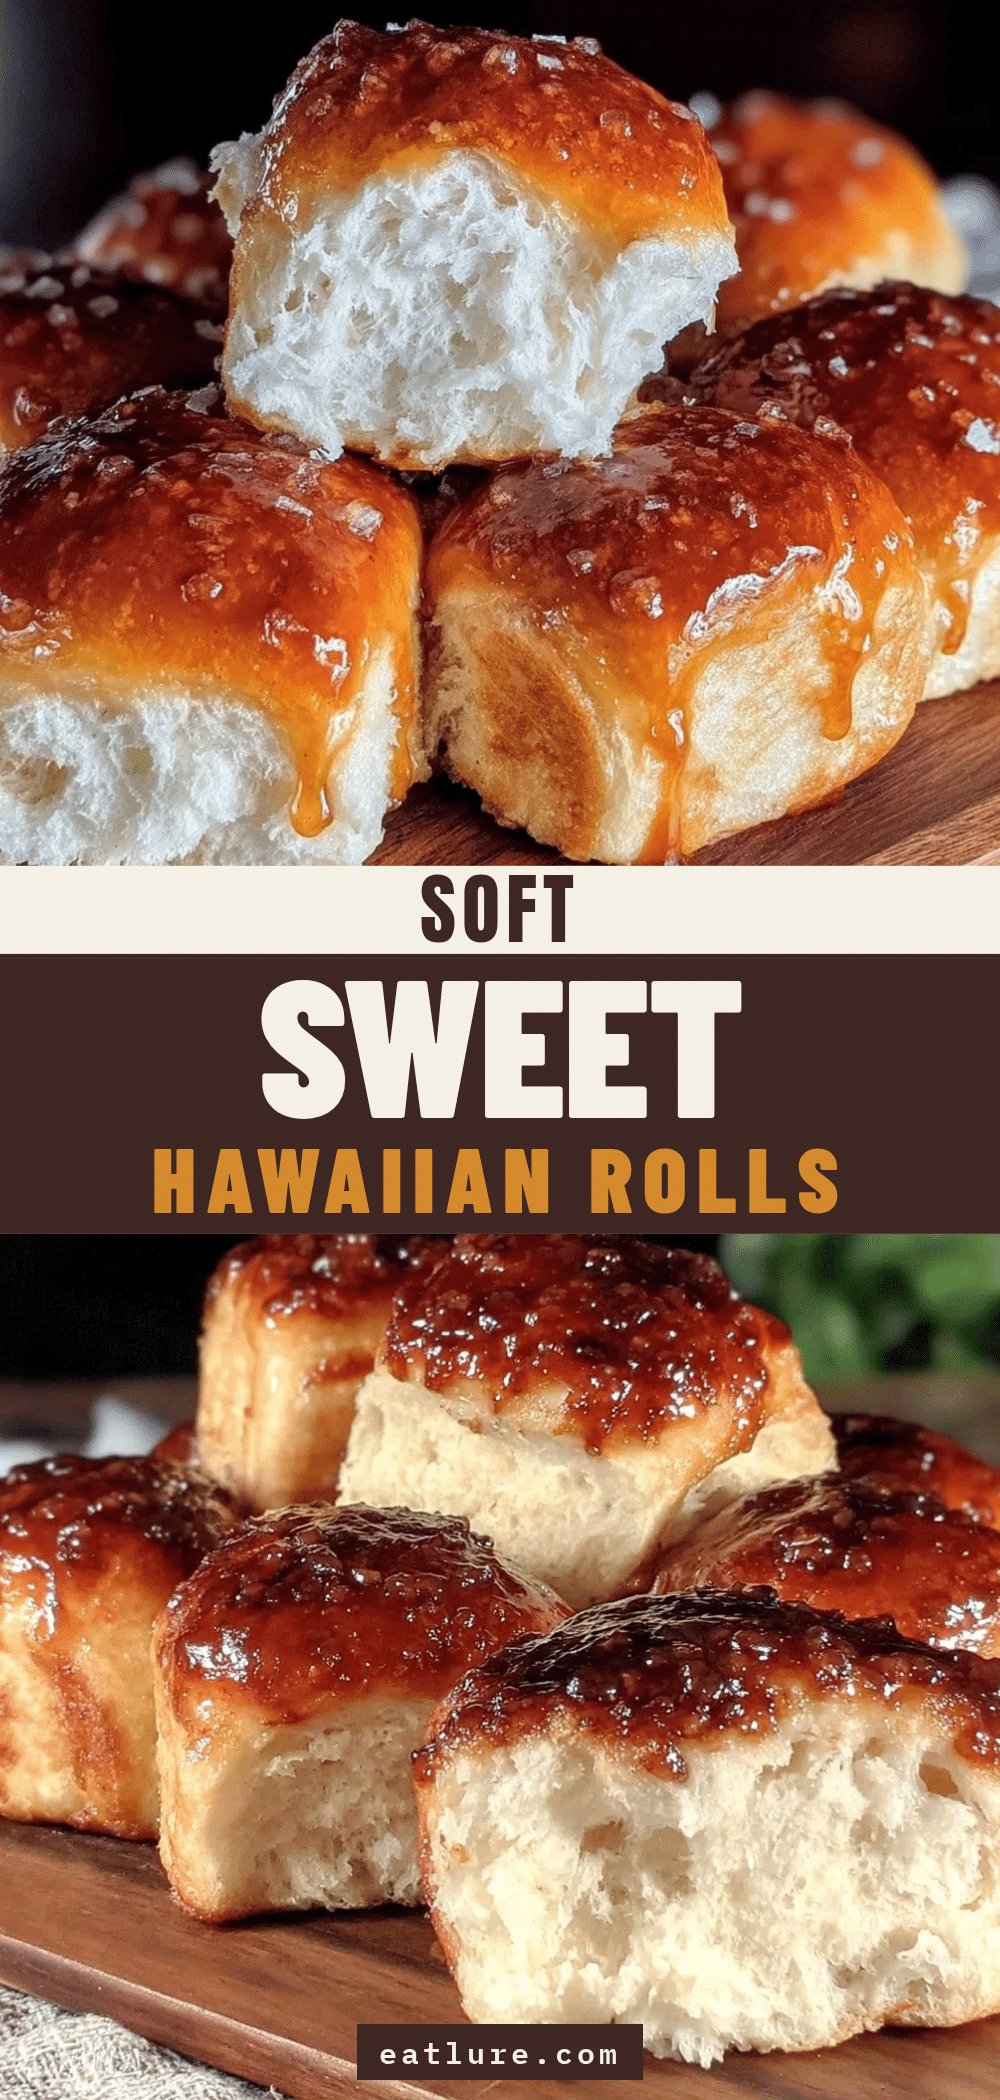
Homemade Hawaiian Rolls: 7 Steps to Baking Perfection
- Total Time: 55 minutes
- Yield: 12 rolls 1x
Description
These homemade Hawaiian rolls are pillowy soft, slightly sweet, and incredibly versatile. Made with simple pantry ingredients and a touch of milk powder, they offer a superior texture and flavor compared to store-bought versions.
Ingredients
- 500g (3 ½ cups) High-Protein Bread Flour
- 7g (1 packet) Instant Yeast
- 30g (¼ cup) Whole Milk Powder
- 80g (⅓ cup) Granulated Sugar
- 2 Large Eggs, room temperature
- 50g (¼ cup) Unsalted Butter, softened
- 120ml (½ cup) Whole Milk, warm (110°F/43°C)
- 8g (1 ½ tsp) Salt
- 60g (¼ cup) Butter, melted (for brushing)
Instructions
- In a stand mixer bowl fitted with a dough hook, combine bread flour, instant yeast, milk powder, and sugar. Whisk briefly to distribute yeast.
- Add warm milk, eggs, and softened butter to the dry mixture. Mix on low speed for 2 minutes until combined, scraping down sides as needed.
- Knead on medium-low speed for 6-8 minutes until the dough is smooth, elastic, and passes the windowpane test.
- Transfer dough to a lightly oiled bowl, cover, and let rise in a warm spot for 1-1.5 hours until doubled in size.
- Punch down the dough and divide into 12 equal pieces. Roll each into a smooth ball by tucking edges underneath.
- Arrange dough balls in a greased 9×13 inch baking pan, leaving small gaps. Cover and let rise again for 30-45 minutes until puffy and touching.
- Preheat oven to 350°F (175°C). Bake rolls for 20-25 minutes until golden brown and internal temperature reaches 190°F (88°C).
- Immediately upon removing from oven, brush tops generously with melted butter. Cool in pan for 5 minutes before transferring to a wire rack.
Notes
Ensure milk is warm (110°F) but not hot to avoid killing yeast. Dough should be soft and slightly tacky; avoid adding too much extra flour. Rolls can be made ahead by refrigerating shaped dough overnight. Store leftovers in an airtight container at room temperature for up to 2 days or freeze for up to 3 months. Do not refrigerate as it causes staling.
- Prep Time: 30 minutes
- Cook Time: 25 minutes
- Category: Side Dish
- Cuisine: American
Nutrition
- Serving Size: 1 roll
- Calories: 190
- Sugar: 8
- Sodium: 250
- Fat: 6
- Saturated Fat: 3
- Carbohydrates: 28
- Fiber: 1
- Protein: 5
Keywords: Hawaiian rolls, homemade bread, soft rolls, yeast bread, dinner rolls, baking, comfort food


