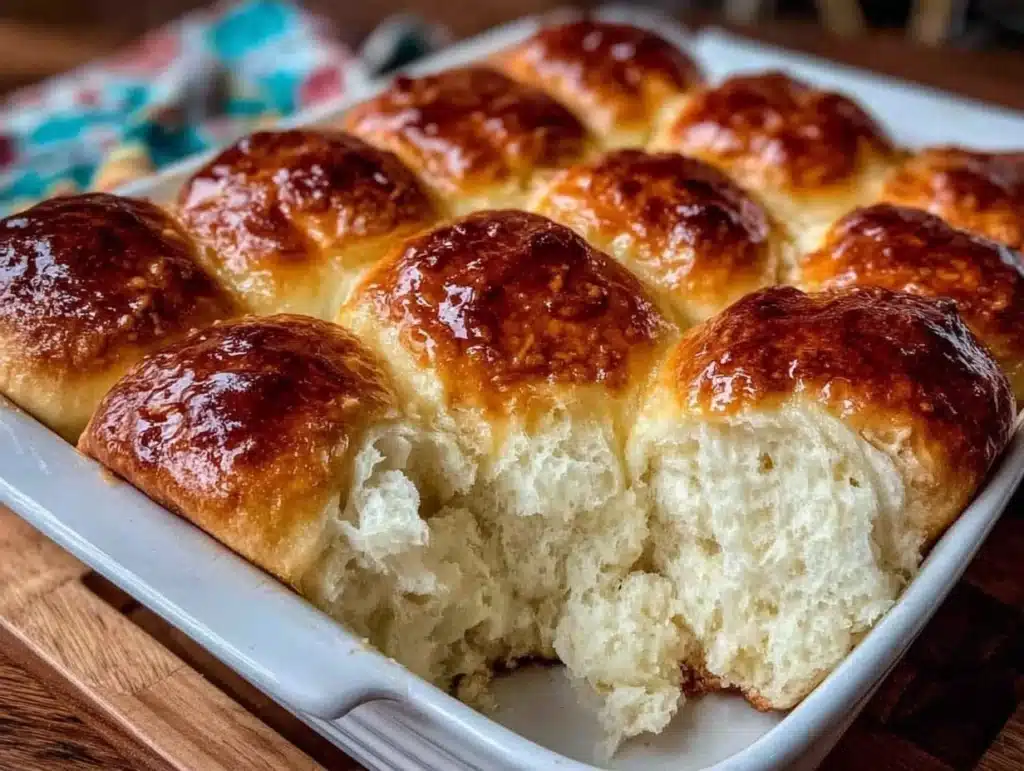
Let’s be honest for a second. You know that moment when you’re at a nice restaurant, and the bread basket arrives? It’s warm, fluffy, and smells like heaven. You tear into it before the appetizers even arrive, butter melting everywhere. Now, imagine making that exact same magic in your own kitchen. Seriously. I’m talking about dinner rolls that rival the best bakery loaves, but with a home-cooked soul.
I first mastered this recipe during a particularly chaotic holiday season. I had promised my in-laws a homemade meal, and I was terrified of serving store-bought bread. I needed something that looked impressive but didn’t require a degree in pastry arts. I tested this dough over a dozen times. Some batches were too dense, others too sweet. But then, I found the sweet spot. A little extra butter in the dough, a specific resting time, and that one crucial step most people skip.
This isn’t just about feeding your family. It’s about that feeling of pride when you pull a golden tray out of the oven. It’s about the smell filling your house and making everyone’s stomach growl before dinner is even plated. These homemade dinner rolls are soft, buttery, and incredibly easy to make. Whether you’re a beginner or a seasoned baker, this recipe will change how you think about bread.
After years of tweaking and tasting, I can confidently say this is the best version I’ve ever made. It’s reliable, forgiving, and absolutely delicious. You don’t need fancy equipment or rare ingredients. Just a few pantry staples and a little patience. Let’s face it, store-bought rolls just can’t compete with the texture and flavor of fresh, warm bread. This recipe is worth the thirty minutes of active work. Trust me on this one.
Why You’ll Love This Recipe
There is a reason this specific method has become a staple in my kitchen. It’s not just about the taste, though that is incredible. It’s about the reliability and the sheer joy of baking something from scratch. I’ve shared this with friends, family, and even skeptical neighbors. The result is always the same: empty plates and requests for the recipe. Here is why this recipe stands out from the crowd.
- Quick & Easy Preparation: Yes, it takes time to rise, but the active hands-on time is surprisingly low. You spend maybe twenty minutes mixing and shaping. The rest is just waiting. This makes it perfect for busy weeknights or last-minute guests who show up unexpectedly.
- Simple Ingredients: You likely already have everything in your kitchen. Flour, sugar, yeast, milk, butter, and eggs. No obscure flours or hard-to-find spices. This is wholesome, simple cooking that delivers big results without a fancy grocery trip.
- Perfect for Any Occasion: These rolls are versatile. They work for Sunday brunch, Thanksgiving dinner, or a casual Tuesday pasta night. They elevate any meal, turning a simple roast chicken into a feast.
- Crowd-Pleaser: Kids love them because they are soft and slightly sweet. Adults appreciate the complex flavor and chewy texture. They are always a hit, no matter who is eating.
- Unbelievably Delicious: The combination of whole milk and butter creates a richness that is next-level. The crumb is tender, and the crust has that perfect slight crispness. It’s comfort food at its finest.
What makes this recipe different is the technique. Many people rush the kneading or skip the second rise. I don’t. I’ve learned through trial and error that patience is the secret ingredient. The dough needs time to develop gluten properly. It needs to breathe. When you do it right, the texture is airy yet substantial. It’s not just another dinner roll recipe; it’s the best version I’ve found. It’s the kind of bread that makes you close your eyes after the first bite. It’s soul-soothing satisfaction in a small package.
What Ingredients You Will Need
This recipe relies on high-quality, simple ingredients to deliver bold flavor and satisfying texture without the fuss. The beauty of homemade dinner rolls lies in how these basic components interact. The fat creates tenderness, the sugar feeds the yeast, and the gluten structure gives it that chew. Here is what you need to gather.
- Warm Whole Milk: About 1 cup. Whole milk adds richness and a softer crumb than skim milk. Make sure it’s warm, not hot. You want it around 110°F (43°C). Too hot will kill the yeast.
- Active Dry Yeast: One packet, or about 2 ¼ teaspoons. This is the leavening agent. Check the expiration date on the packet. Old yeast makes dense bricks. I prefer rapid-rise yeast for convenience, but active dry works perfectly fine.
- Granulated Sugar: 2 tablespoons. This helps activate the yeast and adds a subtle sweetness. It also aids in browning the crust. If you prefer savory rolls, you can reduce this to 1 tablespoon.
- Unsalted Butter: ¼ cup, melted. Butter adds flavor and tenderness. Use high-quality butter if you can. It makes a noticeable difference in the final taste.
- Large Eggs: 1 large egg, room temperature. Eggs add structure and richness. Room temperature ingredients mix more evenly into the dough.
- All-Purpose Flour: About 3 to 3 ½ cups. This is the main structure. Don’t pack the flour into the measuring cup. Spoon it in and level it off. Too much flour makes dry rolls. Bread flour can be used for a chewier texture, but all-purpose is standard.
- Salt: 1 ½ teaspoons. Salt is crucial for flavor. It also strengthens the gluten network. Don’t skip it, even if you are watching sodium.
- Extra Butter for Brushing: 2 tablespoons, melted. This is for brushing the tops after baking. It gives them that glossy, golden finish and extra flavor.
I recommend using a digital kitchen scale for the flour if you have one. It’s the most accurate way to measure. If you use cups, be gentle. Also, look for large-curd cottage cheese if you want to add protein, but for this classic recipe, stick to the basics. In winter, you might need a bit more flour due to humidity. In summer, you might need less. Trust your eyes and touch more than the exact cup measurement.
Equipment Needed
You don’t need a fancy stand mixer to make these rolls, but having the right tools helps. A large mixing bowl is essential. I use a glass bowl because I can see the dough rising through it. A wooden spoon or a sturdy spatula works for mixing by hand.
A baking sheet or a 9×13 inch baking dish is needed for the second rise and baking. Line it with parchment paper for easy cleanup. An instant-read thermometer is helpful for checking the milk temperature. Guessing can lead to failed yeast. A pastry brush is great for applying the melted butter on top. If you don’t have one, a silicone brush works too. A clean kitchen towel is necessary for covering the dough while it rises. Keep it simple and budget-friendly.
Preparation Method
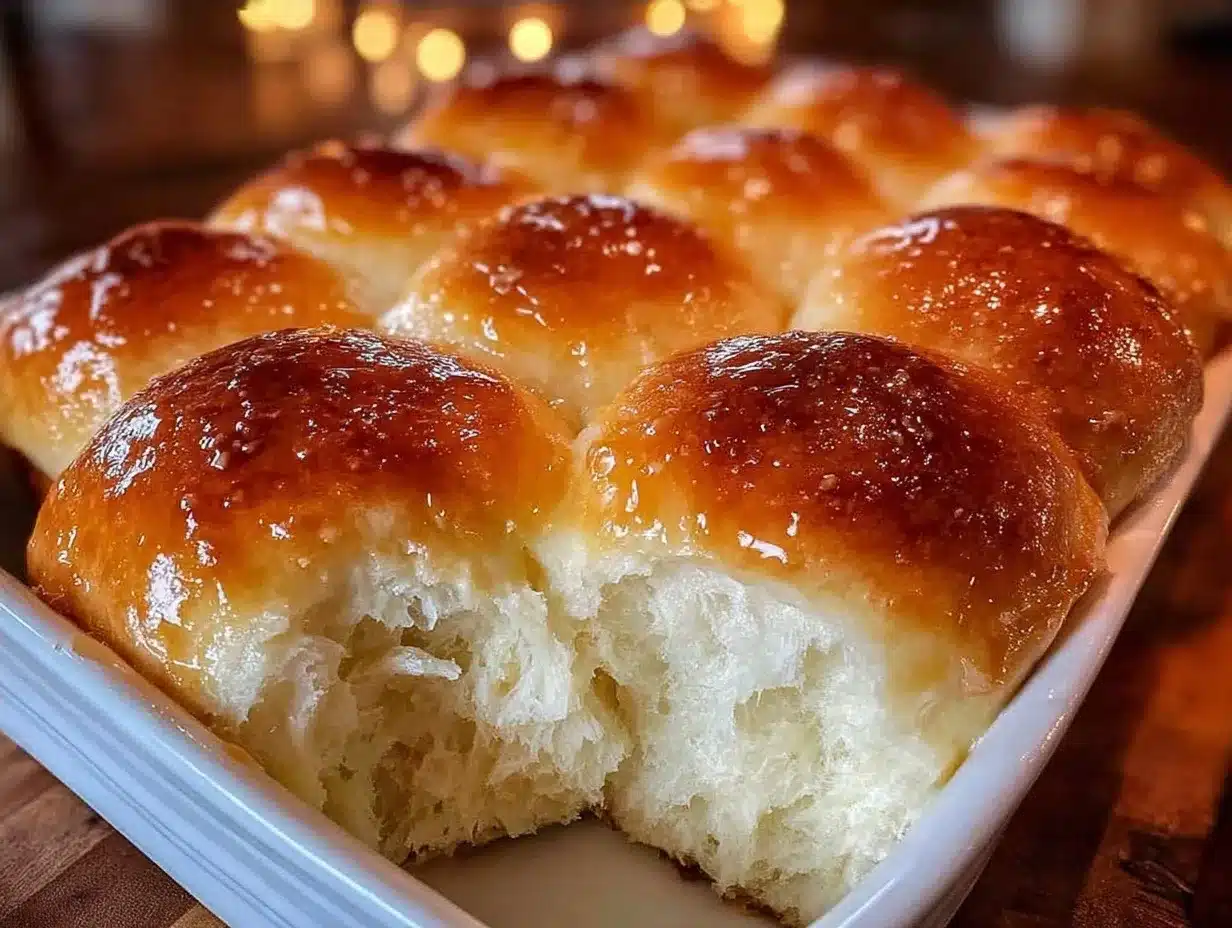
Let’s get into the nitty-gritty. Making these rolls is straightforward if you follow the steps carefully. The goal is a soft, airy dough that holds its shape but melts in your mouth.
- Activate the Yeast: In a large bowl, combine the warm milk, sugar, and yeast. Stir gently and let it sit for about 5-10 minutes. You should see bubbles forming on top. This means the yeast is alive and ready to work. If nothing happens, your yeast might be dead. Start over with fresh yeast.
- Mix Wet Ingredients: Once the yeast mixture is foamy, stir in the melted butter and the egg. Whisk them together until fully combined. This creates a rich, flavorful base for your dough.
- Add Dry Ingredients: Add the salt and about 2 cups of flour. Stir with a wooden spoon or mixer on low speed. Gradually add more flour, one cup at a time. Stop when the dough starts to pull away from the sides of the bowl. You might not need all the flour. The dough should be soft and slightly sticky, but not a mess.
- Knead the Dough: Turn the dough out onto a lightly floured surface. Knead for about 5-7 minutes. Push the dough away with the heel of your hand, fold it back, and turn it. This develops the gluten. If the dough is too sticky, add a sprinkle of flour. If it’s too dry, add a teaspoon of water. The dough should feel smooth and elastic. Poke it; it should spring back slowly.
- First Rise: Place the dough in a lightly greased bowl. Cover it with a damp towel or plastic wrap. Let it rise in a warm, draft-free spot for about 1 to 1.5 hours. It should double in size. This is the most important step for texture.
- Shape the Rolls: Punch down the dough to release air bubbles. Divide it into 12 equal pieces. Roll each piece into a smooth ball. Place them seam-side down in a greased 9×13 inch baking dish. Leave a little space between them so they can expand.
- Second Rise: Cover the dish again and let the rolls rise for another 30-45 minutes. They should look puffy and jiggly. Preheat your oven to 375°F (190°C) during the last 15 minutes of this rise.
- Bake: Bake for 15-18 minutes. The rolls should be golden brown on top. If they are browning too fast, cover them loosely with foil. Use a thermometer to check the internal temperature; it should reach 190°F (88°C).
- Butter and Cool: Immediately brush the hot rolls with melted butter. Let them cool in the pan for 5 minutes before serving. This keeps them soft and adds incredible flavor.
Cooking Tips & Techniques
There is a specific step that separates “good” homemade rolls from “better than takeout” rolls. It’s the kneading. Most home cooks rush this. They mix it and think it’s done. But proper kneading is what gives those rolls their cloud-like texture. Don’t be afraid to get your hands dirty. Feel the dough. It should change from shaggy to smooth. This usually takes about five to seven minutes of active effort.
Another common mistake is using water that is too hot. If your milk is boiling, you kill the yeast. If it’s cold, the yeast won’t activate. Aim for 110°F. If you don’t have a thermometer, test it on your wrist. It should feel warm, like a baby’s bath. Not hot.
Also, pay attention to your kitchen temperature. Yeast loves warmth. If your kitchen is cold, put the dough in a turned-off oven with just the light on. That tiny bit of heat creates the perfect rising environment. I once tried to rise dough on top of a fridge that wasn’t working well. The rolls were dense and flat. Don’t make my mistake. Give your dough a cozy, warm spot.
When shaping the rolls, try to create surface tension. Tuck the edges under themselves as you roll the ball. This helps them rise upward rather than outward. It gives them that nice, round dome shape. It’s a small trick, but it makes a big visual difference.
Variations & Adaptations
While the classic buttery roll is a favorite, you can tweak this recipe to suit your tastes. Here are a few ideas.
Garlic Herb Rolls: Add 1 teaspoon of garlic powder and 1 teaspoon of dried parsley to the dry ingredients. Brush the tops with garlic butter after baking. These are amazing with pasta.
Sweet Honey Rolls: Replace the sugar with honey. Use 2 tablespoons of honey instead. This adds a deeper, floral sweetness. Great for breakfast or with soup.
Whole Wheat Option: Swap half of the all-purpose flour for whole wheat flour. This adds a nuttier flavor and more fiber. The texture will be slightly denser, but still soft.
Dairy-Free: Use plant-based milk and margarine instead of dairy butter. Ensure the margarine is solid at room temperature for best results. The rolls will still be delicious.
I once made these with oat milk and coconut oil for a friend with allergies. They were surprisingly good. The texture was slightly different, but the flavor was still spot on. Don’t be afraid to experiment. Baking is a science, but it’s also an art.
Serving & Storage Suggestions
These rolls are best served warm. Pull them out of the oven, brush with butter, and serve immediately. The smell alone is worth the effort. They pair beautifully with roast chicken, beef stew, or a simple green salad. Serve with a high-quality salted butter on the side.
If you have leftovers, store them in an airtight container at room temperature for up to two days. They stay soft for a while. For longer storage, freeze them. Wrap them tightly in plastic wrap and then foil. They will last for up to three months in the freezer.
To reheat, thaw them at room temperature or warm them in the oven at 300°F for 10 minutes. Sprinkle them with a little water before reheating to restore moisture. They will taste almost as good as fresh. The flavors actually meld and deepen over the first day, making them great for sandwiches the next day.
Nutritional Information & Benefits
These dinner rolls are a source of carbohydrates and energy. Each roll contains approximately 120-140 calories, depending on size. They provide some protein from the egg and milk, and a bit of fat from the butter. They are not low-carb, so keep that in mind if you are on a specific diet.
However, they are made from simple, recognizable ingredients. There are no preservatives or artificial additives. You control the sugar and salt levels. This makes them a healthier choice compared to many commercial breads. I enjoy them as part of a balanced meal, often paired with lean proteins and vegetables. They bring comfort and joy, which is good for the soul.
Conclusion
Making homemade dinner rolls is a labor of love, but it is also a skill that pays off every single time. These rolls are soft, buttery, and absolutely delicious. They are the kind of bread that brings people together. I hope you try this recipe and find it as rewarding as I have. Don’t be afraid to make mistakes. Learn from them. Adjust the flour. Check the yeast. Keep trying.
I love this recipe because it connects me to my family and my roots. There is nothing quite like breaking bread with the people you love. I encourage you to share your results. Tag me in your photos or leave a comment below. Let me know how they turned out. Did you add any special twists? I’d love to hear about it.
Happy baking! Keep your oven warm and your heart full. These rolls are just the beginning of your baking journey. Try them once, and you’ll be hooked. Trust me, your guests will thank you.
Frequently Asked Questions
Can I use instant yeast instead of active dry yeast?
Yes, you can use instant yeast. You can mix it directly with the flour. You may not need to let it sit with the milk first, but it doesn’t hurt to do so. The results will be very similar.
Why are my rolls dense and flat?
This usually happens if the yeast was dead, the dough was over-floured, or it didn’t rise long enough. Make sure your milk is the right temperature and give the dough enough time to double in size.
Can I freeze the raw dough?
Yes, you can. After shaping the rolls, place them in the pan and freeze them solid. Then transfer them to a bag. When ready to bake, thaw them in the fridge overnight, let them rise, and bake as normal.
How do I get them to be extra soft?
Brushing them with melted butter immediately after baking is key. Also, storing them in a covered container while they cool traps the steam, keeping them soft. Avoid cutting into them while they are hot.
Can I make these ahead of time?
Yes. You can shape the rolls and let them do their second rise in the fridge overnight. In the morning, take them out, let them warm up and finish rising, then bake. This is great for busy mornings.
Pin This Recipe!
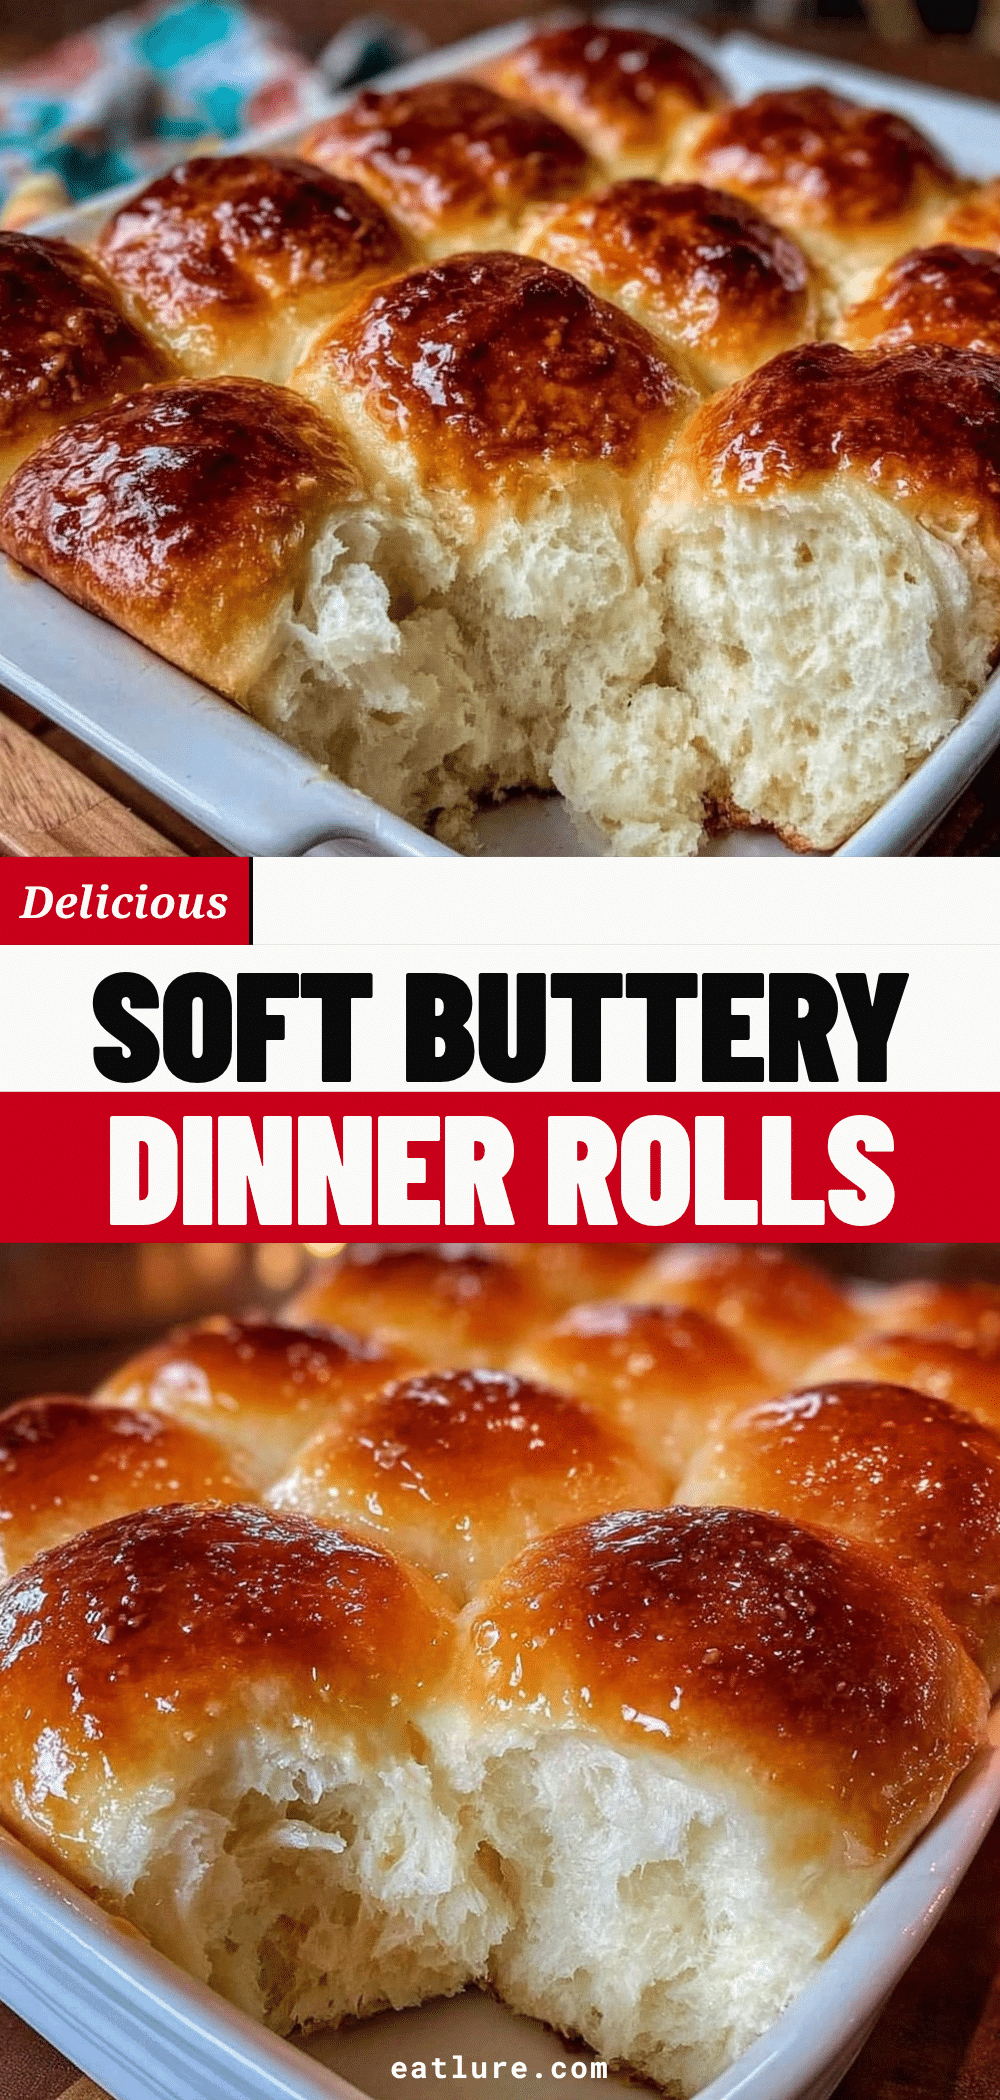
Homemade Dinner Rolls: The 1 Step Better Than Takeout
- Total Time: 2 hours 30 minutes
- Yield: 12 servings 1x
Description
Soft, buttery, and fluffy homemade dinner rolls that rival bakery quality. This reliable recipe uses simple pantry staples and a specific kneading technique to create the perfect texture.
Ingredients
- 1 cup warm whole milk (110°F/43°C)
- 1 packet active dry yeast (2 ¼ teaspoons)
- 2 tablespoons granulated sugar
- ¼ cup unsalted butter, melted
- 1 large egg, room temperature
- 3 to 3 ½ cups all-purpose flour
- 1 ½ teaspoons salt
- 2 tablespoons melted butter (for brushing)
Instructions
- In a large bowl, combine warm milk, sugar, and yeast. Stir gently and let sit for 5-10 minutes until foamy.
- Stir in the melted butter and egg until fully combined.
- Add salt and 2 cups of flour. Stir with a wooden spoon or mixer on low speed. Gradually add more flour until the dough pulls away from the sides of the bowl.
- Turn dough onto a lightly floured surface and knead for 5-7 minutes until smooth and elastic.
- Place dough in a lightly greased bowl, cover with a damp towel or plastic wrap, and let rise in a warm spot for 1 to 1.5 hours until doubled.
- Punch down dough and divide into 12 equal pieces. Roll each into a smooth ball and place seam-side down in a greased 9×13 inch baking dish.
- Cover and let rise for another 30-45 minutes until puffy. Preheat oven to 375°F (190°C) during the last 15 minutes.
- Bake for 15-18 minutes until golden brown and internal temperature reaches 190°F (88°C).
- Immediately brush hot rolls with melted butter. Let cool in pan for 5 minutes before serving.
Notes
Ensure milk is warm (110°F) but not hot to avoid killing the yeast. Kneading is crucial for texture; dough should feel smooth and elastic. If kitchen is cold, rise dough in an oven with just the light on. Rolls can be frozen for up to three months.
- Prep Time: 20 minutes
- Cook Time: 15-18 minutes
- Category: Side Dish
- Cuisine: American
Nutrition
- Serving Size: 1 roll
- Calories: 130
- Sugar: 3
- Sodium: 200
- Fat: 4
- Saturated Fat: 2.5
- Carbohydrates: 18
- Fiber: 1
- Protein: 3
Keywords: homemade dinner rolls, yeast rolls, bakery style bread, soft dinner rolls, easy bread recipe, side dish, baking from scratch


