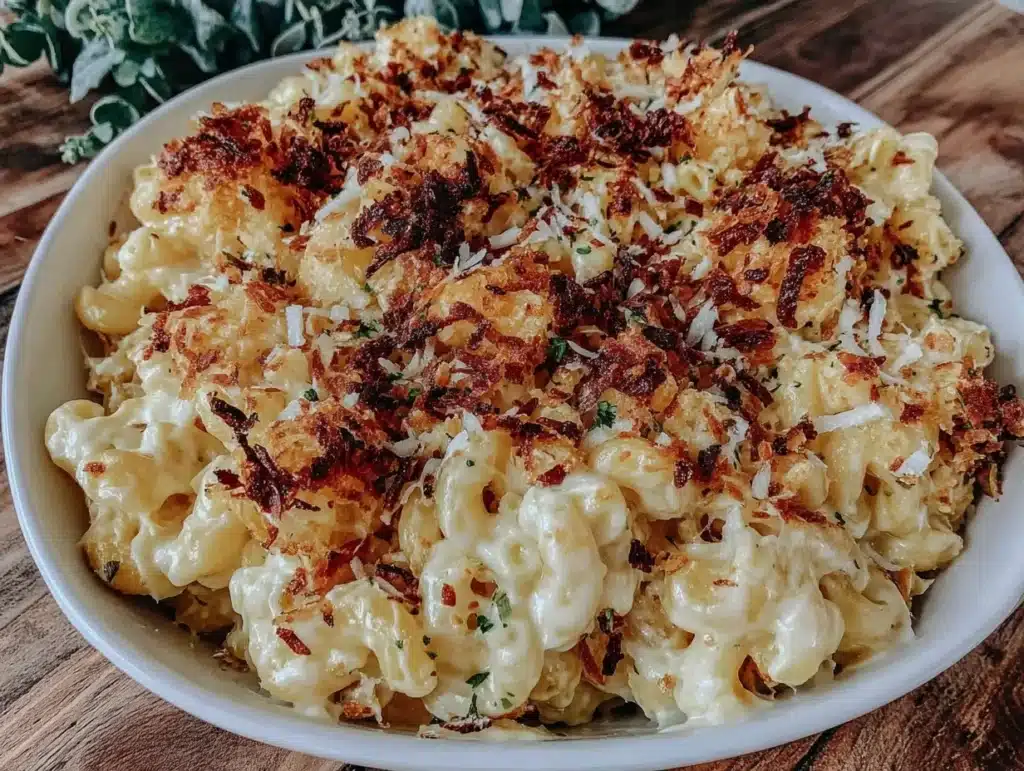
Let’s face it, I’ve always been a purist when it comes to mac and cheese. Give me a simple, sharp cheddar sauce and some elbow pasta, and I’m happy. But then, last winter, I was craving something with a bit more punch. Something that felt like a warm hug but also had a little kick. That’s when I decided to try baked garlic mac and cheese for the first time. I didn’t just toss in a clove or two. I roasted a whole head of garlic until it was sweet and spreadable, then mixed it into the roux.
The result was honestly mind-blowing. The creaminess of the cheese was balanced by the deep, savory notes of the roasted garlic. It wasn’t just comfort food anymore; it was gourmet comfort food. I made it for my family, and even my picky eater nephew asked for seconds. You know that moment when you take the first bite and close your eyes? That was me. I knew right then that this was the version I’d be making on repeat.
After testing this recipe over a dozen times, I’ve fine-tuned the ratio of garlic to cheese to perfection. It’s not too overpowering, but it’s definitely there. This baked garlic mac and cheese is the kind of dish that turns a Tuesday night into a special occasion. It’s rich, it’s indulgent, and it’s surprisingly easy to pull off if you know a few tricks. Let’s get into why this specific version stands out from the crowd.
Why You’ll Love This Garlic Mac And Cheese Recipe
There are a million mac and cheese recipes out there. So why should you trust mine? Well, I’ve spent years perfecting my technique in the kitchen. I’ve learned that the secret isn’t just in the ingredients; it’s in the method. This baked garlic mac and cheese isn’t just another side dish. It’s a lesson in precision and flavor building. Here is why this recipe has become a staple in my home:
- Quick & Easy Prep: While roasting garlic takes time, the active prep is straightforward. You can have this dish in the oven in under 30 minutes of hands-on work. It’s perfect for busy weeknights when you want something fancy but don’t have hours to spare.
- Simple Ingredients: You likely already have most of these items in your kitchen. Butter, flour, milk, garlic, and cheese. No fancy grocery trips needed. The magic comes from how you combine them, not from hard-to-find items.
- Perfect for Entertaining: This dish is a crowd-pleaser at any gathering. Whether it’s a holiday dinner or a casual game night, it always gets rave reviews. It’s the kind of food that disappears quickly, so make extra.
- Unbelievably Delicious: The texture is next-level. The sauce is silky smooth, and the garlic adds a depth that regular mac and cheese just doesn’t have. It’s comfort food reimagined—richer, faster, but with the same soul-soothing satisfaction.
- Cheese Blend Perfection: I use a mix of cheeses to get the best melt and flavor. It’s not just about one type of cheese. It’s about creating a symphony of flavors that work together.
What makes this recipe different is the roasted garlic element. Most people just sauté raw garlic, which can be sharp and pungent. Roasting it changes everything. It becomes sweet, nutty, and mellow. When you blend that into your cheese sauce, it adds a complexity that feels like you spent hours on it. Honestly, it’s the kind of dish that makes you look like a pro in the kitchen, even if you’re just following a recipe. It’s precision is the secret ingredient here. Getting the roux right and the cheese melt perfect is what separates good mac and cheese from great mac and cheese.
What Ingredients You Will Need
This recipe uses simple, wholesome ingredients to deliver bold flavor and satisfying texture without the fuss. The key is quality. Since there aren’t many components, each one needs to do its job. I’ve listed the specifics below, including my personal preferences for the best results.
For the Pasta
- Elbow Macaroni: 1 pound (450g). I prefer short, curved pasta because it holds the sauce well. You can use cavatappi or shells, but elbows are classic for a reason.
- Water: Enough for boiling. Add plenty of salt to the water, like the sea. This is your only chance to season the pasta itself.
For the Garlic Cheese Sauce
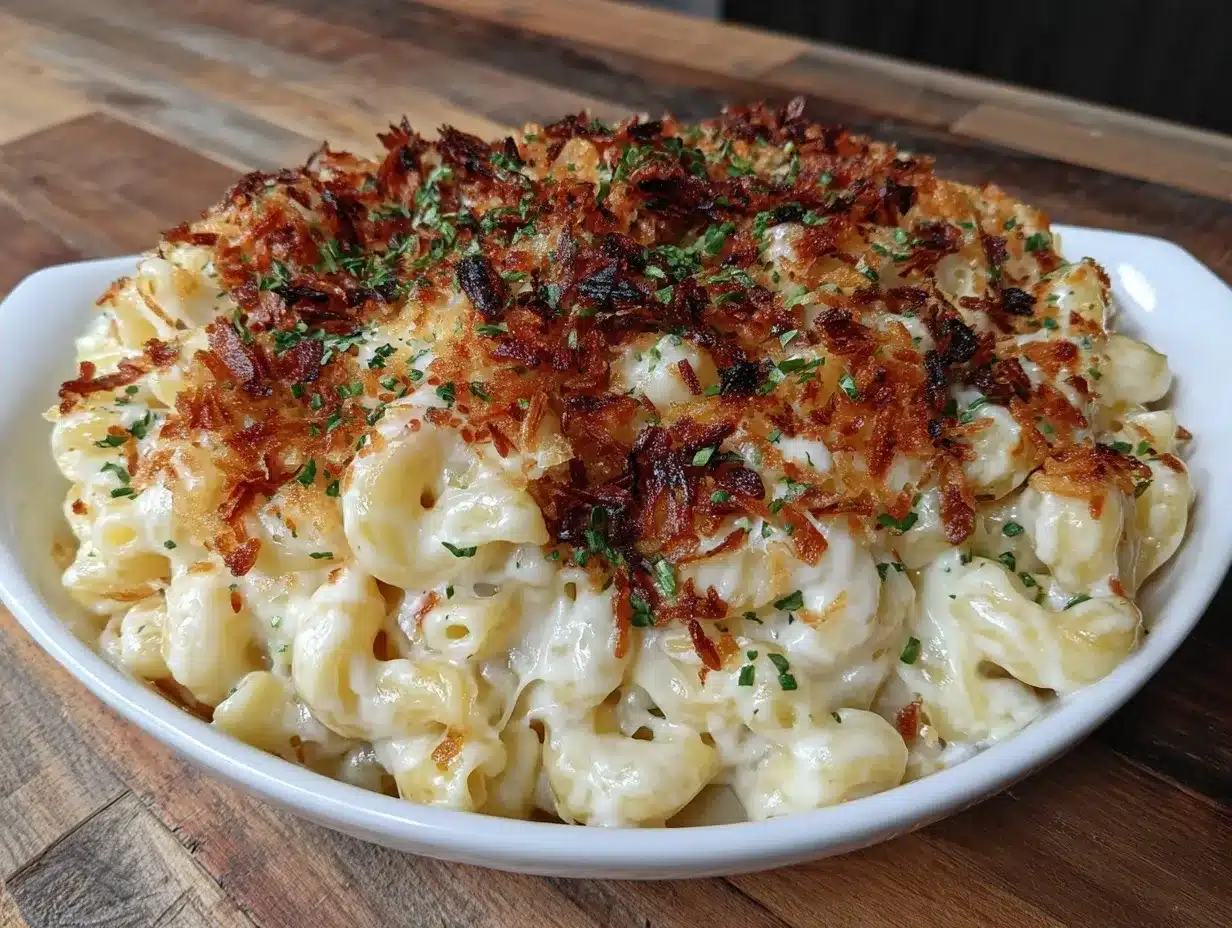
- Unsalted Butter: 1/2 cup (115g). I use high-quality butter, like Kerrygold, for the best flavor. It adds richness to the roux.
- All-Purpose Flour: 1/2 cup (60g). This thickens the sauce. Make sure it’s fresh for the best lift.
- Whole Milk: 3 cups (720ml). Full-fat milk gives the creamiest texture. You can use half-and-half for an even richer sauce, but milk is standard.
- Roasted Garlic: 1 whole head. This is the star. Roast it until soft and golden. The cloves should be sweet and spreadable, not bitter.
- Sharp Cheddar Cheese: 2 cups (200g), shredded. Use a block and shred it yourself. Pre-shredded cheese has anti-caking agents that prevent smooth melting.
- Gruyère Cheese: 1 cup (100g), shredded. This adds a nutty, complex flavor that pairs beautifully with garlic. It melts wonderfully too.
- Parmesan Cheese: 1/2 cup (50g), freshly grated. Adds a salty, umami punch. Don’t skip this.
- Mustard Powder: 1 teaspoon. It doesn’t make it taste like mustard, but it boosts the cheese flavor. It’s a chef’s secret.
- Garlic Powder: 1/2 teaspoon. For an extra garlic kick without adding moisture.
- Salt and Black Pepper: To taste. Remember, the cheeses are salty, so taste before adding more salt.
For the Topping
- Panko Breadcrumbs: 1 cup (80g). These give a lighter, crispier crunch than regular breadcrumbs.
- Melted Butter: 2 tablespoons. Toss the panko with this to ensure even browning.
- Extra Parmesan: 2 tablespoons. Sprinkle on top for extra savory flavor.
I recommend using a good quality sharp cheddar. Brands like Tillamook or Cabot work well. For the Gruyère, look for a young Gruyère for better melting. If you can’t find Gruyère, a mix of Monterey Jack and Asiago works as a substitute. For the panko, Japanese-style breadcrumbs are ideal for that airy crunch. If you’re making this gluten-free, use a gluten-free pasta and GF breadcrumbs. The substitution is straightforward and the result is still delicious.
Equipment Needed
You don’t need much to make this, but having the right tools makes the process smoother. Here is what you’ll need:
- Large Pot: For boiling the pasta. Make sure it’s big enough to allow the noodles to move freely.
- Large Skillet or Dutch Oven: For making the cheese sauce. A heavy-bottomed pan prevents scorching. I use a 12-inch skillet for this.
- Whisk: Essential for making a smooth roux. A balloon whisk works best.
- Baking Dish: A 9×13 inch casserole dish is standard. Ceramic or glass works well. I prefer ceramic for even heating.
- Aluminum Foil: To cover the dish during baking if needed.
- Roasting Pan: For roasting the garlic head. Any small oven-safe dish works.
If you don’t have a Dutch oven, a heavy skillet is fine. Just keep an eye on the heat. For the baking dish, if yours is smaller, you might need to adjust the baking time. I always recommend a ceramic dish because it retains heat well, keeping the mac and cheese warm longer. Budget-friendly options include standard glass Pyrex dishes. They are affordable and work perfectly for this recipe.
Preparation Method
Let’s get into the nitty-gritty. Precision is the secret ingredient here, so follow these steps closely.
- Roast the Garlic (30 minutes ahead): Preheat your oven to 400°F (200°C). Cut the top off a head of garlic to expose the cloves. Drizzle with olive oil, wrap in foil, and roast for 30-40 minutes until soft. Let it cool, then squeeze the cloves out. Mash them into a paste. Time estimate: 40 minutes.
- Boil the Pasta: Bring a large pot of salted water to a boil. Add the macaroni and cook until al dente. It should be slightly firmer than you like, as it will cook more in the oven. Drain and set aside. Time estimate: 10 minutes.
- Make the Roux: In your large skillet, melt the butter over medium heat. Once foamy, add the flour. Whisk constantly for 2 minutes. You want it to turn a light blonde color. Don’t let it brown. Time estimate: 3 minutes.
- Add the Milk: Slowly pour in the milk, whisking constantly. This is crucial to avoid lumps. Keep whisking until the mixture thickens and coats the back of a spoon. This should take about 5-7 minutes. Time estimate: 7 minutes.
- Incorporate Garlic and Seasonings: Remove the pan from heat. Stir in the mashed roasted garlic, mustard powder, garlic powder, salt, and pepper. Taste and adjust seasoning. The sauce should be flavorful on its own. Time estimate: 2 minutes.
- Melt the Cheese: Add the cheddar, Gruyère, and Parmesan gradually. Stir until melted and smooth. Do not boil the sauce after adding cheese, or it may break. Time estimate: 3 minutes.
- Combine Pasta and Sauce: Toss the drained pasta into the cheese sauce. Mix well to coat every noodle. Pour the mixture into your prepared baking dish. Time estimate: 2 minutes.
- Add Topping: Mix the panko breadcrumbs with melted butter and extra Parmesan. Sprinkle evenly over the mac and cheese. Time estimate: 1 minute.
- Bake: Bake at 350°F (175°C) for 20-25 minutes, until bubbly and golden brown on top. If the top browns too quickly, cover with foil. Time estimate: 25 minutes.
- Rest and Serve: Let it rest for 10 minutes before serving. This allows the sauce to set slightly, making it easier to scoop. Time estimate: 10 minutes.
Common issue: If your sauce is too thick, add a splash of milk. If it’s too thin, let it simmer a bit longer before adding cheese. Sensory cue: The sauce should look glossy and coat the spoon heavily. The topping should be golden and crisp.
Cooking Tips & Techniques
I’ve made my share of mistakes in the kitchen, and this recipe taught me a few hard-earned lessons. Here is how to avoid them.
Shred Your Own Cheese: This is non-negotiable. Pre-shredded cheese contains cellulose, which stops it from melting smoothly. You’ll end up with a grainy sauce. Buy blocks and shred them yourself. It takes 5 minutes and makes a huge difference.
Control the Heat: When making the roux, keep the heat at medium. If it’s too hot, the flour will burn, and your sauce will taste bitter. If it’s too low, it will take forever to thicken. Medium is the sweet spot.
Don’t Overcook the Pasta: Since the pasta bakes in the sauce, it will continue to absorb liquid and cook. If you boil it until it’s perfectly soft, it will become mushy in the oven. Aim for al dente.
Rest the Dish: I know it’s tempting to dig in right away, but letting it rest for 10 minutes is key. The sauce thickens as it cools slightly, giving you clean scoops. If you serve it immediately, it might be runny.
Multitasking: Roast the garlic while you boil the pasta. This saves time and ensures the garlic is ready when you need it. Timing is everything in the kitchen.
Variations & Adaptations
This recipe is versatile. Here are some ways to make it your own.
Spicy Kick: Add a teaspoon of red pepper flakes to the roux. Or use a spicy cheddar. If you like heat, this variation is perfect.
Vegetable Add-ins: Sauté some broccoli florets or spinach and mix them in. It adds color and nutrition. Just make sure to drain any excess water from the veggies.
Protein Boost: Add crispy bacon bits or pulled chicken. Bacon pairs exceptionally well with garlic and cheese. It turns this side dish into a main course.
Dairy-Free Option: Use dairy-free butter and milk. There are many dairy-free cheese shreds that melt well, though the flavor might differ slightly. Nutritional yeast can add a cheesy flavor.
Gluten-Free: Use gluten-free pasta and gluten-free breadcrumbs. The technique remains the same. Just check the pasta cooking time, as GF pasta can vary.
I once tried adding sun-dried tomatoes. It was interesting, but not quite right for me. The garlic flavor is delicate, and strong ingredients can overpower it. Stick to the basics for the best result.
Serving & Storage Suggestions
Serve this baked garlic mac and cheese hot, straight from the oven. It pairs well with a simple green salad or roasted vegetables. A glass of white wine, like a Chardonnay, complements the richness nicely.
Storage: Leftovers can be stored in an airtight container in the refrigerator for up to 4 days. The flavors actually develop over time, making it even better the next day.
Freezing: You can freeze unbaked mac and cheese. Assemble the dish, cover tightly with foil, and freeze. Thaw in the fridge overnight before baking. Note that the texture of the sauce might change slightly after freezing, but it’s still delicious.
Reheating: Reheat in the oven at 350°F (175°C) for 20 minutes, covered with foil. Add a splash of milk if it looks dry. Microwave reheating works too, but the topping won’t stay crisp. Use a microwave-safe dish and cover with a damp paper towel.
Nutritional Information & Benefits
This dish is rich in calcium and protein from the cheese. It’s also a good source of carbohydrates for energy. However, it is high in calories and saturated fat, so enjoy in moderation. One serving (1 cup) contains approximately 600-700 calories, depending on the cheese and portion size.
Garlic has antioxidant properties and may support heart health. The roasted garlic adds flavor without excessive sodium. If you are watching your sodium intake, use low-sodium cheese and reduce the added salt.
For a healthier twist, use whole wheat pasta and skim milk. It won’t be as creamy, but it’s a lighter option. Personally, I view this as a treat. It’s not something I make every week, but when I do, I savor every bite. Balance is key in a healthy diet.
Conclusion
This baked garlic mac and cheese is worth the effort. It’s creamy, crunchy, and packed with flavor. The roasted garlic adds a sophisticated touch that elevates a classic dish. I love making this because it brings people together. There’s nothing like sharing a big dish of comfort food with friends and family.
Feel free to customize it with your favorite add-ins. Add some bacon, swap the cheese, or make it spicy. The base recipe is flexible. I hope you try it and enjoy it as much as I do. If you make it, please let me know how it turns out. Leave a comment below with your thoughts or photos of your creation. I love seeing your adaptations.
Happy cooking! And remember, precision is the secret ingredient. Get your roux right, and you’ll be rewarded with the best mac and cheese you’ve ever had.
Frequently Asked Questions
Can I use pre-shredded cheese?
I recommend against it. Pre-shredded cheese has anti-caking agents that prevent smooth melting. You’ll get a grainy sauce. Shred your own cheese from a block for the best texture.
How do I store leftovers?
Store leftovers in an airtight container in the refrigerator for up to 4 days. Reheat in the oven or microwave. The flavor often improves after a day or two.
Can I freeze this mac and cheese?
Yes, you can freeze it unbaked. Assemble the dish, cover tightly, and freeze. Thaw in the fridge before baking. The texture may change slightly after freezing, but it’s still tasty.
What type of garlic is best?
Roasted garlic is best for this recipe. It’s sweet, mellow, and spreadable. Avoid raw garlic, which can be too sharp and pungent for a creamy sauce.
Can I make this gluten-free?
Yes. Use gluten-free pasta and gluten-free breadcrumbs. The rest of the ingredients are naturally gluten-free. Check labels to be sure.
Pin This Recipe!
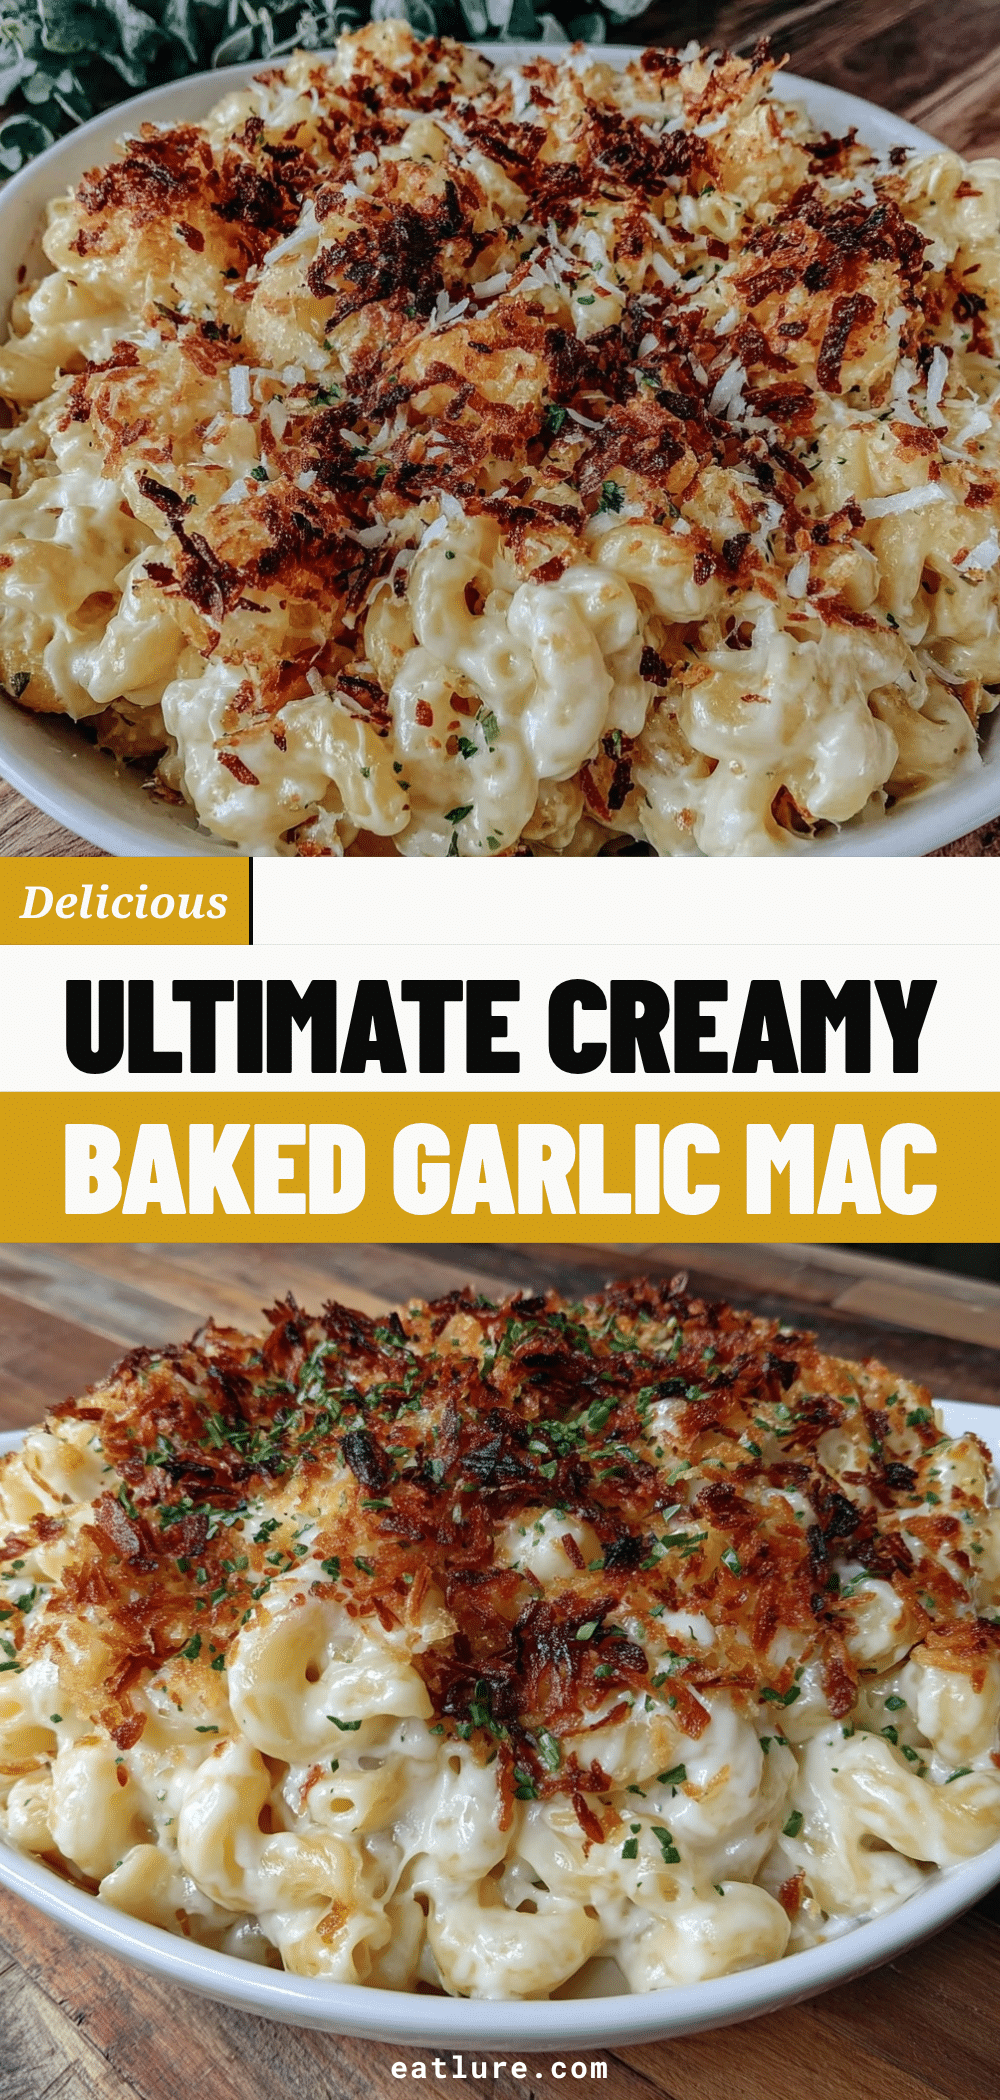

Baked Garlic Mac And Cheese: Perfect Crispy & Creamy
- Total Time: 75 minutes
- Yield: 8 servings 1x
Description
A gourmet twist on classic comfort food, this baked mac and cheese features a silky sharp cheddar and Gruyère cheese sauce infused with sweet, roasted garlic, topped with crispy panko breadcrumbs.
Ingredients
- 1 pound (450g) Elbow Macaroni
- Salt for pasta water
- 1 whole head of garlic (for roasting)
- Olive oil (for roasting garlic)
- 1/2 cup (115g) Unsalted Butter
- 1/2 cup (60g) All-Purpose Flour
- 3 cups (720ml) Whole Milk
- 2 cups (200g) Sharp Cheddar Cheese, shredded
- 1 cup (100g) Gruyère Cheese, shredded
- 1/2 cup (50g) Parmesan Cheese, freshly grated
- 1 teaspoon Mustard Powder
- 1/2 teaspoon Garlic Powder
- Salt and Black Pepper to taste
- 1 cup (80g) Panko Breadcrumbs
- 2 tablespoons Melted Butter (for topping)
- 2 tablespoons Extra Parmesan (for topping)
Instructions
- Preheat oven to 400°F (200°C). Cut the top off a head of garlic, drizzle with olive oil, wrap in foil, and roast for 30-40 minutes until soft. Cool, squeeze out cloves, and mash into a paste.
- Bring a large pot of salted water to a boil. Cook macaroni until al dente, drain, and set aside.
- In a large skillet over medium heat, melt butter. Add flour and whisk constantly for 2 minutes until light blonde.
- Slowly pour in milk while whisking constantly until the mixture thickens and coats the back of a spoon (5-7 minutes).
- Remove pan from heat. Stir in mashed roasted garlic, mustard powder, garlic powder, salt, and pepper.
- Gradually add cheddar, Gruyère, and Parmesan cheeses, stirring until melted and smooth. Do not boil.
- Toss drained pasta into the cheese sauce until fully coated. Pour into a 9×13 inch baking dish.
- Mix panko breadcrumbs with melted butter and extra Parmesan. Sprinkle evenly over the mac and cheese.
- Bake at 350°F (175°C) for 20-25 minutes until bubbly and golden brown. Cover with foil if browning too quickly.
- Let rest for 10 minutes before serving to allow the sauce to set.
Notes
Shred your own cheese to ensure smooth melting. Do not overcook the pasta as it will continue to cook in the oven. Let the dish rest for 10 minutes before serving for cleaner scoops. For a gluten-free version, use GF pasta and breadcrumbs.
- Prep Time: 40 minutes
- Cook Time: 35 minutes
- Category: Main Course
- Cuisine: American
Nutrition
- Serving Size: 1 cup
- Calories: 650
- Sugar: 6
- Sodium: 800
- Fat: 35
- Saturated Fat: 20
- Carbohydrates: 55
- Fiber: 2
- Protein: 25
Keywords: mac and cheese, baked mac and cheese, garlic mac and cheese, comfort food, cheesy pasta, crispy topping, roasted garlic, family dinner


