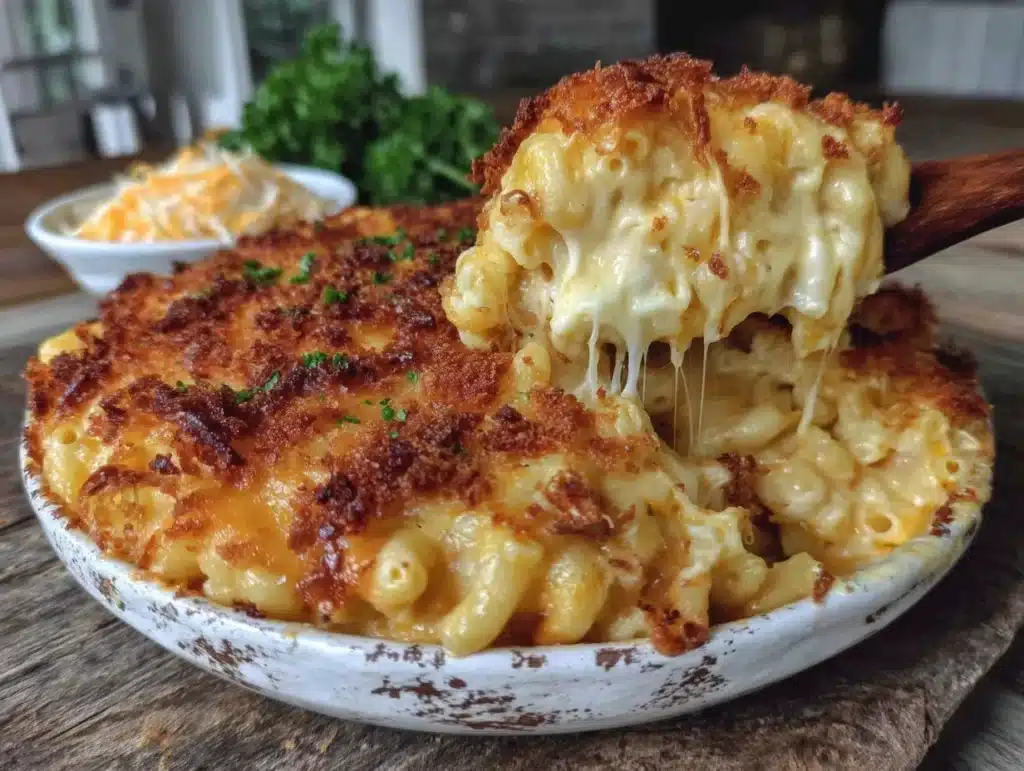
The smell of warm, golden-brown cheese pulling away from the edges of a baking dish takes me straight back to my grandmother’s kitchen in Atlanta. It’s a scent that hits you before you even see the plate—a mix of caramelized breadcrumbs, sharp cheddar, and that distinct, buttery richness that only comes from doing things the slow, Southern way. I remember sitting at her Formica table, waiting for that first bite that would stretch the cheese into long, impossible strings. You know the kind. The kind that makes you close your eyes and forget about your day entirely.
For years, I tried to replicate that magic with standard stovetop recipes. They were good, sure. But they lacked that soulful depth. They felt like a quick weeknight fix rather than a celebration. Honestly, let’s face it, most baked mac recipes are just pasta with cheese sauce dumped on top. They separate in the oven. They get dry. They lack that creamy, restaurant-quality mouthfeel we’re all chasing. I’ve spent the last five years tweaking ratios, testing cheeses, and arguing with my husband about whether extra cayenne is necessary (spoiler: it is).
This Creamy Southern Baked Mac isn’t just another pasta dish. It’s the result of hundreds of tests and a serious obsession with texture. It’s for the busy parent who wants comfort food that actually nourishes, the dinner party host who needs a crowd-pleaser that looks impressive but is surprisingly easy, and anyone who believes that mac and cheese is a love language. After baking this over a dozen times to get the breadcrumb topping just right, I can tell you with confidence: this is the real deal.
Why You’ll Love This Recipe
Let’s be real for a second. There are a million mac and cheese recipes out there. So why should you spend your Sunday afternoon on this one? It’s because this isn’t just a recipe; it’s a technique borrowed straight from professional kitchens, simplified for your home stove. I’ve tested this version so many times that I can probably make it in my sleep. And when I do, the result is consistently, undeniably delicious.
- Unbelievably Creamy Texture: Most people think heavy cream is the answer. It’s not. The secret is a roux-based béchamel enriched with egg yolks and a specific blend of cheeses. This prevents the sauce from breaking or becoming greasy in the oven. The result is a sauce that clings to every noodle, creating a luxurious mouthfeel that feels like a hug.
- Simple, Accessible Ingredients: You don’t need to run to three different specialty stores. The staples are likely already in your pantry or fridge. Butter, flour, milk, eggs, and good cheese. That’s it. No obscure ingredients or fancy gadgets required. Just honest, wholesome food done properly.
- The Crispy-Tender Contrast: This is the game-changer. The topping isn’t just breadcrumbs. It’s a mixture of panko, melted butter, and a pinch of paprika that gets toasted in the oven until it’s shatteringly crisp. When you scoop into the dish, you get that audible crunch followed by the soft, yielding pasta. It’s texture heaven.
- Perfect for Any Occasion: Whether it’s a holiday side dish, a potluck centerpiece, or a cozy Tuesday night dinner, this mac adapts to your life. It travels well, reheats beautifully, and is always a hit. Kids love the comfort, adults appreciate the depth of flavor, and everyone leaves the table satisfied.
- Restaurant-Quality Results at Home: I once served this to a group of chefs, and they asked for the recipe. The secret isn’t fancy equipment; it’s patience. Letting the roux cook properly, tempering the eggs, and letting the dish rest before serving. These small steps make a massive difference.
This recipe isn’t just about filling your belly. It’s about creating a moment. It’s the kind of dish that makes you want to linger at the table, sharing stories and scraping the last bits of cheesy pasta from the bottom of the bowl. It’s comfort food reimagined—richer, deeper, but still familiar. It’s the technique restaurants don’t tell you about, but now, you know.
What Ingredients You Will Need
This recipe relies on high-quality, simple ingredients to build a sauce that is stable, flavorful, and incredibly creamy. The key is balancing the fats and proteins to ensure the cheese doesn’t separate when baked. I’ve found that using a mix of hard and semi-hard cheeses provides the best melt and flavor profile.
For the Pasta Base
- Elbow Macaroni: 1 pound (450g). I prefer a short, curved pasta because it holds the sauce in its nooks and crannies. Dry pasta is fine, but look for brands with a higher protein content for better chew.
- Water: Enough for a large pot of boiling water. Don’t skimp on the salt here; the water should taste like the sea. This is your only chance to season the pasta itself.
For the Cheese Sauce (The Roux)
- Unsalted Butter: 1 cup (226g/2 sticks). I use European-style butter if I can find it, as it has a higher fat content and richer flavor. Room temperature is ideal for melting.
- All-Purpose Flour: 1 cup (120g). This creates the roux, the thickening agent that gives the sauce its body. Make sure it’s fresh; old flour can taste stale.
- Whole Milk: 4 cups (960ml). Full-fat milk is non-negotiable here. Low-fat milk will result in a watery, thin sauce. Warm the milk slightly before adding to prevent shocking the roux.
- Dry Mustard Powder: 1 teaspoon. This doesn’t make it taste like mustard. It amplifies the cheddar flavor and adds a subtle warmth. It’s a chef’s secret.
- Garlic Powder: 1/2 teaspoon. Adds a savory background note without the risk of burning fresh garlic.
- Smoked Paprika: 1/2 teaspoon. This gives it that distinct Southern kick and a hint of smokiness that pairs perfectly with cheese.
- Salt and Black Pepper: To taste. Start with 1 teaspoon of salt and 1/2 teaspoon of pepper, then adjust after tasting.
For the Cheese Blend
- Sharp Cheddar Cheese: 3 cups (340g), freshly grated. Crucial: Do not buy pre-shredded cheese. It contains anti-caking agents that prevent smooth melting. Grate it yourself from a block. I recommend a mix of white and orange cheddar for color and flavor depth.
- Gruyère Cheese: 1 cup (115g), freshly grated. This Swiss cheese melts beautifully and adds a nutty, complex flavor that elevates the dish beyond basic cheddar.
- Monterey Jack: 1 cup (115g), freshly grated. This is the melt-master. It ensures the sauce stays fluid and creamy rather than becoming stiff or oily.
For the Egg Enrichment
- Large Egg Yolks: 3 yolks. This is the secret to the restaurant-style creaminess. The lecithin in the yolks emulsifies the fat and water, creating a stable, velvety sauce. Do not use whole eggs; the whites can make the sauce rubbery.
For the Topping
- Panko Breadcrumbs: 1 cup (60g). Japanese-style breadcrumbs are lighter and crispier than traditional dried breadcrumbs.
- Melted Butter: 4 tablespoons (56g). Toss the panko with melted butter until well coated.
- Extra Parmesan: 2 tablespoons, grated. Adds a salty, umami punch to the crust.
Equipment Needed
You don’t need a fancy kitchen to make this, but having the right tools makes the process smoother and the results more consistent. Here is what you’ll need:
- Large Dutch Oven or Stockpot: You need enough volume to boil the pasta without it sticking together. A 6-quart pot is ideal. If you don’t have one, a large stockpot works fine.
- Medium Saucepan: For making the roux and béchamel. A heavy-bottomed pan helps distribute heat evenly and prevents scorching.
- Box Grater or Microplane: Essential for grating your own cheese. Pre-shredded cheese will ruin the texture of your sauce. A box grater gives you control over the shred size.
- Whisk: A good quality silicone or wire whisk is necessary for breaking up lumps in the roux and ensuring a smooth sauce.
- 9×13 Inch Baking Dish: A ceramic or glass baking dish works best. Avoid metal pans if you want a slower, more even bake. Make sure it’s greased lightly.
- Colander: For draining the pasta. A colander with a wide base is easier to handle.
- Instant-Read Thermometer (Optional but Helpful): If you want to be precise, this helps you ensure the béchamel reaches the right temperature without boiling.
If you’re on a budget, skip the fancy Dutch oven. A heavy skillet works for the roux. The most important investment is a good grater. Your cheese will thank you.
Preparation Method
Let’s get into the nitty-gritty. This process requires attention, but it’s straightforward if you follow the steps. Take your time with the roux; it’s the foundation of everything.
- Preheat and Prep: Preheat your oven to 350°F (175°C). Grease your 9×13 inch baking dish with a little butter. This prevents sticking and adds flavor to the crust. Set out all your ingredients. This is a make-ahead style dish, so having everything measured and ready (mise en place) will reduce stress.
- Boil the Pasta: Bring a large pot of generously salted water to a rolling boil. Add the elbow macaroni. Cook it for 1-2 minutes less than the package directions. You want it al dente, firm to the bite. It will continue cooking in the oven. Drain the pasta and rinse briefly with warm water to stop the cooking. Toss with a tiny bit of oil to prevent sticking. Set aside. (Time: 10-12 minutes)
- Make the Roux: In your medium saucepan, melt the 1 cup of butter over medium heat. Once foamy, add the 1 cup of flour. Whisk constantly for about 2-3 minutes. You want the mixture to turn a light blonde color and smell nutty. Do not let it burn. This cooks out the raw flour taste. (Time: 3-5 minutes)
- Create the Béchamel: Slowly pour in the warm milk, a little at a time, whisking vigorously after each addition to prevent lumps. Once all the milk is added, continue whisking and cook for 5-7 minutes. The sauce should thicken enough to coat the back of a spoon. If you run your finger across the spoon, it should leave a clean trail. Remove from heat. (Time: 7-10 minutes)
- Season the Sauce: Stir in the dry mustard powder, garlic powder, smoked paprika, salt, and black pepper. Taste the sauce. It should be well-seasoned, even before the cheese is added. Adjust if needed. The sauce will taste a bit bland at this stage because the cheese dilutes it.
- Temper the Egg Yolks: In a small bowl, whisk the 3 egg yolks. Ladle about 1 cup of the hot béchamel into the yolks, whisking constantly. This warms the yolks gradually so they don’t scramble when added to the main pot. Pour the tempered yolk mixture back into the saucepan, whisking to combine. Return to low heat for 1 minute, just to thicken slightly. Do not boil. (Time: 2-3 minutes)
- Add the Cheese: Remove the pan from heat. Add the grated cheddar, Gruyère, and Monterey Jack. Stir gently until the cheese is fully melted and the sauce is smooth. If it looks too thick, add a splash of milk. The sauce should be pourable but creamy. (Time: 2-3 minutes)
- Combine Pasta and Sauce: Add the cooked pasta to the cheese sauce. Stir until every noodle is coated. Pour the mixture into your prepared baking dish. Spread it out evenly.
- Prepare the Topping: In a small bowl, mix the panko breadcrumbs, melted butter, and grated Parmesan. Sprinkle this mixture evenly over the top of the mac and cheese. Press it down slightly so it adheres to the sauce.
- Bake: Place the dish in the preheated oven. Bake for 25-30 minutes. You want the top to be golden brown and crispy, and the sauce to be bubbling around the edges. If the top browns too quickly, cover loosely with foil for the last 10 minutes. (Time: 25-30 minutes)
- Rest and Serve: This is the hardest part. Let the mac and cheese rest for 10-15 minutes after removing it from the oven. This allows the sauce to set slightly, making it easier to scoop. Serve warm. (Time: 10-15 minutes)
Cooking Tips & Techniques
I’ve made my fair share of mistakes in the kitchen, and some of them were cheesy disasters. Here’s what I’ve learned to help you avoid them.
Grate Your Own Cheese: I cannot stress this enough. Pre-shredded cheese is coated in cellulose to keep it from clumping. This coating prevents it from melting smoothly. Your sauce will become grainy and oily. Take the extra five minutes to grate a block of cheese. It makes a world of difference.
Don’t Skip the Roux: Some recipes skip the flour and just use cream and cheese. While easy, this often results in a sauce that separates in the oven. The roux stabilizes the emulsion. Cook it long enough to remove the raw flour taste, but not so long that it browns too much, which can add a bitter flavor.
Temper the Eggs: Adding hot sauce directly to raw eggs will scramble them. By slowly whisking in a ladle of hot sauce, you raise the temperature of the eggs gradually. This ensures a silky, smooth finish without any curdled bits.
Undercook the Pasta: Since the pasta bakes in the sauce, it will absorb liquid and continue to cook. If you boil it to al dente according to the package, it will be mushy when it comes out of the oven. Undercooking by a minute or two ensures the perfect texture.
Rest the Dish: Cutting into hot mac and cheese is a mistake. The sauce is still loose and fluid. Resting allows the proteins to set and the sauce to thicken slightly, giving you those clean, distinct scoops instead of a soupy mess.
Variations & Adaptations
While I love this classic version, mac and cheese is a canvas. Here are a few ways to tweak it:
- Spicy Kick: Add 1/2 teaspoon of cayenne pepper or a diced jalapeño to the roux. Or, swap half the cheddar for pepper jack. This adds a heat that cuts through the richness.
- Vegetable Boost: Stir in sautéed broccoli florets, caramelized onions, or roasted Brussels sprouts. The sweetness of the onions pairs beautifully with the smoky paprika.
- Protein Power: Add crispy bacon bits or shredded rotisserie chicken. Bacon adds a salty crunch that complements the cheese perfectly.
- Gluten-Free Option: Use gluten-free pasta and substitute the all-purpose flour with a gluten-free 1:1 baking flour. The texture might be slightly different, but the flavor will still be great.
- Dairy-Free: This is tricky because cheese is the star. Use high-quality vegan cheese shreds (avoid pre-shredded) and a vegan butter for the roux. Nutritional yeast can add a cheesy flavor. Note: The texture will be different, but it can still be delicious.
One of my favorite variations is adding a layer of cooked, crumbled sausage. It turns it into a hearty main dish. I also love adding a pinch of nutmeg to the béchamel for a subtle, warm depth.
Serving & Storage Suggestions
This mac and cheese is best served immediately after resting. Pair it with a simple green salad with a vinaigrette to cut the richness. A glass of crisp white wine or a cold beer works well too.
Storage: Leftovers can be stored in an airtight container in the refrigerator for up to 4 days. The sauce will thicken as it cools, which is normal.
Reheating: To reheat, add a splash of milk to the mac and cheese before warming it. This helps loosen the sauce. Reheat in the oven at 350°F for 20 minutes, or in the microwave in 30-second intervals, stirring in between. The topping may lose its crispness, but you can broil it for a minute to restore it.
Freezing: This dish freezes well. Assemble the mac and cheese but do not add the topping. Freeze the uncovered dish, then wrap tightly in plastic and foil. Thaw in the fridge overnight. Add the topping and bake as directed, adding 10-15 minutes to the bake time. The texture may be slightly softer, but it’s still delicious.
Nutritional Information & Benefits
This recipe is rich and indulgent, so it’s best enjoyed in moderation. Each serving (approx. 1.5 cups) contains roughly 650-750 calories, depending on the cheese and butter used. It is high in protein and calcium from the cheese and milk, making it a satisfying meal component. The use of whole milk and egg yolks provides healthy fats that help with satiety. For those watching their sodium, you can reduce the salt in the roux and use low-sodium cheese. While not a light dish, it offers comfort and nutrition in equal measure. It’s a treat, not a daily staple, and that’s okay.
Conclusion
Making Creamy Southern Baked Mac at home is a labor of love, but the results are worth every minute. It’s a dish that brings people together, sparks conversation, and leaves everyone feeling full and happy. I hope this recipe becomes a staple in your kitchen, just as it has in mine. Don’t be afraid to experiment with different cheeses or add-ins. Make it your own. And when you do, please share your results. I’d love to hear how you customized it. Tag me in your photos or leave a comment below. Let’s keep the conversation going. Happy cooking!
Frequently Asked Questions
Can I use pre-shredded cheese?
It’s not recommended. Pre-shredded cheese contains anti-caking agents that prevent it from melting smoothly, resulting in a grainy, oily sauce. Always grate cheese from a block for the best texture.
Why did my sauce break or become oily?
This usually happens if the cheese is added too quickly or if the sauce is boiled after adding the cheese. Ensure you remove the pan from heat before adding the cheese, and stir gently until melted. Also, grate your own cheese.
Can I make this ahead of time?
Yes! You can assemble the entire dish up to 24 hours in advance. Cover it tightly with plastic wrap and refrigerate. When ready to bake, add 10-15 minutes to the baking time since the dish will be cold.
What kind of pasta works best?
Elbow macaroni is classic, but you can also use cavatappi, shells, or rotini. Short, curved pastas hold the sauce better than long pasta. Avoid very thin pasta, as it can become mushy.
How do I get a crispy topping?
The key is to use panko breadcrumbs and toss them with melted butter before sprinkling them on top. This ensures even browning. Also, make sure the oven is fully preheated, and don’t skip the final broil if you want extra crunch.
Pin This Recipe!
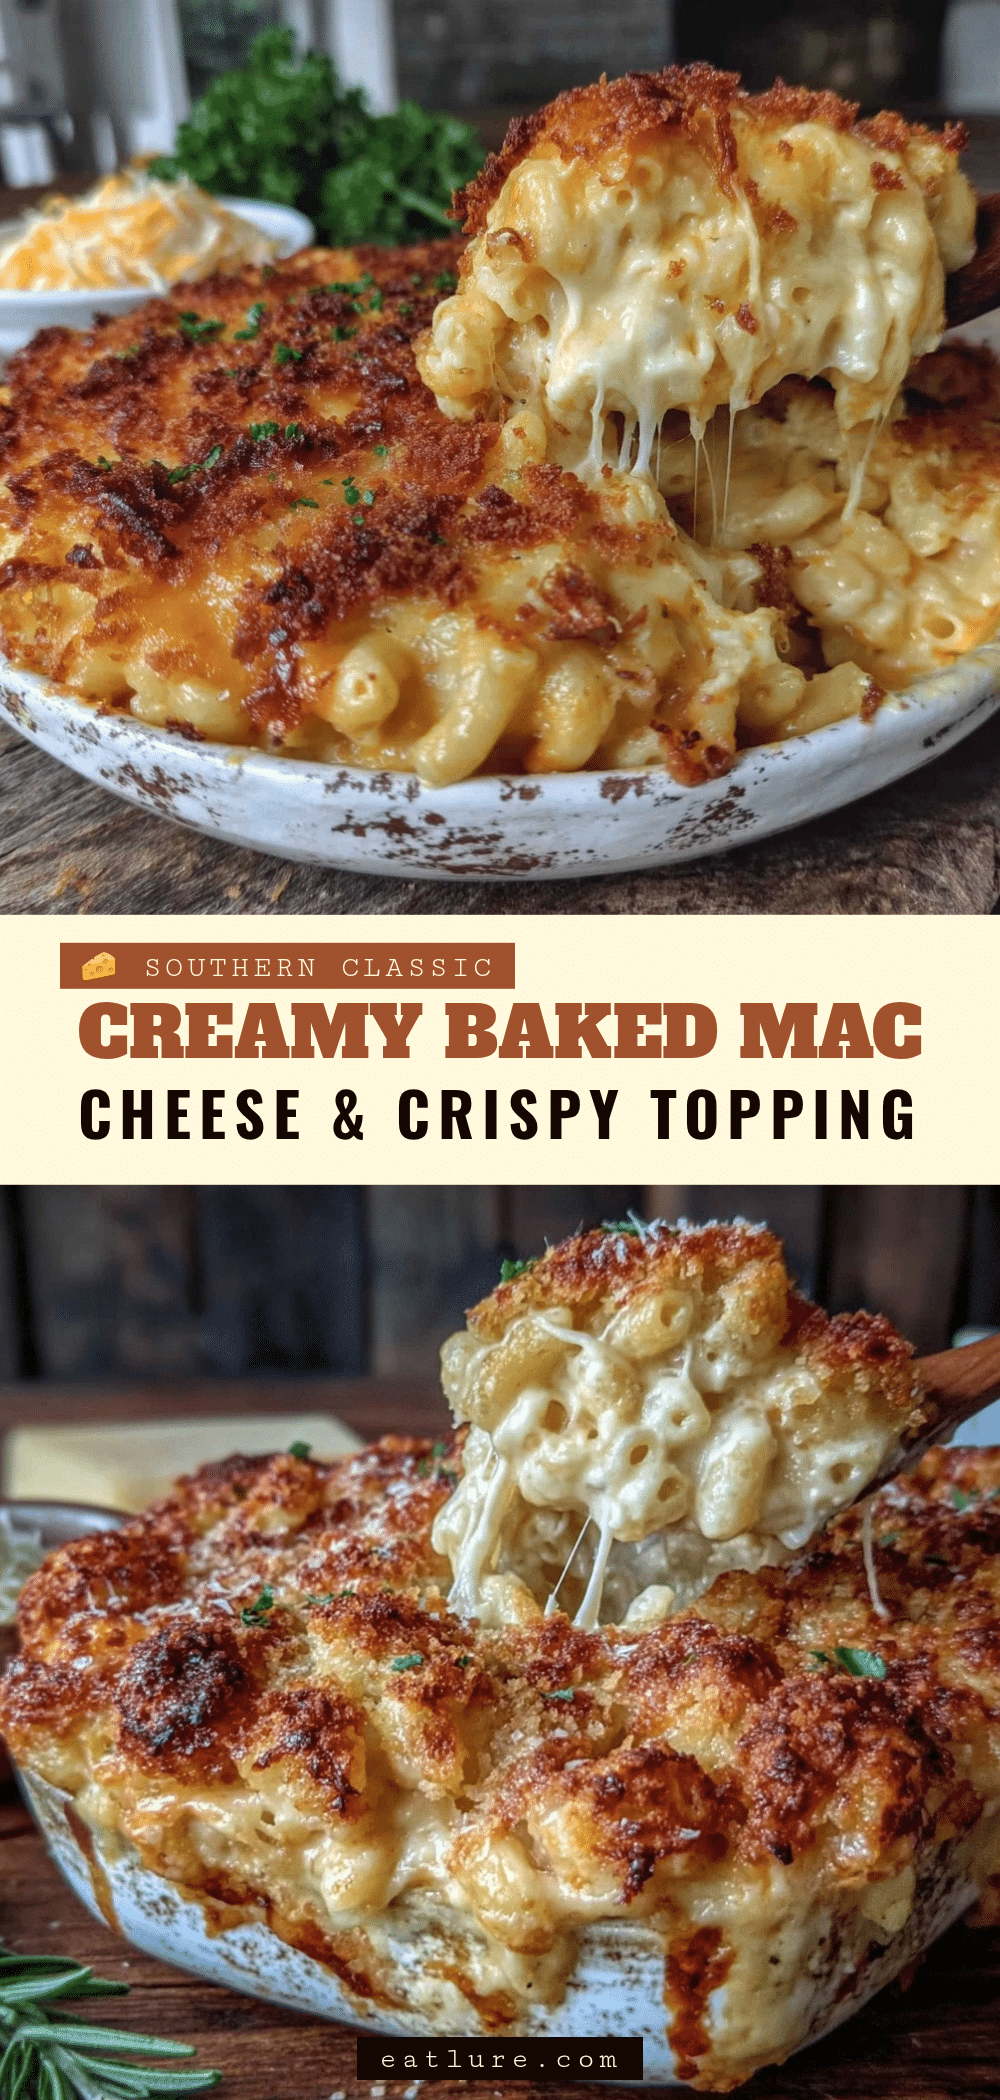

Creamy Southern Baked Mac: The Restaurant Secret
- Total Time: 65 minutes
- Yield: 8 servings 1x
Description
A rich, creamy baked mac and cheese featuring a roux-based béchamel enriched with egg yolks and a blend of sharp cheddar, Gruyère, and Monterey Jack. Topped with crispy panko breadcrumbs for the perfect texture contrast.
Ingredients
- 1 pound elbow macaroni
- 1 cup unsalted butter (divided)
- 1 cup all-purpose flour
- 4 cups whole milk, warmed
- 1 teaspoon dry mustard powder
- 1/2 teaspoon garlic powder
- 1/2 teaspoon smoked paprika
- Salt and black pepper to taste
- 3 cups sharp cheddar cheese, freshly grated
- 1 cup Gruyère cheese, freshly grated
- 1 cup Monterey Jack cheese, freshly grated
- 3 large egg yolks
- 1 cup panko breadcrumbs
- 4 tablespoons melted butter (for topping)
- 2 tablespoons grated Parmesan cheese (for topping)
Instructions
- Preheat oven to 350°F (175°C). Grease a 9×13 inch baking dish with butter.
- Boil elbow macaroni in generously salted water for 1-2 minutes less than package directions until al dente. Drain, rinse briefly with warm water, toss with a little oil, and set aside.
- In a medium saucepan, melt 1 cup of butter over medium heat. Add flour and whisk constantly for 2-3 minutes until the mixture is light blonde and nutty.
- Slowly pour in warm milk, whisking vigorously to prevent lumps. Cook for 5-7 minutes until the sauce thickens enough to coat the back of a spoon. Remove from heat.
- Stir in dry mustard powder, garlic powder, smoked paprika, salt, and pepper.
- In a small bowl, whisk egg yolks. Temper by slowly whisking in 1 cup of the hot béchamel. Pour the yolk mixture back into the saucepan and cook on low heat for 1 minute to thicken slightly. Do not boil.
- Remove from heat and stir in the grated cheddar, Gruyère, and Monterey Jack until fully melted and smooth.
- Combine the cooked pasta with the cheese sauce, ensuring every noodle is coated. Pour into the prepared baking dish.
- Mix panko breadcrumbs, 4 tablespoons melted butter, and Parmesan cheese. Sprinkle evenly over the mac and cheese.
- Bake for 25-30 minutes until the top is golden brown and the sauce is bubbling.
- Let rest for 10-15 minutes before serving to allow the sauce to set.
Notes
Grate your own cheese to avoid anti-caking agents that prevent smooth melting. Undercook the pasta slightly as it will continue to cook in the oven. Rest the dish for 10-15 minutes after baking to allow the sauce to set for cleaner scoops.
- Prep Time: 20 minutes
- Cook Time: 45 minutes
- Category: Side Dish
- Cuisine: Southern
Nutrition
- Serving Size: 1.5 cups
- Calories: 700
- Sugar: 6
- Sodium: 800
- Fat: 45
- Saturated Fat: 25
- Carbohydrates: 40
- Fiber: 2
- Protein: 25
Keywords: mac and cheese, baked mac, southern comfort food, creamy mac and cheese, restaurant style mac and cheese, cheddar cheese, panko topping


