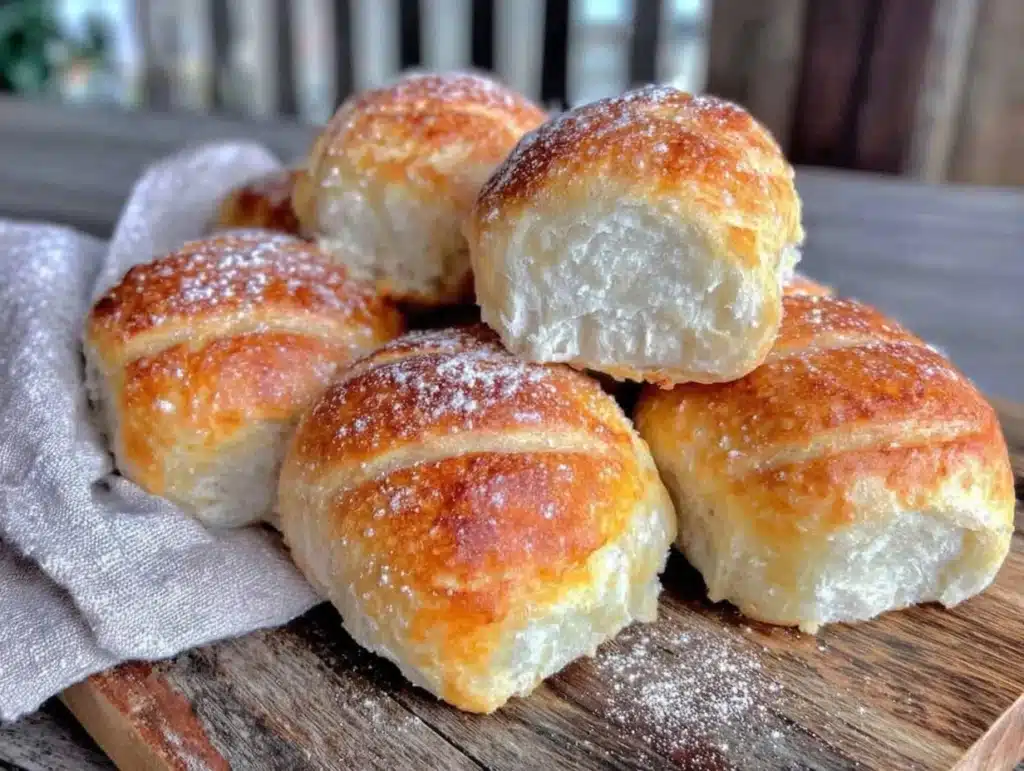
The smell of yeast blooming in warm milk is basically the perfume of comfort food. It hits you before the oven even preheats, pulling you out of your day and into the kitchen. I still remember the first time I tried to replicate those massive, pillowy hoagie rolls from my favorite Italian deli. You know the ones—the ones that arrive at your table with a basket of olive oil that tastes like liquid gold. I was twenty-two, living in a tiny apartment, and I thought I could just wing it with store-bought dough. Spoiler alert: I couldn’t.
That first batch was dense, flat, and honestly, a bit of a disaster. But it taught me something crucial. Those restaurant rolls aren’t just bread; they’re engineered. They are soft enough to tear apart with your hands but sturdy enough to hold a mountain of meats and cheeses without falling apart. That failure sparked a two-year quest to get the texture right. I tested dozens of recipes, burned more flour than I care to admit, and finally cracked the code.
Now, I make these restaurant style hoagie rolls almost every weekend. They are the backbone of my Friday night dinner ritual, which usually involves a platter of Italian cold cuts and a pot of homemade marinara. If you are tired of buying sad, squishy supermarket bread that tears when you look at it wrong, this is the recipe for you. It’s not just about making bread; it’s about bringing that authentic deli experience home. And honestly? Once you taste these, you’ll never go back to the plastic-wrapped kind again.
Why You’ll Love This Recipe
Let’s be real for a second. Making bread from scratch can feel intimidating. But this recipe for restaurant style hoagie rolls is different. It’s forgiving, it’s reliable, and the payoff is absolutely worth the hour you’ll spend in the kitchen. I’ve tested this method with everything from active dry yeast to instant yeast, and it consistently delivers that signature airy crumb that restaurants are famous for.
- Unbeatable Texture: These rolls have a shiny, golden crust that cracks slightly when you bite into them, revealing a soft, cloud-like interior. It’s the kind of texture that makes you close your eyes and just savor it.
- Perfect for Sandwiches: Unlike standard dinner rolls, these are shaped to hold substantial fillings. They are sturdy enough for a loaded Italian sub but soft enough that you won’t struggle to chew through a thick layer of salami and provolone.
- Make-Ahead Friendly: You can mix the dough, let it rise in the fridge overnight, and bake them fresh in the morning. This is a game-changer for busy weeknights when you want a hot, homemade meal without the stress.
- Freezer Safe: These rolls freeze beautifully. I often bake a double batch and freeze half. When you need a quick lunch, you can pull one out, let it thaw, and it tastes just as good as fresh.
What really sets this apart is the technique. We use a combination of a pre-dough (similar to a poolish) and a specific kneading method that develops gluten without overworking the dough. This results in rolls that are incredibly light. I’ve served these to friends who are professional chefs, and they always ask for the recipe. It’s not just comfort food; it’s a confidence booster. You’ll walk away from your kitchen feeling like you’ve mastered a classic culinary skill.
What Ingredients You Will Need
The beauty of this recipe lies in its simplicity. You don’t need fancy flours or obscure ingredients. The magic happens in the ratios and the technique. Most of these items are likely already in your pantry. The goal here is to create a dough that is rich enough to be tender but strong enough to hold its shape. We rely on a few key components to get that restaurant-quality finish.
For the Dough
- Bread Flour: 500g (about 4 cups). This is non-negotiable. Bread flour has a higher protein content than all-purpose flour, which gives the rolls their chew and structure. I prefer King Arthur Brand because it’s consistent.
- Warm Water: 300ml (1 1/4 cups). It needs to be around 110°F (43°C). Too hot, and you kill the yeast. Too cold, and it won’t activate.
- Instant Yeast: 7g (1 packet or 2 1/4 teaspoons). Instant yeast works faster and doesn’t need to be proofed first, making this recipe more straightforward.
- Sugar: 30g (2 tablespoons). This feeds the yeast and helps with browning. You can use white sugar or honey for a slightly deeper flavor.
- Salt: 10g (1 1/2 teaspoons). Essential for flavor and strengthening the gluten network.
- Unsalted Butter: 30g (2 tablespoons), softened. This adds richness and tenderizes the crumb.
- Egg: 1 large egg, room temperature. This adds structure and helps with the golden color.
- Milk Powder (Optional but recommended): 2 tablespoons. This is a secret restaurant trick. It enhances the milky flavor and improves the softness without adding extra liquid.
For the Finish
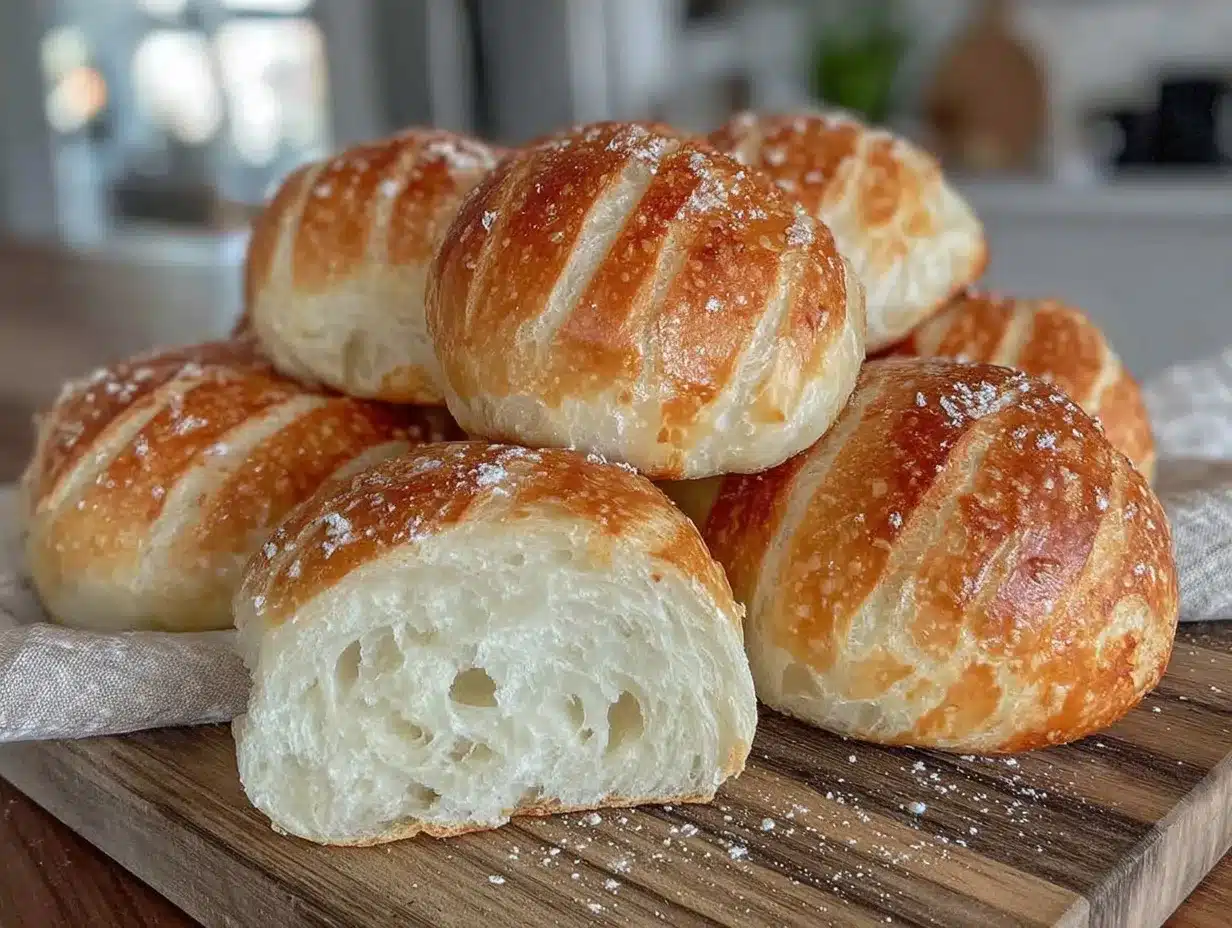
- Egg Wash: 1 egg beaten with 1 tablespoon of water. This creates that shiny, professional-looking crust.
- Sesame Seeds or Poppy Seeds: For that classic deli look (optional).
- Garlic Powder: A light sprinkle on top for extra aroma.
If you don’t have milk powder, don’t worry. The recipe will still work, but the rolls might be slightly less tender. For the butter, make sure it’s softened but not melted. If you use melted butter, the dough will be greasy and won’t rise properly. And please, do not skip the bread flour. All-purpose flour will make these rolls more like biscuits than hoagie rolls.
Equipment Needed
You don’t need a fancy stand mixer to make these, but it does help. A heavy-duty stand mixer with a dough hook is ideal because it kneads the dough evenly without tiring your arms. However, a strong pair of arms works just fine if you are willing to put in the elbow grease.
- Stand Mixer: Highly recommended for consistent results. If you don’t have one, use a large bowl and a wooden spoon, then finish by hand.
- Digital Kitchen Scale: This is crucial. Baking is chemistry, and weighing your flour is the only way to get accurate measurements. Cup measurements can vary wildly depending on how you scoop.
- Instant-Read Thermometer: To check the water temperature and the internal temperature of the baked rolls.
- Baking Sheets: Line them with parchment paper for easy cleanup and even baking.
- Plastic Wrap or Damp Towel: To cover the dough while it rises and prevents it from drying out.
- Pastry Brush: For applying the egg wash smoothly.
If you’re on a budget, a basic hand mixer with dough hooks can work, but it takes longer. The most important tool is the scale. I’ve seen too many people ruin good recipes because they packed their flour down in the cup. Just weigh it. It’s easier and more reliable.
Preparation Method
Making these restaurant style hoagie rolls is a process, but it’s straightforward if you follow the steps carefully. The key is patience. Let the dough do its thing, and don’t rush the rising stages.
- Activate the Yeast (Optional but Safe): Even with instant yeast, I like to check my water temperature. Mix the warm water (110°F/43°C) and sugar in the bowl of your stand mixer. Sprinkle the yeast on top and let it sit for 5 minutes. If it gets foamy, you’re good to go. If not, your yeast might be old, and you should start over.
- Mix the Dough: Add the flour, salt, and milk powder to the yeast mixture. Attach the dough hook and mix on low speed for 2 minutes. The mixture will look shaggy and rough. This is normal.
- Knead the Dough: Increase the speed to medium-low and knead for 5 minutes. The dough will start to come together into a ball. It will look sticky and messy. Resist the urge to add more flour. This stickiness is necessary for a soft roll.
- Add Butter and Egg: With the mixer running on low, gradually add the softened butter and the beaten egg. Knead for another 5-7 minutes. The dough will transform from sticky to smooth and elastic. It should pass the “windowpane test.” Tear off a small piece of dough and stretch it thin. If it stretches without tearing, it’s ready.
- First Rise: Lightly oil a large bowl. Place the dough inside and turn it once to coat it in oil. Cover with plastic wrap or a damp towel. Let it rise in a warm, draft-free spot for 1 to 1.5 hours, or until doubled in size. This usually takes about 60 minutes in a standard kitchen.
- Shape the Rolls: Punch down the dough to release air. Turn it out onto a lightly floured surface. Divide the dough into 8 equal pieces (about 110g each). Roll each piece into a smooth oval or cylinder shape. Place them on baking sheets lined with parchment paper, leaving about 2 inches of space between each roll. They should be touching or almost touching. This helps them rise up rather than out.
- Second Rise: Cover the shaped rolls loosely with plastic wrap or a towel. Let them rise again for 30-45 minutes. They should look puffy and jiggly when you gently shake the pan.
- Preheat and Bake: Preheat your oven to 375°F (190°C). Brush the tops generously with the egg wash. Sprinkle with sesame seeds or garlic powder if desired. Bake for 20-25 minutes, or until the internal temperature reaches 190°F (88°C) and the tops are deep golden brown.
- Cool: Remove from the oven and brush immediately with melted butter if you want a softer crust. Let them cool on a wire rack for at least 20 minutes before slicing. This is the hardest part, but slicing hot bread makes it gummy.
How do I know when the dough is ready?
The windowpane test is your best friend. Take a small piece of dough and gently stretch it between your fingers. If it forms a thin, translucent membrane that doesn’t tear, the gluten is developed enough. If it tears immediately, keep kneading for another 2-3 minutes.
Cooking Tips & Techniques
I’ve made these rolls so many times that I’ve learned a few tricks along the way. The difference between a good roll and a great one often comes down to small details.
Temperature Control: Yeast is sensitive. If your kitchen is cold, the first rise might take longer. If it’s hot, it might go too fast. The ideal rising temperature is around 75-78°F (24-26°C). If your kitchen is chilly, you can rise the dough in the oven with the light on. The bulb provides just enough warmth. But watch it! If the oven gets too hot, you’ll kill the yeast.
Don’t Overbake: This is the most common mistake. Hoagie rolls should be golden brown, not dark brown. If they look dark, they will be dry and tough. Keep an eye on them after 15 minutes. If the tops are browning too quickly, tent them with aluminum foil.
The Steam Trick: For a shinier crust, you can create steam in the oven. Place a pan of hot water on the bottom rack while the rolls bake. The steam helps the dough expand before the crust sets, giving you that professional bakery look. I don’t always do this, but when I do, the difference is noticeable.
Handling Sticky Dough: If you are kneading by hand, your hands will get sticky. Don’t add more flour! Just wet your hands with water. The water prevents the dough from sticking to your skin without altering the hydration of the dough. This is a pro tip that saves the texture.
Shape Consistency: When shaping the rolls, try to make them all the same size. This ensures they bake evenly. If one is much larger, it will overcook while the smaller ones are still underdone. Use your kitchen scale to divide the dough initially, then eyeball the shaping.
Variations & Adaptations
While the classic white hoagie roll is my go-to, this dough is versatile. Here are a few ways to mix it up.
Garlic Herb Rolls: Add 1 teaspoon of dried Italian herbs and 1/2 teaspoon of garlic powder to the dry ingredients before mixing. Brush with garlic butter after baking. These are incredible with pasta.
Whole Wheat Hoagie Rolls: Substitute half of the bread flour with whole wheat flour. The rolls will be denser and nuttier, but still delicious. You might need to add an extra tablespoon of water since whole wheat absorbs more liquid.
Seeded Rolls: Press a mix of sesame, poppy, and sunflower seeds into the top of the rolls before baking. This adds a nice crunch and visual appeal.
Gluten-Free Option: You can use a 1:1 gluten-free flour blend that contains xanthan gum. However, the texture will be different. GF dough is usually stickier and doesn’t rise as high. You may need to add an extra egg to help with structure.
Sweet Variation: Increase the sugar to 50g and add a teaspoon of cinnamon. These make excellent dinner rolls for dessert or breakfast.
I once tried adding grated Parmesan cheese to the dough. It was good, but it made the dough a bit heavy. I prefer to keep the cheese for the filling. The clean, yeasty flavor of the roll really lets the sandwich ingredients shine.
Serving & Storage Suggestions
These rolls are best served warm, but they are delicious at room temperature too. Slice them horizontally with a serrated bread knife. Be gentle—don’t saw back and forth. Let the teeth of the knife do the work.
Serving Ideas: Obviously, they are perfect for Italian subs. Load them up with capicola, salami, ham, provolone, lettuce, tomatoes, and my famous Italian dressing. But they are also great for chicken salad sandwiches or even just butter and jam for breakfast.
Storage: Store leftover rolls in an airtight container or a plastic bag at room temperature for up to 2 days. They will stay soft for a day or two, but then they will start to stale. Do not refrigerate them. The fridge accelerates staling.
Freezing: These freeze beautifully. Once completely cooled, wrap each roll individually in plastic wrap, then place them in a freezer bag. They will last for up to 3 months. To thaw, leave them on the counter for a few hours or microwave for 20 seconds.
Reheating: To refresh stale rolls, sprinkle them with a little water and warm them in the oven at 350°F (175°C) for 5-7 minutes. This revives the crust and softens the interior. They will taste almost fresh again.
Nutritional Information & Benefits
While these are indulgent, they are made with simple, wholesome ingredients. Here is an approximate nutritional breakdown per roll:
- Calories: 220
- Carbohydrates: 40g
- Protein: 7g
- Fat: 3g
- Fiber: 2g
The bread flour provides a good source of complex carbohydrates for energy. The egg adds protein and essential vitamins like B12. While they are not a low-carb option, they are a great source of fuel for active days. I usually enjoy one or two rolls with a large salad to balance the meal. They are a comforting treat, but not something I eat every single day. Moderation is key, but when you do make them, make them count.
Conclusion
Making restaurant style hoagie rolls at home is one of those culinary achievements that feels huge. You start with flour, water, and yeast, and you end with something that rivals the best delis in town. It’s not just about the taste; it’s about the pride of creating something from scratch. These rolls have become a staple in my kitchen, and I hope they become a staple in yours too.
I encourage you to try this recipe. Don’t be afraid of the rising times. Embrace the process. And when you take that first bite, tear off a piece, dip it in some olive oil, and smile. You did that. If you have any questions or adjustments you made, please share them in the comments below. I love hearing how others adapt their recipes. Happy baking, and enjoy every crumb!
Frequently Asked Questions
Can I use all-purpose flour instead of bread flour?
You can, but the texture will be different. All-purpose flour has less protein, so the rolls will be softer but less chewy. They might also be flatter. For the best “hoagie” texture, bread flour is highly recommended.
Why did my rolls turn out dense?
This usually happens if the dough didn’t rise enough or if you used too much flour while shaping. Make sure your yeast is active and your water is warm, not hot. Also, avoid adding extra flour to sticky dough; wet your hands instead.
Can I make the dough ahead of time?
Yes! After the first rise, you can punch down the dough, shape the rolls, and let them rise in the fridge overnight. In the morning, take them out and let them come to room temperature and finish rising while your oven preheats. This is great for breakfast sandwiches.
How do I keep the rolls soft?
Brushing them with melted butter immediately after baking helps keep the crust soft. Also, storing them in an airtight container prevents them from drying out. Avoid refrigerating them, as this makes them stale faster.
Can I freeze the dough instead of the baked rolls?
Yes, you can freeze the shaped rolls after the second rise. Let them thaw on the counter, then bake as directed. The texture might be slightly less airy than fresh-baked, but it’s still very good.
Pin This Recipe!
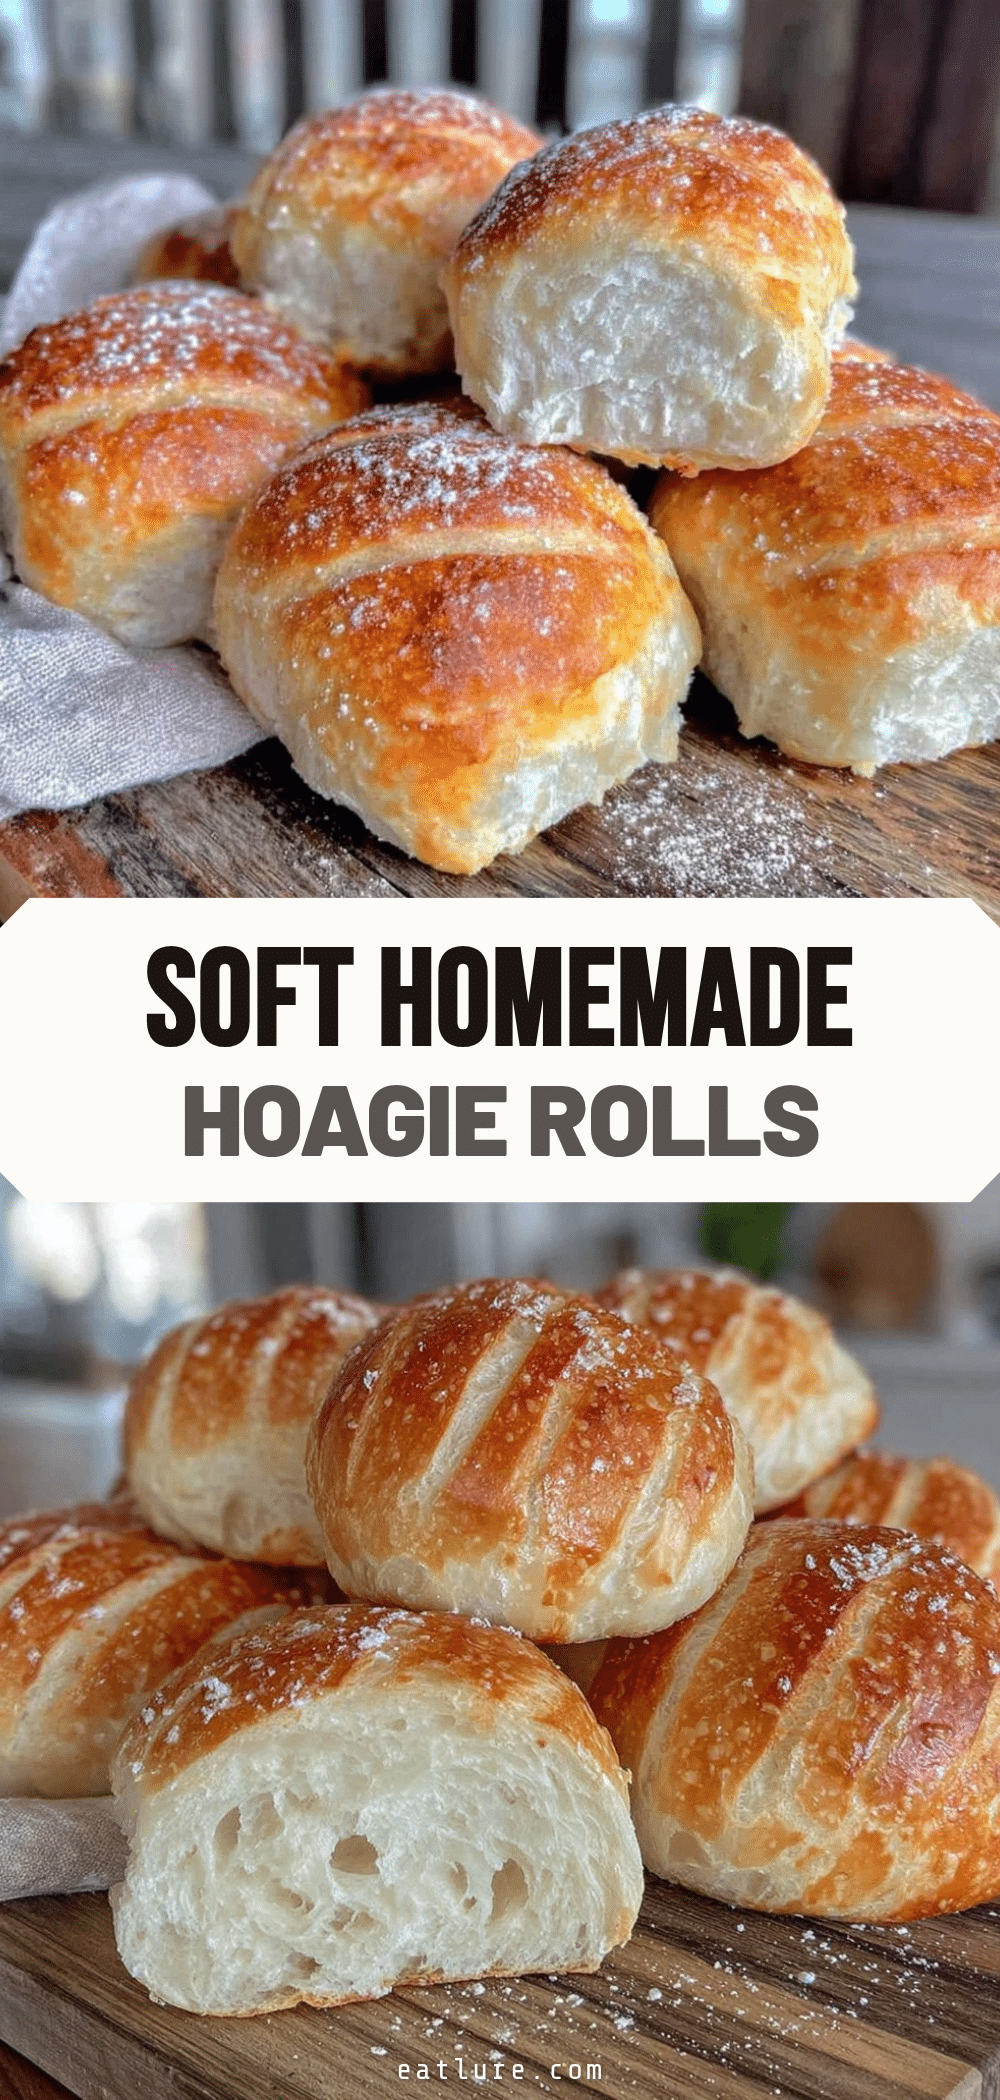

Restaurant Style Hoagie Rolls: Best Copycat Recipe
- Total Time: 1 hour 55 minutes
- Yield: 8 servings 1x
Description
These homemade hoagie rolls replicate the soft, pillowy texture and sturdy structure of authentic Italian deli rolls. Perfect for sandwiches, they feature a shiny golden crust and an airy interior.
Ingredients
- 500g (about 4 cups) Bread Flour
- 300ml (1 1/4 cups) Warm Water (110°F/43°C)
- 7g (1 packet or 2 1/4 teaspoons) Instant Yeast
- 30g (2 tablespoons) Sugar
- 10g (1 1/2 teaspoons) Salt
- 30g (2 tablespoons) Unsalted Butter, softened
- 1 large Egg, room temperature
- 2 tablespoons Milk Powder (optional but recommended)
- 1 Egg beaten with 1 tablespoon water (for egg wash)
- Sesame Seeds or Poppy Seeds (optional)
- Garlic Powder (optional)
Instructions
- Mix warm water and sugar in the bowl of a stand mixer. Sprinkle yeast on top and let sit for 5 minutes until foamy.
- Add flour, salt, and milk powder to the yeast mixture. Mix on low speed for 2 minutes until shaggy.
- Knead on medium-low speed for 5 minutes until the dough forms a ball. It will be sticky.
- With mixer on low, gradually add softened butter and beaten egg. Knead for another 5-7 minutes until smooth and elastic, passing the windowpane test.
- Place dough in a lightly oiled bowl, cover, and let rise in a warm spot for 1 to 1.5 hours until doubled in size.
- Punch down dough and divide into 8 equal pieces (approx. 110g each). Shape into smooth ovals or cylinders.
- Place rolls on parchment-lined baking sheets, touching or nearly touching. Cover and let rise again for 30-45 minutes until puffy.
- Preheat oven to 375°F (190°C). Brush rolls with egg wash and sprinkle with seeds or garlic powder.
- Bake for 20-25 minutes until internal temperature reaches 190°F (88°C) and tops are deep golden brown.
- Remove from oven and brush immediately with melted butter for a softer crust. Cool on a wire rack for at least 20 minutes before slicing.
Notes
Use bread flour for proper chew and structure; all-purpose flour will result in biscuit-like texture. Do not add extra flour if dough is sticky; wet your hands instead. Ensure water is not too hot to avoid killing the yeast. Rolls freeze well for up to 3 months.
- Prep Time: 1 hour 30 minutes
- Cook Time: 25 minutes
- Category: Bread
- Cuisine: Italian
Nutrition
- Serving Size: 1 roll
- Calories: 220
- Sugar: 4
- Sodium: 350
- Fat: 3
- Saturated Fat: 1.5
- Carbohydrates: 40
- Fiber: 2
- Protein: 7
Keywords: hoagie rolls, Italian bread, sandwich rolls, homemade bread, copycat recipe, deli rolls, yeast bread


