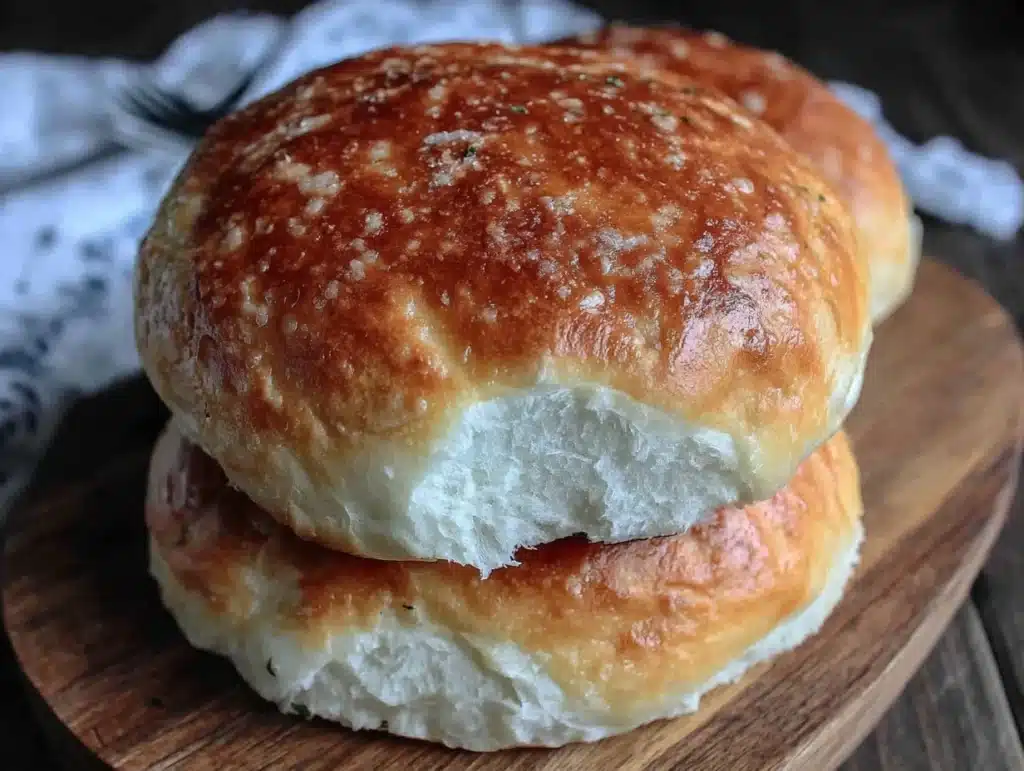
Let’s be honest for a second. There is nothing worse than biting into a gourmet, juicy, smoky burger only to have it fall apart because the bun is dry, dense, or just plain sad. I’ve been there. I’ve stood over my grill holding a masterpiece of a patty, only to realize I bought those sad, plastic-wrapped supermarket buns that taste like compressed cardboard. It’s a tragedy, really. That’s why I started making my own. It started years ago during a summer BBQ where I decided to try a recipe that promised “cloud-like” softness. I was skeptical, to say the least. But one bite changed everything. These homemade hamburger buns are fluffy, slightly sweet, and hold together just enough to contain the chaos of a loaded burger without disintegrating into crumbs.
There is something deeply satisfying about pulling a tray of golden, pillowy buns out of the oven. The smell alone is worth the effort. Honestly, the aroma of baking yeast and butter fills the house and has everyone wandering into the kitchen before the patties are even cooked. I’ve tested this recipe dozens of times, tweaking the hydration and proofing times, and I can confidently say this is the version that outdoes the original store-bought options. It’s not just about convenience; it’s about quality. When you make these, you control the ingredients. No preservatives, no weird chemicals, just simple, wholesome food that tastes like it came from a high-end burger joint. Plus, they freeze beautifully, so you can always have fresh buns on hand for impromptu cookouts.
I remember the first time I served these to my family. My husband took one bite and literally closed his eyes. He didn’t say anything for a full minute. Then he just said, “Okay, we’re never buying store-bought again.” That’s the power of a good bun. It transforms the entire meal. Whether you are a seasoned home cook or a total beginner, this recipe is forgiving and reliable. You don’t need fancy equipment or years of experience. Just a little patience and some warm water. Once you taste the difference, you’ll wonder why you ever settled for anything else. These buns are the secret weapon in your burger arsenal, and they are easier to make than you think.
Why You’ll Love This Recipe
After testing this homemade hamburger bun recipe over a dozen times, I can tell you it’s the real deal. It’s not just another bread recipe; it’s a game-changer for your backyard BBQs. Here is why this version stands out from the crowd:
- Incredibly Soft Texture: These buns are light as air. The milk bath technique creates a tender crumb that melts in your mouth, similar to the best burger joints, but with a homemade touch that you can’t get from a package.
- Perfect Structure: One of the biggest issues with homemade buns is that they can be too dense or too fragile. This recipe strikes the perfect balance. They are sturdy enough to hold a thick patty and all the fixings, but soft enough that you don’t struggle to bite through them.
- Simple Ingredients: You likely have everything in your pantry already. Flour, sugar, yeast, milk, butter, and eggs. No fancy flours or hard-to-find ingredients. It’s accessible cooking at its finest.
- Customizable Size: Want giant slider buns for party appetizers? Go for it. Need standard-sized buns for a family dinner? Easy. You control the size and shape, making them perfect for any occasion.
- Flavor Boost: A touch of sugar and a brush of melted butter give these buns a subtle sweetness and a rich, savory finish that complements beef, chicken, or veggie patties perfectly.
- Freezer Friendly: I make a double batch whenever I bake these. They freeze beautifully for up to three months, so you always have fresh buns ready to go. Just thaw them at room temperature or warm them briefly in the oven.
What makes this recipe truly special is the milk bath method. It sounds fancy, but it’s just boiling water and milk. You dip the shaped buns in this mixture before baking. This creates that signature shiny, golden crust you see at restaurants, while keeping the inside incredibly soft. It’s a small step that makes a huge difference. I’ve tried many variations, but this one is consistently the best. It’s reliable, delicious, and always gets compliments. Whether you are grilling burgers for the Fourth of July or just having a cozy weeknight dinner, these buns will elevate your meal. Trust me, once you try them, you won’t go back.
What Ingredients You Will Need
Making homemade hamburger buns is surprisingly simple, and the ingredient list is short and sweet. You don’t need a dozen items cluttering your counter. Here is what you need to make these golden, fluffy buns, along with some tips on choosing the best versions.
- Warm Water (1 ¼ cups / 300ml): This activates the yeast. Make sure it’s between 105°F and 115°F (40°C-46°C). Too hot, and you kill the yeast; too cold, and it won’t rise properly.
- Active Dry Yeast (2 ¼ teaspoons / 1 packet): This is the leavening agent. I prefer standard active dry yeast, but instant yeast works too. Just mix it directly with the flour if using instant.
- Granulated Sugar (¼ cup / 50g): Sugar feeds the yeast and adds a slight sweetness to the bun. It also helps with browning. You can reduce it slightly if you prefer a less sweet bun, but don’t skip it entirely.
- Whole Milk (1 cup / 240ml): Milk adds richness and tenderness. Using whole milk ensures the buns stay soft for days. You can use 2% if that’s all you have, but whole milk is best.
- Unsalted Butter (4 tablespoons / 57g): Butter adds flavor and helps tenderize the dough. Melted butter is mixed into the dough, and extra butter is used for brushing the tops after baking.
- Eggs (2 large): Eggs provide structure and richness. One egg goes into the dough, and the other is beaten with water for the milk bath. Room temperature eggs incorporate better.
- Bread Flour (3 ½ to 4 cups / 420g-480g): Bread flour has more protein than all-purpose flour, which creates a stronger gluten network. This gives the buns their chew and structure. I recommend King Arthur Bread Flour for consistent results.
- Salt (1 ½ teaspoons): Salt enhances flavor and controls yeast activity. Don’t skip this step, or the buns will taste bland.
For the milk bath, you will need 1 cup water and 1 cup milk combined in a saucepan. This mixture is brought to a boil and then cooled slightly before dipping the buns. It creates that shiny, professional-looking crust. For the egg wash, mix 1 beaten egg with 1 tablespoon of water. This ensures the wash spreads evenly and doesn’t make the buns too heavy. If you are dairy-free, you can substitute the milk and butter with coconut milk and coconut oil, though the texture will be slightly different. The key is to use high-quality ingredients. Fresh yeast makes a big difference, and good butter adds a depth of flavor that margarine just can’t match. Keep your ingredients at room temperature before starting, as this helps the dough rise more evenly.
Equipment Needed
You don’t need a fancy kitchen to make these buns. Here is what you’ll need to get started:
- Stand Mixer with Dough Hook: This is the easiest way to knead the dough. If you don’t have one, a large bowl and a wooden spoon will work, but it will take more arm strength.
- Measuring Cups and Spoons: Accurate measurements are crucial in bread making. I recommend using a kitchen scale for the flour for best results, but volume measurements work too if you spoon and level the flour.
- Instant Read Thermometer: This is helpful for checking the temperature of the water and milk. It ensures you don’t kill the yeast with heat.
- Baking Sheets: Line two large baking sheets with parchment paper. This prevents sticking and makes cleanup a breeze. Silicone baking mats are also a great reusable option.
- Small Saucepan: Needed for heating the milk and water for the milk bath.
- Clean Kitchen Towel: Use this to cover the dough while it rises. A damp towel can help keep the dough from drying out.
- Pastry Brush: For brushing the melted butter on the tops of the buns after baking.
If you don’t have a stand mixer, don’t worry. Kneading by hand is a great workout and helps you feel the dough’s texture. Just be prepared to spend about 10-15 minutes kneading. For the milk bath, a shallow dish or a large bowl works well for dipping the buns. Make sure you have enough space on your counter for the dough to rise. I usually clear off a large area and dust it with flour. This equipment is standard for most kitchens, so you should be all set to start baking.
Preparation Method
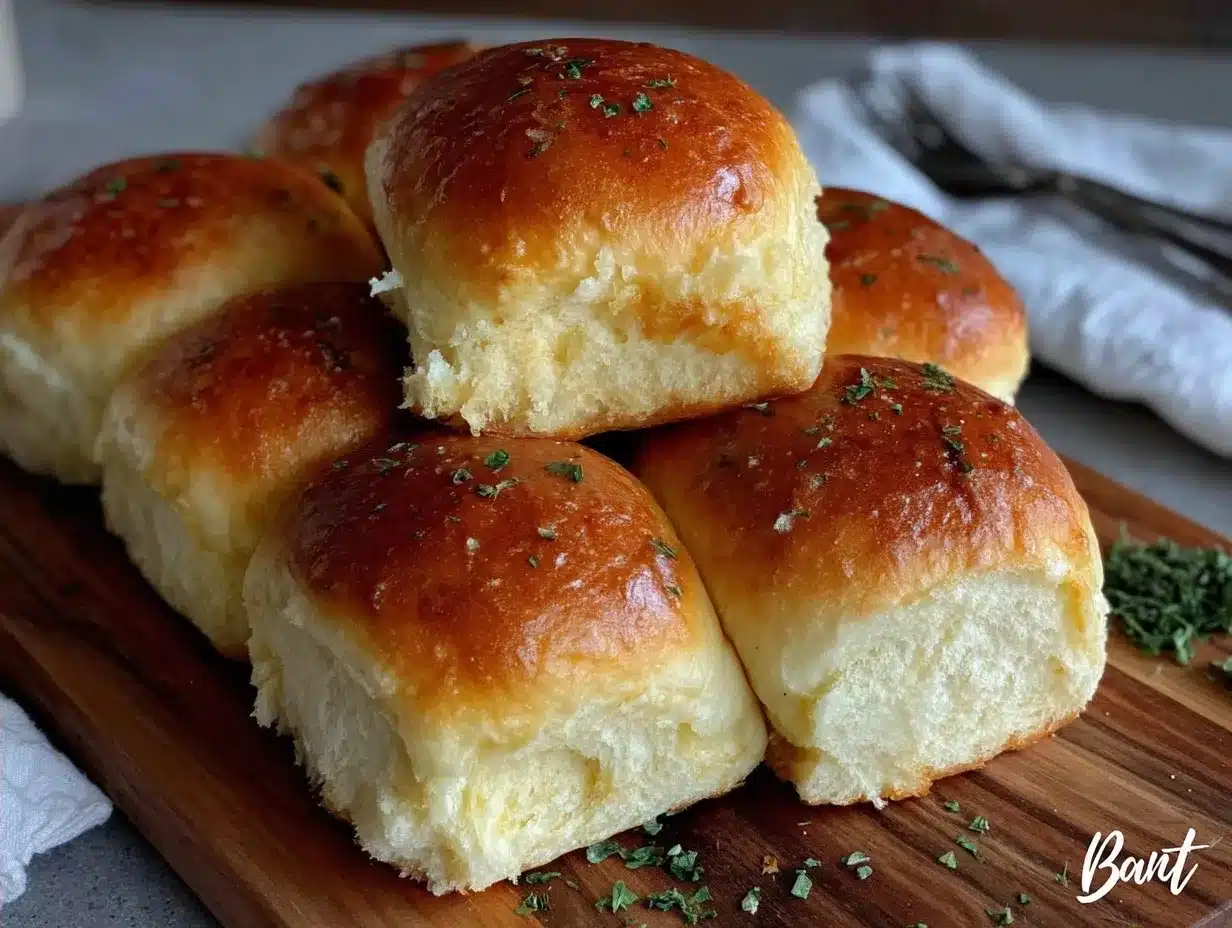
Let’s get into the nitty-gritty of making these buns. This process might seem long, but most of it is just waiting for the dough to rise. The active time is about 30 minutes. Here is how to make them step-by-step.
- Activate the Yeast: In the bowl of a stand mixer, combine the warm water, sugar, and yeast. Stir gently and let it sit for 5-10 minutes until it becomes foamy. This means the yeast is alive and ready to work. If it doesn’t foam, your yeast might be old, and you should start over.
- Mix the Dough: Add the melted butter, 1 egg, salt, and 3 ½ cups of bread flour to the yeast mixture. Attach the dough hook and mix on low speed for 2 minutes. Gradually add more flour, ½ cup at a time, until the dough pulls away from the sides of the bowl but is still slightly sticky. You may not need all the flour, so add it slowly.
- Knead the Dough: Increase the mixer speed to medium and knead for 5-7 minutes. The dough should be smooth, elastic, and spring back when poked. If kneading by hand, turn the dough onto a floured surface and push it away with the heel of your hand, folding it back over itself. Repeat for 10 minutes.
- First Rise: Lightly grease a large bowl with oil or cooking spray. Place the dough in the bowl and turn it once to coat. Cover with a damp towel or plastic wrap. Let it rise in a warm, draft-free place for 1-1.5 hours, or until doubled in size.
- Prepare the Milk Bath: While the dough rises, combine 1 cup of water and 1 cup of milk in a saucepan. Bring to a boil, then remove from heat and let it cool slightly. You want it hot but not scalding. This mixture will be used to dip the shaped buns.
- Shape the Buns: Punch down the risen dough to release air bubbles. Turn it out onto a lightly floured surface. Divide the dough into 8 equal pieces. Roll each piece into a smooth ball by tucking the edges underneath. Place them on the prepared baking sheets, leaving 2 inches of space between each bun.
- Second Rise: Cover the shaped buns loosely with a towel. Let them rise again for 30-45 minutes until they are puffy and nearly doubled. They should jiggly when you shake the pan.
- Milk Bath Dip: Preheat your oven to 375°F (190°C). Using a slotted spoon, gently dip each bun into the warm milk bath for 5 seconds on each side. Place them back on the baking sheets. This step is crucial for the shiny crust.
- Bake: Bake for 15-18 minutes until the buns are golden brown and sound hollow when tapped on the bottom. Rotate the pans halfway through for even baking.
- Butter Brush: Immediately after removing from the oven, brush the tops with melted butter. This adds flavor and keeps the crust soft. Let them cool on a wire rack for at least 15 minutes before slicing.
Pay attention to the dough’s texture during kneading. It should be soft but not sticky. If it sticks to your hands, add a little more flour. If it’s too dry, add a teaspoon of water. The second rise is also important; don’t rush it. The buns need time to expand so they are light and airy. If you bake them too soon, they will be dense. Trust the process, and you’ll be rewarded with perfect buns.
Cooking Tips & Techniques
After making these buns many times, I’ve learned a few tricks to ensure success every time. Here are some professional tips to help you avoid common pitfalls.
- Watch the Yeast Temperature: This is the most common mistake. If the water is too hot, it kills the yeast. If it’s too cold, the yeast won’t activate. Use a thermometer to be sure. Aim for 105°F-115°F.
- Don’t Over-flour: It’s tempting to add more flour if the dough is sticky, but this can make the buns dense. The dough should be tacky, like a Post-it note. If it sticks to your hands, wet them slightly instead of adding more flour.
- Create a Warm Rising Spot: Yeast loves warmth. Turn off your oven and place the covered dough inside. The residual heat creates a perfect rising environment. You can also place the bowl near a sunny window or on top of the refrigerator.
- Be Gentle with Shaping: When shaping the balls, try not to deflate the dough too much. You want to keep as much air in the dough as possible for a light texture. Tuck the edges underneath to create surface tension.
- Test for Doneness: The internal temperature of the buns should reach 190°F-200°F (88°C-93°C) when baked. If you don’t have a thermometer, tap the bottom. It should sound hollow. If it sounds dull, they need more time.
- Cool Completely: It’s hard to wait, but slicing warm buns can make them gummy. Let them cool on a wire rack to allow steam to escape. This ensures the crumb is set and the texture is right.
I once rushed the second rise because I was hungry. The buns came out dense and flat. Lesson learned! Patience is key in bread making. Also, if your kitchen is very cold, the rising process will take longer. Adjust your expectations accordingly. Don’t let the clock dictate the rise; let the dough tell you when it’s ready. It should be puffy and jiggle when you shake the pan. These tips have saved me from many baking disasters, and they will help you achieve restaurant-quality results at home.
Variations & Adaptations
While the classic bun is delicious, there are many ways to customize these to suit your taste. Here are a few ideas to try.
- Whole Wheat Buns: Substitute half of the bread flour with whole wheat flour. This adds a nutty flavor and more fiber. The buns will be slightly denser, but still soft.
- Garlic Butter Buns: Mix minced garlic and dried parsley into the melted butter before brushing the tops. This adds a savory kick that pairs well with cheeseburgers.
- Poppy Seed or Sesame Buns: Before dipping in the milk bath, sprinkle poppy seeds or sesame seeds on top of the buns. They will stick during the bath and add a nice crunch.
- Gluten-Free Option: Use a 1:1 gluten-free flour blend with xanthan gum. You may need to adjust the liquid content slightly, as GF flours absorb water differently. The texture will be more cake-like.
- Dairy-Free: Substitute milk with oat milk or almond milk, and use coconut oil instead of butter. The buns will still be soft and delicious.
I love making the garlic butter version for game day parties. The aroma is incredible, and they disappear fast. Another variation I tried was adding a little gruyere cheese to the dough. It was rich and savory, perfect for a club sandwich. Feel free to experiment with different seeds or herbs. The base recipe is very forgiving, so don’t be afraid to try new things. Just keep an eye on the dough consistency, as add-ins can affect hydration.
Serving & Storage Suggestions
These buns are best served fresh from the oven, but they store well too. Here is how to keep them at their peak.
- Serving: Serve warm with your favorite burger. They pair well with crispy fries, coleslaw, or a simple green salad. A glass of cold lemonade or iced tea is the perfect drink.
- Room Temperature: Store leftover buns in an airtight container or a bread bag at room temperature for up to 2 days. They will stay soft and fresh.
- Refrigerator: Avoid storing bread in the fridge, as it can make it go stale faster. If you must, keep them in a sealed bag for up to 3 days.
- Freezer: For longer storage, freeze the buns in a heavy-duty freezer bag for up to 3 months. Thaw at room temperature or warm in a 300°F oven for 5 minutes.
- Reheating: To refresh stale buns, sprinkle them with a little water and warm them in the oven for 5 minutes. This restores their softness.
I usually freeze half the batch after baking. It’s so convenient to have fresh buns ready for a last-minute dinner. When you thaw them, they taste almost as good as fresh. Just avoid microwaving them, as it can make them chewy. The oven method is best. These buns also make great sandwiches for lunch. Slice them in half and fill with turkey, ham, or veggie patties. They hold up well and add a homemade touch to your meals.
Nutritional Information & Benefits
Homemade buns allow you to control the nutritional content. Here is an approximate breakdown per bun:
- Calories: 180-200 kcal
- Carbohydrates: 35g
- Protein: 5g
- Fat: 3g
- Fiber: 2g
These buns are a good source of carbohydrates for energy. Using bread flour provides more protein than all-purpose flour. You can reduce the sugar or use honey for a natural sweetener. For a lower-calorie option, use whole wheat flour. These buns are free from preservatives, which is a big plus for health-conscious cooks. They are also a great way to introduce kids to baking. Let them help shape the dough, and they’ll be more likely to eat them. I love that I know exactly what is in these buns. No hidden additives or unnatural ingredients. Just simple, wholesome food that tastes great.
Conclusion
Making homemade hamburger buns is a rewarding experience that pays off in every bite. These buns are soft, flavorful, and sturdy enough to hold your favorite toppings. They are easier to make than you think, and the results are well worth the effort. I hope this recipe helps you create memorable meals with your family and friends. Don’t be afraid to customize them to suit your taste. Whether you add seeds, herbs, or cheese, these buns are a blank canvas for creativity. I’d love to hear how you enjoy them. Leave a comment below and let me know your favorite topping combo. Share your photos on social media and tag me. Happy baking!
FAQs
Can I use instant yeast instead of active dry yeast?
Yes, you can. Instant yeast can be mixed directly with the flour. You may not need to let it sit with the water and sugar first. The rising time might be slightly faster, so keep an eye on the dough.
Why are my homemade buns dense?
This usually happens if the dough is over-floured or if the yeast was inactive. Make sure your water temperature is correct and don’t add too much extra flour. Also, ensure the dough rises properly before baking.
How do I get shiny buns like from the store?
The milk bath is the secret. Dipping the shaped buns in the hot milk and water mixture before baking creates a glossy, golden crust. It’s a simple step that makes a huge difference.
Can I make these buns ahead of time?
Yes, you can shape the buns and let them rise in the fridge overnight. In the morning, take them out and let them come to room temperature before baking. This can help with flavor development.
What size should I make the buns?
For standard burgers, divide the dough into 8 equal pieces. For sliders, divide into 16. For larger, gourmet burgers, divide into 6. The size depends on your preference and the thickness of your patties.
Pin This Recipe!
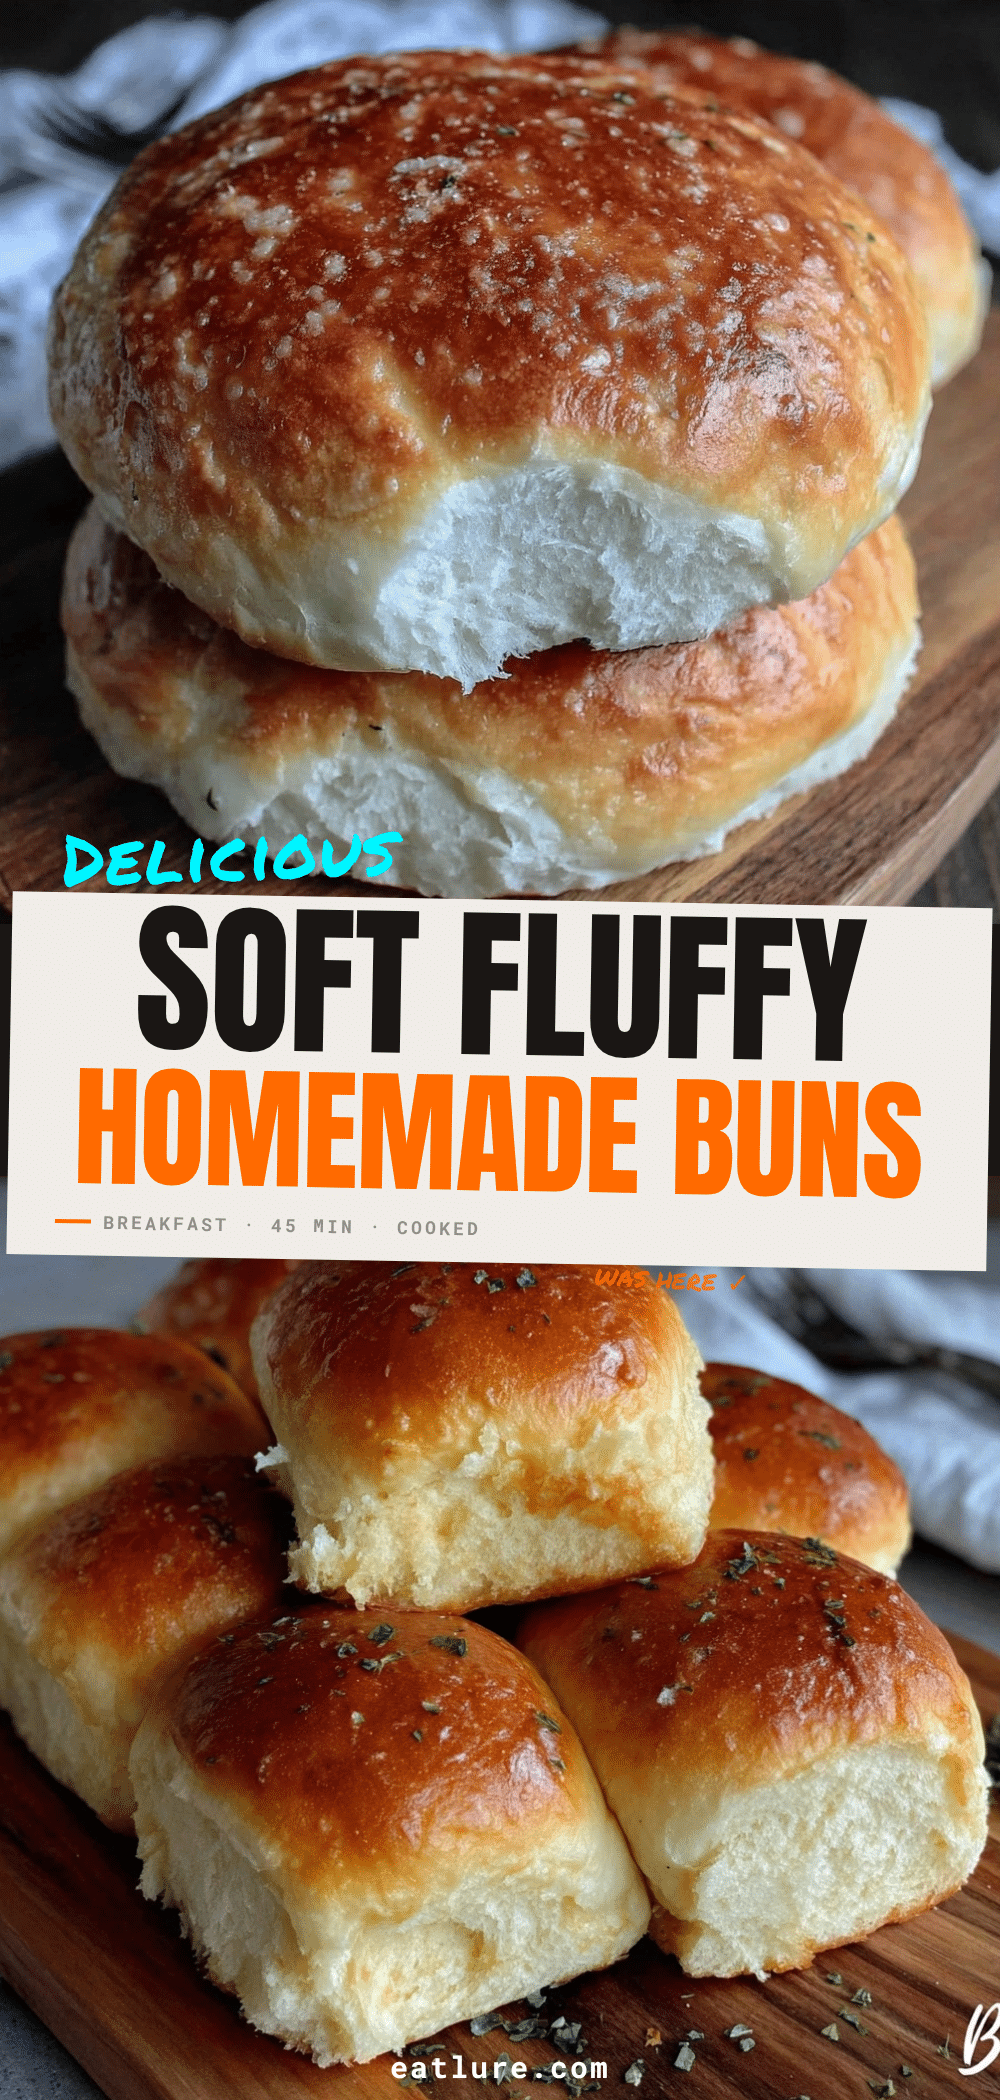

Homemade Hamburger Buns: Copycat That Outdoes The Original
- Total Time: 2 hours 30 minutes
- Yield: 8 servings 1x
Description
These homemade hamburger buns are fluffy, slightly sweet, and sturdy enough to hold loaded burgers without falling apart. Using a milk bath technique, they achieve a shiny, golden crust and a tender crumb that rivals high-end burger joints.
Ingredients
- 1 ¼ cups warm water (divided, 1 cup for milk bath)
- 2 ¼ teaspoons active dry yeast (or 1 packet)
- ¼ cup granulated sugar
- 1 cup whole milk (divided, 1 cup for milk bath)
- 4 tablespoons unsalted butter, melted (plus extra for brushing)
- 2 large eggs (1 for dough, 1 for egg wash/milk bath)
- 3 ½ to 4 cups bread flour
- 1 ½ teaspoons salt
Instructions
- Activate the yeast: In a stand mixer bowl, combine warm water (105°F-115°F), sugar, and yeast. Let sit for 5-10 minutes until foamy.
- Mix the dough: Add melted butter, 1 egg, salt, and 3 ½ cups of bread flour. Mix on low speed for 2 minutes. Gradually add remaining flour until dough pulls away from sides but remains slightly sticky.
- Knead the dough: Knead on medium speed for 5-7 minutes until smooth and elastic. If kneading by hand, knead for 10 minutes.
- First rise: Place dough in a greased bowl, cover, and let rise in a warm place for 1-1.5 hours until doubled in size.
- Prepare milk bath: While dough rises, bring 1 cup water and 1 cup milk to a boil in a saucepan, then remove from heat to cool slightly.
- Shape the buns: Punch down dough and divide into 8 equal pieces. Roll into smooth balls and place on parchment-lined baking sheets, leaving 2 inches of space.
- Second rise: Cover buns loosely and let rise for 30-45 minutes until puffy and nearly doubled.
- Milk bath dip: Preheat oven to 375°F (190°C). Dip each bun in the warm milk bath for 5 seconds per side using a slotted spoon.
- Bake: Bake for 15-18 minutes until golden brown and hollow when tapped. Rotate pans halfway through.
- Butter brush: Immediately after baking, brush tops with melted butter. Cool on a wire rack for at least 15 minutes before slicing.
Notes
Ensure water temperature is between 105°F and 115°F to activate yeast without killing it. Do not over-flour the dough; it should be tacky like a Post-it note. The milk bath is crucial for achieving a shiny, professional crust. Buns freeze well for up to 3 months.
- Prep Time: 30 minutes
- Cook Time: 15-18 minutes
- Category: Side Dish
- Cuisine: American
Nutrition
- Serving Size: 1 bun
- Calories: 190
- Sugar: 6
- Sodium: 250
- Fat: 3
- Saturated Fat: 1.5
- Carbohydrates: 35
- Fiber: 2
- Protein: 5
Keywords: homemade hamburger buns, burger buns, yeast bread, milk bath buns, copycat recipe, soft buns, baking


