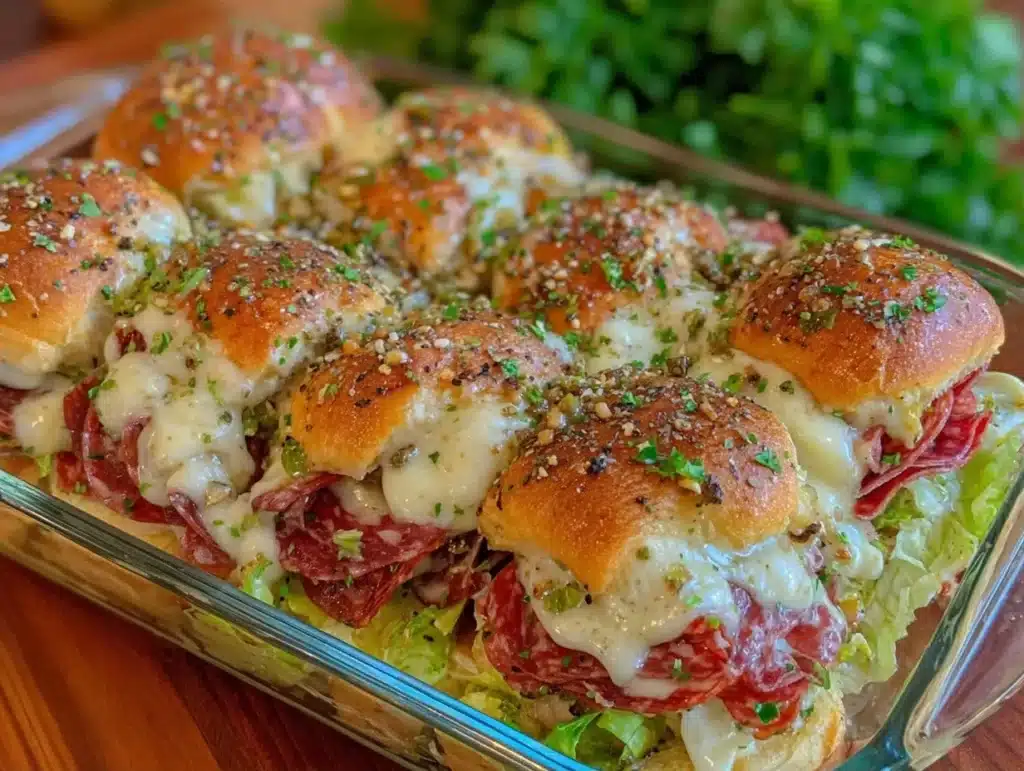
There is a specific kind of magic that happens when hot, melted mozzarella meets cool, creamy provolone on a soft, buttery slider bun. It’s not just lunch; it’s a moment of pure, unadulterated comfort that hits different on a rainy Tuesday evening. I remember the first time I truly nailed the Ultimate Classic Italian Sliders, I was hosting a last-minute game night for about twelve people. I had zero time to cook, but I had plenty of leftovers and a pantry full of staples. What started as a desperate attempt to feed a hungry crowd turned into the most requested dish at every gathering since.
Honestly, I’ve made these sliders probably fifty times now. They’ve been my go-to for bridal showers, tailgates, and quiet nights where I just want to eat something that tastes like a high-end Italian deli but costs a fraction of the price. The secret isn’t just in the ingredients—it’s in the precision. You know how some recipes say “bake until done”? That’s vague. I’ve learned that the difference between a soggy mess and a golden, crisp masterpiece is exactly thirty seconds in the oven and the precise temperature of your broiler.
These Ultimate Classic Italian Sliders are more than just quick bites. They represent that perfect balance of savory, tangy, and rich. Whether you’re a busy parent needing a win in under twenty minutes or a party host looking for a crowd-pleaser that requires zero stress, this recipe delivers. I’ve tested the cheese blends, the bread types, and the herb ratios so you don’t have to guess. Let’s face it, life is complicated enough. Your dinner should be simple, delicious, and absolutely perfect every single time.
Why You’ll Love This Recipe
After years of testing countless variations of sandwich recipes, I can confidently say that these sliders hit a sweet spot that most home cooks miss. It’s not just about throwing ingredients together; it’s about understanding how flavors interact under heat. I’ve spent countless evenings in my kitchen, tweaking ratios and burning batches (yes, I’ve been there), to find the exact method that yields a tender bun with a crispy, cheesy top. This isn’t just another sandwich recipe—it’s a refined technique that guarantees restaurant-quality results without the wait.
- Quick & Easy: You can have these from fridge to table in under 15 minutes. It’s the perfect solution for those chaotic weeknights when you’re hungry but don’t want to order takeout.
- Simple Ingredients: You likely have everything you need right now. No fancy grocery runs required. Just quality deli meats, good cheese, and a decent loaf of bread.
- Perfect for Entertaining: These are the ultimate finger food. They look elegant on a platter but are incredibly easy to assemble. Great for game days, holiday parties, or casual dinners.
- Crowd-Pleaser: Kids love the cheese pull, and adults appreciate the authentic Italian flavors. They disappear fast, which means you’ll need to make a double batch.
- Unbelievably Delicious: The combination of hot peppers, sharp provolone, and fresh basil creates a flavor profile that is complex yet comforting. It’s next-level comfort food.
What makes these different from the rest is the attention to detail. Most people just stack the ingredients and pop them in the oven. I recommend a specific layering technique that prevents the bread from getting soggy and ensures every bite has an even distribution of flavor. Plus, the addition of a quick garlic-herb butter brush adds a layer of richness that elevates the entire experience. It’s the kind of recipe that makes you close your eyes after the first bite and just enjoy the moment.
What Ingredients You Will Need
This recipe relies on high-quality, simple ingredients to deliver bold flavor and satisfying texture without the fuss. The beauty of the Ultimate Classic Italian Sliders lies in the synergy of classic deli staples. You don’t need gourmet supplies, but you do need to pay attention to quality. A cheap loaf of bread will fall apart, and low-quality cheese won’t melt properly. Here is what you need to get started.
- Hawaiian Sweet Rolls or Soft Italian Rolls: 12-24 individual rolls. I prefer Hawaiian rolls for their slight sweetness, which contrasts beautifully with the savory meats. If you want a more traditional taste, use soft Italian sub rolls. Avoid dense, crusty breads as they won’t toast evenly.
- Pepperoni Slices: 8 ounces. Look for dry-cured pepperoni if possible. It has a chewier texture and more intense flavor than the standard thin slices. It crisps up nicely in the oven.
- Capicola (Gabagool): 4 ounces. This cured pork shoulder adds a spicy, garlicky depth that pepperoni alone can’t provide. It’s a non-negotiable ingredient for authentic Italian flavor.
- Ham: 4 ounces. Use a high-quality honey ham or Virginia ham. It adds a mild, salty element that balances the spice of the capicola.
- Mozzarella Cheese: 8 ounces, sliced or shredded. Fresh mozzarella balls, drained and sliced, offer the best melt. If using pre-shredded, look for low-moisture mozzarella for a gooier texture.
- Provolone Cheese: 4 ounces, sliced. Sharp provolone adds a tangy kick that cuts through the richness of the mozzarella. It’s essential for that “classic Italian” taste.
- Marinated Artichoke Hearts: 1 can (14 oz), drained and chopped. These add a juicy, briny element that keeps the sliders moist. Squeeze out excess oil before adding.
- Roasted Red Peppers: 1 jar, drained. These provide a sweet, smoky contrast to the salty meats. Pat them dry to avoid sogginess.
- Hot Peppercini: 1 jar, chopped. These are the little peppers that give the sliders their signature kick. Adjust the amount based on your spice tolerance.
- Extra Virgin Olive Oil: 2 tablespoons. Use a good quality oil for the garlic butter mixture. It adds fruitiness and helps the breadcrumbs brown.
- Garlic: 3 cloves, minced. Fresh garlic is a must. Powdered garlic lacks the aromatic punch needed here.
- Dried Oregano: 1 teaspoon. An Italian staple that brings that classic herbaceous note.
- Dried Basil: 1 teaspoon. Adds a subtle sweetness and aroma.
- Parsley Flakes: 1 tablespoon. For color and a fresh finish.
- Parmesan Cheese: 2 tablespoons, grated. Adds a salty, nutty crust to the top of the sliders.
- Panko Breadcrumbs: 2 tablespoons. Optional, but highly recommended for extra crunch and texture.
Why these ingredients work
I always recommend buying pre-sliced meats from the deli counter rather than the packaged stuff. The texture is superior, and you can often get thinner slices which layer better. For the cheese, I’ve found that a blend of mozzarella and provolone is the gold standard. Mozzarella provides the stretch, while provolone provides the flavor. Don’t skip the artichokes and roasted peppers; they add moisture and acidity that balance the heavy meats and cheeses.
Equipment Needed
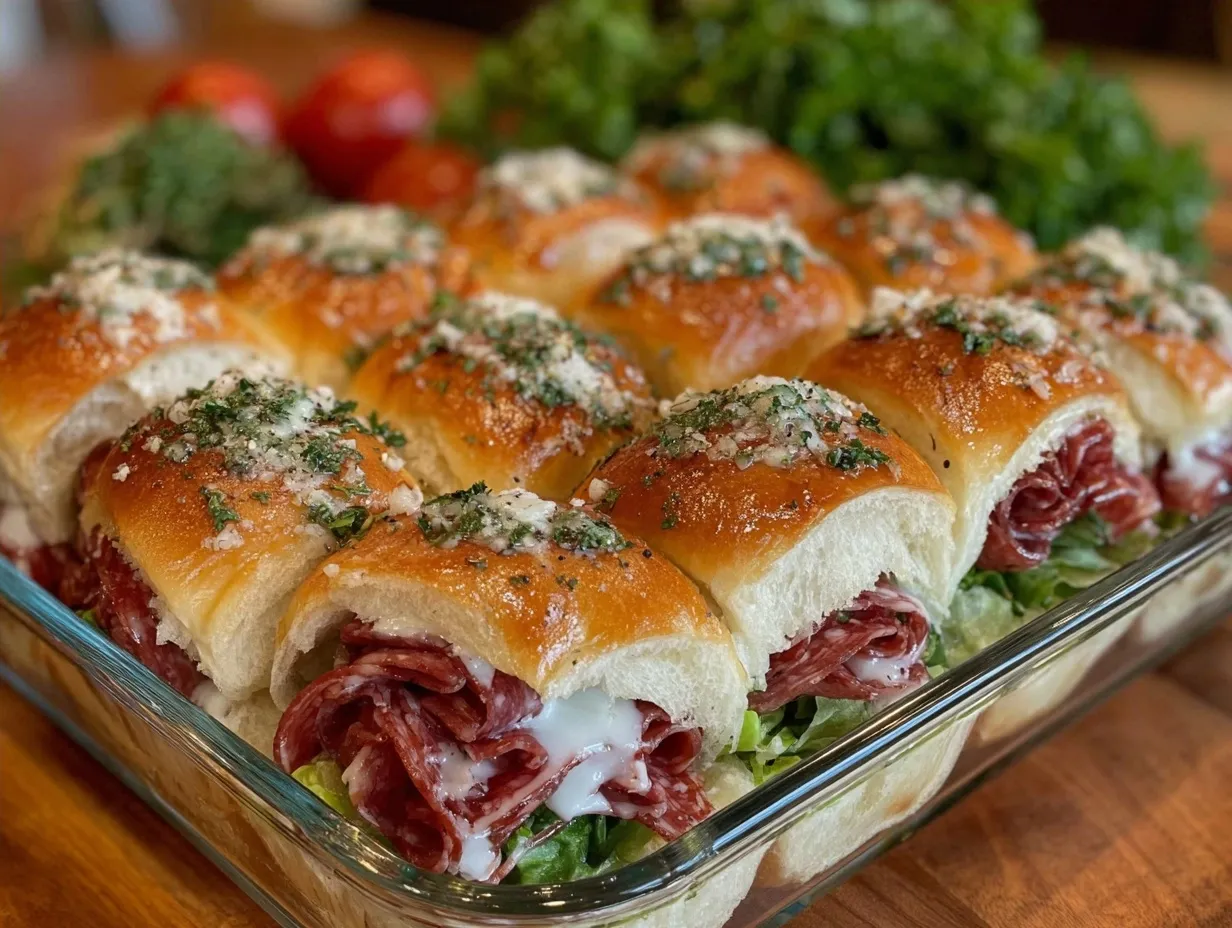
You don’t need a fancy kitchen to make these sliders, but having the right tools makes the process smoother and the results better. First, you’ll need a large baking sheet. A standard 18×13 inch sheet pan works perfectly. I prefer one with a rim to catch any melted cheese or oil that might drip, making cleanup a breeze. If you don’t have a rimmed sheet, use parchment paper or a silicone baking mat.
A small mixing bowl is essential for combining the garlic butter mixture. A whisk or a fork will do the trick. You’ll also need a pastry brush or a simple silicone brush to apply the butter evenly over the tops of the rolls. This ensures that every slider gets that golden, crispy top. If you don’t have a brush, you can use a spoon, but a brush gives you more control.
For slicing, a sharp chef’s knife is ideal if you’re using a whole loaf of rolls. If you’re buying individual pre-cut rolls, you won’t need a knife. However, if you’re slicing a large loaf into 12 or 24 pieces, a serrated bread knife is best to avoid crushing the soft bread. Finally, an oven with a reliable broiler function is key. Most home ovens have a broil setting that ranges from 500°F to 550°F. If your broiler is uneven, consider rotating the pan halfway through for even browning.
Preparation Method
Let’s get into the nitty-gritty. Making the Ultimate Classic Italian Sliders is straightforward, but precision is the secret ingredient. Follow these steps carefully for the best results.
- Preheat the Oven: Start by preheating your oven to 350°F (175°C). If you plan to broil at the end, make sure your broiler is ready to go. This step usually takes about 10 minutes, so start it early.
- Prepare the Rolls: If using a whole loaf of Hawaiian or Italian rolls, slice the entire loaf in half horizontally. You should have a top half and a bottom half. Place the bottom half on your baking sheet. If using individual rolls, place them cut-side up on the baking sheet, leaving a small gap between each for even baking.
- Layer the Meats: Start by layering the pepperoni slices over the bottom half of the rolls. Fold them slightly to fit. Next, add the capicola and ham. Don’t overstuff; you want the bread to hold everything together. A thin, even layer is better than a thick, messy pile.
- Add the Cheeses: Place slices of mozzarella and provolone over the meats. If using fresh mozzarella, slice it thinly. If using pre-shredded, sprinkle it evenly. The goal is to cover the meats completely so the cheese melts into a cohesive layer.
- Add the Veggies: Distribute the chopped artichoke hearts, roasted red peppers, and peppercini over the cheese. Be generous here, but don’t let the piles get too high. You want the flavors to meld, not compete.
- Top It Off: Place the top half of the rolls (if using a loaf) over the fillings. If using individual rolls, just leave them as is. Press down gently to compress the ingredients slightly.
- Mix the Garlic Butter: In a small bowl, combine the olive oil, minced garlic, oregano, basil, parsley, grated Parmesan, and Panko breadcrumbs. Mix until it forms a paste-like consistency.
- Brush the Tops: Using your pastry brush, generously brush the garlic butter mixture over the top of the rolls. Make sure to get into the crevices between the rolls. This is crucial for flavor and browning.
- Bake: Place the baking sheet in the oven and bake for 10-12 minutes at 350°F (175°C). You want the cheese to be melted and the bread to be warm. Keep an eye on it so the bread doesn’t dry out.
- Broil: After 10 minutes, switch the oven to broil (high). Watch closely! Broil for 1-2 minutes until the top is golden brown and bubbly. This step adds the signature crispy texture. Remove from the oven immediately once done.
- Cool and Serve: Let the sliders cool for 2-3 minutes. This allows the cheese to set slightly, making them easier to handle. Slice apart if using a loaf, and serve warm.
Troubleshooting Tips
If the cheese isn’t melting, your oven might be running cool. Use an oven thermometer to check. If the bread is burning but the cheese isn’t melted, lower the rack position or reduce the broil time. Always err on the side of caution with the broiler; it can go from perfect to charred in seconds.
Cooking Tips & Techniques
I’ve learned a few things the hard way, and I want to save you from making the same mistakes. First, never skip the drying step for the roasted red peppers and artichokes. Excess moisture is the enemy of a good slider. It makes the bread soggy and prevents the cheese from browning properly. Use paper towels to pat them dry before adding.
Another common mistake is overstuffing. It’s tempting to pile on the ingredients, but if the sliders are too tall, the top bun won’t toast evenly. Aim for a height that allows the garlic butter to reach the top. If you’re making a double batch, don’t overcrowd the baking sheet. Give the sliders space to breathe and brown.
Timing is everything. I recommend baking at 350°F first to heat the fillings and melt the cheese gently, then broiling to crisp the top. If you go straight to broil, the bottom might burn before the inside is hot. Also, let the sliders rest for a few minutes after taking them out of the oven. This allows the flavors to meld and the cheese to set, making them easier to eat without sliding apart.
Variations & Adaptations
While the classic version is my favorite, these sliders are incredibly versatile. Here are a few ways to adapt them to your taste.
- Veggie Slider: Skip the meats and add extra roasted vegetables like zucchini, eggplant, and mushrooms. Add a layer of hummus or marinara sauce for moisture.
- Spicy Kick: Add sliced jalapeños or use spicy salami instead of capicola. Drizzle with sriracha mayo for a fusion twist.
- Chicken Option: Use sliced rotisserie chicken instead of deli meats. Toss the chicken in a little olive oil and Italian seasoning before layering.
- Gluten-Free: Use gluten-free Hawaiian-style rolls or gluten-free sub rolls. Check the labels on the deli meats and cheeses to ensure they are certified gluten-free.
I once tried making these with turkey breast instead of capicola, and it was surprisingly good. It was lighter and less salty, perfect for a lunch that didn’t leave you feeling weighed down. Feel free to experiment, but stick to the core technique of layering and broiling for best results.
Serving & Storage Suggestions
These sliders are best served warm, right out of the oven. They pair wonderfully with a simple arugula salad or a bowl of tomato basil soup. For a complete meal, serve them with a side of roasted potatoes or a light pasta salad. A glass of chilled white wine or a crisp beer complements the rich flavors perfectly.
Leftovers can be stored in an airtight container in the refrigerator for up to 3 days. To reheat, place them in the oven at 350°F for 10 minutes or in an air fryer for 5 minutes. Avoid the microwave, as it will make the bread chewy and the cheese rubbery. You can also freeze the unbaked sliders. Assemble them on the baking sheet, freeze until solid, then transfer to a freezer bag. Bake from frozen, adding 5-7 minutes to the baking time.
Nutritional Information & Benefits
While these sliders are indulgent, they can fit into a balanced diet if enjoyed in moderation. Each slider contains approximately 250-300 calories, depending on the size of the roll and the amount of cheese. The meats provide a good source of protein, while the cheese offers calcium. The roasted vegetables add fiber and vitamins. If you’re watching your sodium intake, opt for low-sodium deli meats and rinse the artichokes before using. As a home cook, I believe in enjoying food without guilt, but being mindful of portions is key.
Conclusion
Making the Ultimate Classic Italian Sliders is a testament to the power of simple ingredients and precise technique. These sliders are more than just a quick snack; they are a celebration of Italian flavors brought to your home kitchen. Whether you’re feeding a crowd or enjoying a quiet night in, these sliders are sure to impress. I encourage you to try this recipe and make it your own. Add your favorite veggies, swap the meats, or adjust the spice level. The possibilities are endless.
I’d love to hear how you make these sliders your own. Share your variations in the comments below, or tag me in your photos. Don’t forget to save this recipe for your next game day or dinner party. Happy cooking, and remember—precision is the secret ingredient.
Frequently Asked Questions
Can I make these sliders ahead of time?
Yes! You can assemble the sliders up to 24 hours in advance. Keep them covered in the refrigerator. When ready to serve, let them come to room temperature for 15 minutes before baking. This helps them cook evenly.
What type of bread is best for sliders?
Hawaiian rolls are my top choice for their sweetness and soft texture. Soft Italian rolls or French bread cut into small pieces also work well. Avoid dense, crusty breads as they won’t toast evenly.
Can I use fresh basil instead of dried?
Absolutely. If using fresh basil, chop it finely and add it to the garlic butter mixture just before brushing. Use about 1 tablespoon of fresh basil for every 1 teaspoon of dried.
How do I prevent the sliders from getting soggy?
Pat the roasted red peppers and artichokes dry before adding them. Also, ensure the cheese is melted but not swimming in oil. The garlic butter brush should be generous but not dripping.
Can I freeze the cooked sliders?
It’s best to freeze the unbaked sliders. Cooked sliders can be refrigerated for 3 days, but freezing them after cooking may affect the texture of the bread. If you must freeze cooked sliders, reheat them in the oven to restore crispiness.
Pin This Recipe!
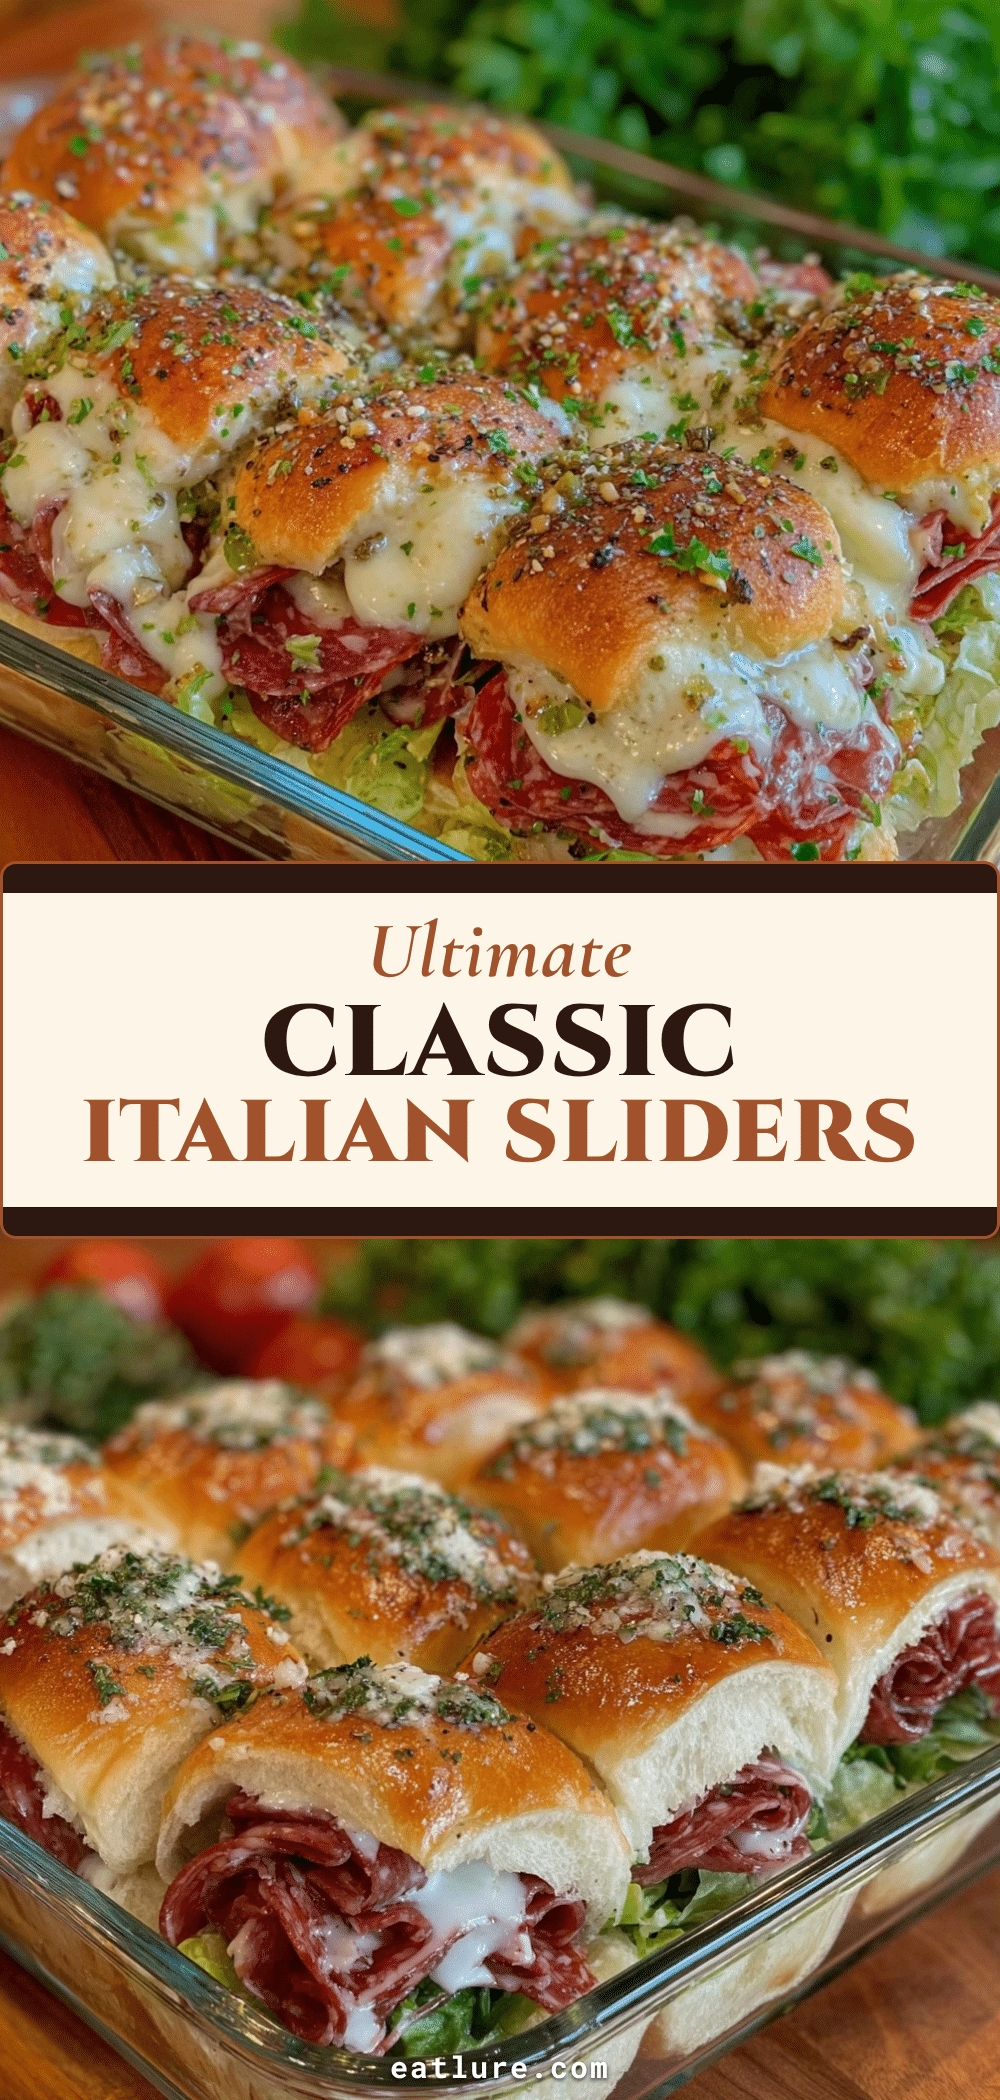

Ultimate Classic Italian Sliders: 5-Step Precision Recipe
- Total Time: 25 minutes
- Yield: 12-24 servings 1x
Description
These Ultimate Classic Italian Sliders combine savory deli meats, melted mozzarella and provolone, and tangy veggies on soft Hawaiian or Italian rolls. A quick, crowd-pleasing appetizer or meal that balances rich flavors with a crispy, golden top.
Ingredients
- 12–24 Hawaiian Sweet Rolls or Soft Italian Rolls
- 8 ounces Pepperoni Slices
- 4 ounces Capicola (Gabagool)
- 4 ounces Ham (honey or Virginia)
- 8 ounces Mozzarella Cheese (sliced or shredded)
- 4 ounces Provolone Cheese (sliced)
- 1 can (14 oz) Marinated Artichoke Hearts, drained and chopped
- 1 jar Roasted Red Peppers, drained
- 1 jar Hot Peppercini, chopped
- 2 tablespoons Extra Virgin Olive Oil
- 3 cloves Garlic, minced
- 1 teaspoon Dried Oregano
- 1 teaspoon Dried Basil
- 1 tablespoon Parsley Flakes
- 2 tablespoons Parmesan Cheese, grated
- 2 tablespoons Panko Breadcrumbs (optional)
Instructions
- Preheat oven to 350°F (175°C).
- If using a whole loaf, slice horizontally in half. Place bottom half on a rimmed baking sheet. If using individual rolls, place cut-side up on the sheet with small gaps between them.
- Layer pepperoni, capicola, and ham over the bottom half of the rolls. Keep layers thin and even.
- Place slices of mozzarella and provolone over the meats to cover completely.
- Distribute chopped artichoke hearts, roasted red peppers, and peppercini over the cheese.
- Place the top half of the rolls over the fillings (if using a loaf) and press down gently.
- In a small bowl, mix olive oil, minced garlic, oregano, basil, parsley, Parmesan, and Panko breadcrumbs to form a paste.
- Brush the garlic butter mixture generously over the top of the rolls.
- Bake for 10-12 minutes at 350°F (175°C) until cheese is melted and bread is warm.
- Switch oven to broil (high) and broil for 1-2 minutes until tops are golden brown and bubbly. Watch closely to prevent burning.
- Remove from oven and let cool for 2-3 minutes before slicing and serving warm.
Notes
Pat roasted red peppers and artichokes dry to prevent soggy bread. Do not overstuff the sliders to ensure even toasting. For best results, bake at 350°F first to melt cheese, then broil to crisp the top. Leftovers can be stored in the refrigerator for up to 3 days or frozen unbaked.
- Prep Time: 10 minutes
- Cook Time: 15 minutes
- Category: Appetizer
- Cuisine: Italian
Nutrition
- Serving Size: 1-2 sliders per pers
- Calories: 275
- Sugar: 4
- Sodium: 850
- Fat: 18
- Saturated Fat: 8
- Carbohydrates: 20
- Fiber: 1
- Protein: 12
Keywords: Italian sliders, appetizer recipe, party food, quick dinner, sandwich recipe, Italian deli, game day food, easy recipes


