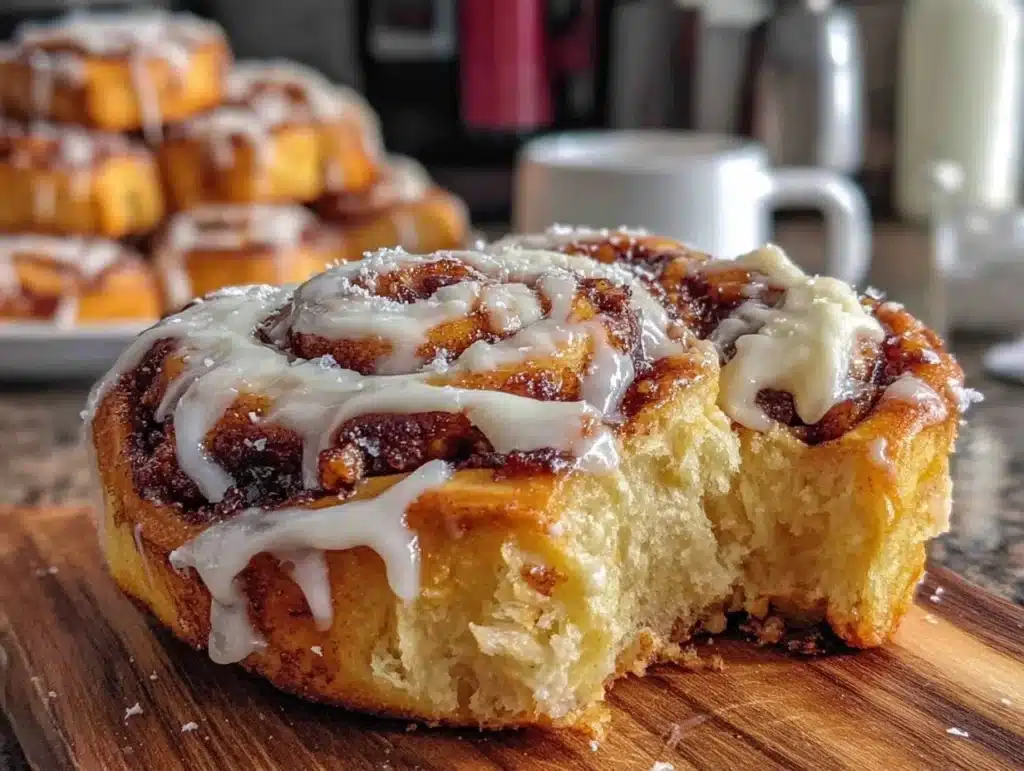
The smell of warm, buttery dough baking with a heavy hand of cinnamon is the kind of scent that stops traffic. It pulls you out of bed, down the hallway, and straight into the kitchen before you’ve even had your first sip of coffee. I remember the first time I tasted a truly authentic Amish cinnamon roll. It wasn’t just sweet; it was substantial. The bread was pillowy soft, almost like a cloud that had been kneaded by an angel, and the cream cheese glaze was thick enough to hold its own weight on a spoon. Honestly, it changed my entire relationship with morning pastries.
Most people think “Amish” just means old-fashioned. But in the world of baking, it means one thing: patience and quality ingredients. There are no shortcuts here. You won’t find instant yeast packets doing all the heavy lifting in this version. Instead, we’re building flavor through time, letting the dough rise slowly until it doubles in size. This process develops a complex, yeasty aroma that you just can’t rush. I’ve made these rolls dozens of times, from rushed weekend mornings to deliberate Sunday rituals, and they never fail to impress. They are the kind of breakfast that turns a regular day into a special occasion.
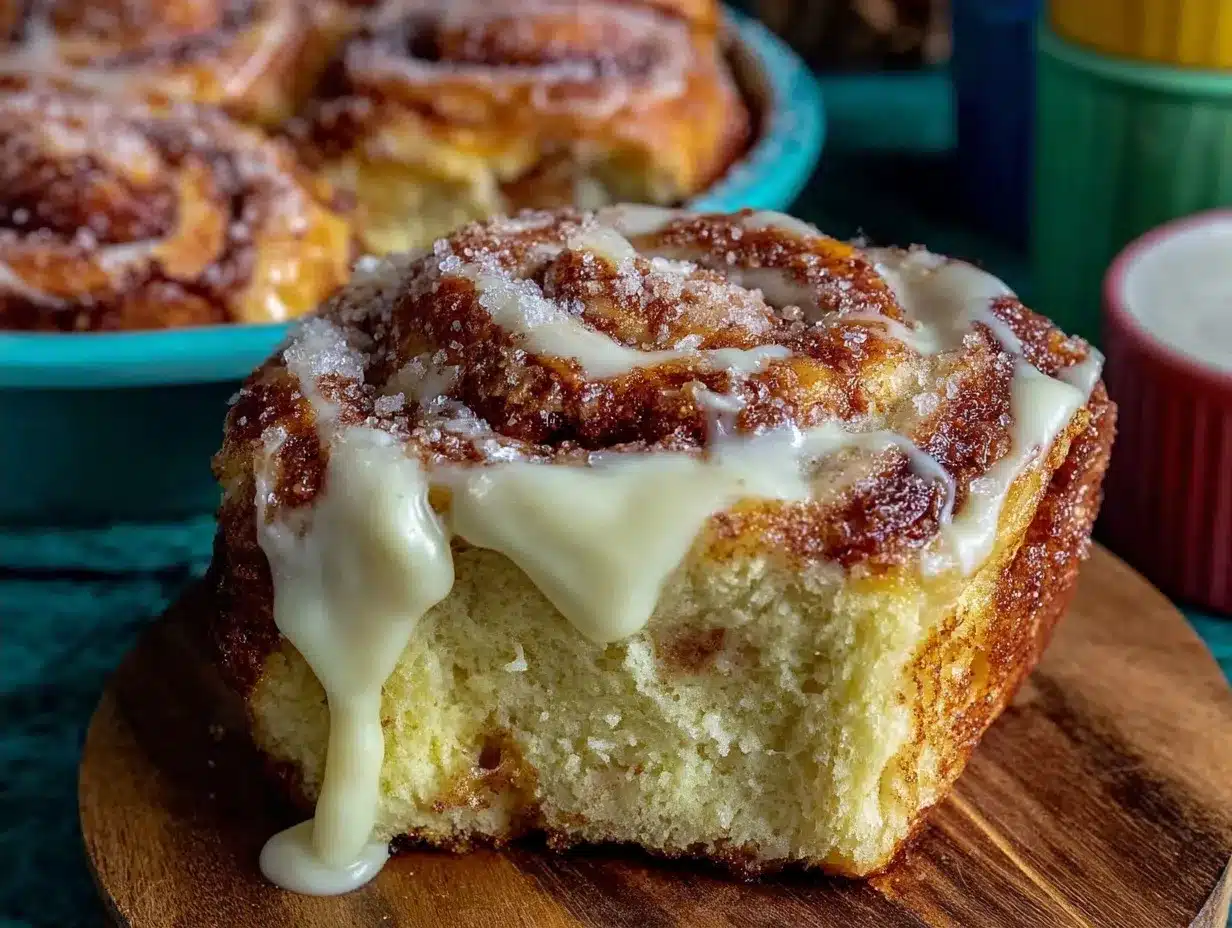
What makes Homemade Amish Cinnamon Rolls stand out is the texture. Unlike the dense, cake-like rolls you might get from a box mix, these are light and airy. The dough is enriched with eggs and a touch of milk, giving it a rich, tender crumb. And let’s talk about that glaze. It’s not a thin, sugary drizzle. It’s a rich, tangy cream cheese frosting that balances the sweetness of the cinnamon filling perfectly. I usually pair this recipe with my favorite dark roast coffee to cut through the richness, but honestly, you could drink anything with them. They are versatile, comforting, and deeply satisfying.
If you’ve been looking for a breakfast recipe that feels indulgent but is made with wholesome, simple ingredients, this is it. These rolls are perfect for weekend brunches, holiday gatherings, or just when you need a hug in food form. They freeze beautifully too, so you can make a double batch and have fresh breakfasts ready for weeks. Trust me, once you taste the difference between a shortcut roll and one made the proper way, you’ll never go back. Let’s get started on making the best cinnamon rolls you’ve ever had.
Why You’ll Love This Recipe
There is a specific kind of magic that happens when you commit to making dough from scratch. It’s not just about the end result, although that is certainly delicious. It’s about the process. Making these Homemade Amish Cinnamon Rolls teaches you to slow down. In a world of grab-and-go breakfasts, taking two hours to prepare these rolls is a luxury. But the payoff is worth every minute. The texture is incredibly soft, and the flavor is robust without being cloying. Here is why this recipe has earned a permanent spot in my rotation.
- Unbelievably Soft Texture: The dough is enriched with eggs and butter, creating a brioche-like quality that is tender and fluffy. It pulls apart easily, revealing steamy, soft layers with every bite.
- Rich, Tangy Glaze: The cream cheese frosting isn’t just an afterthought. It’s a crucial component that adds a savory counterpoint to the sweet cinnamon sugar. It’s thick, creamy, and absolutely essential.
- Simple, Pantry Ingredients: You don’t need exotic flours or hard-to-find spices. This recipe relies on basics you likely already have. The secret is in the technique, not the shopping list.
- Perfect for Meal Prep: These rolls freeze exceptionally well. You can bake them, let them cool, and freeze them for up to three months. Reheating one in the microwave for two minutes brings back that fresh-baked warmth.
- Crowd-Pleasing Flavor: Whether you have picky eaters or gourmet foodies at the table, these rolls satisfy everyone. The balance of sweet, spicy, and creamy is universally loved.
What makes this version different from other cinnamon roll recipes is the emphasis on the dough’s development. I’ve tested many recipes, and some call for too much sugar in the dough itself, which can inhibit rising. This recipe strikes the perfect balance. The sugar is mostly in the filling, allowing the yeast to work efficiently. This results in a roll that is tall, airy, and not dense. It’s the kind of roll that feels like a treat but doesn’t leave you feeling sluggish an hour later.
These rolls are also incredibly forgiving. If you’re a beginner baker, the process is straightforward. You mix, you knead, you roll, and you bake. There’s no complicated laminating like with croissants. It’s honest, rustic baking. I remember making these for a friend who was going through a tough time. She said the smell of them baking made her feel safe. That’s the power of good food. It connects us. These rolls are comfort food reimagined—classic, reliable, and deeply satisfying.
What Ingredients You Will Need
Creating the perfect cinnamon roll starts with respecting the ingredients. Since there aren’t many of them, each one plays a vital role. You want high-quality butter, fresh yeast if possible, and good vanilla extract. The flour should be all-purpose, as it provides the right amount of gluten structure without being too tough. Here is what you’ll need to get started.
- Warm Milk: You need about 1 cup of milk, warmed to around 110°F (43°C). This temperature activates the yeast without killing it. Whole milk gives the best richness, but 2% works fine too.
- Granulated Sugar: You’ll need about 1/3 cup for the dough and 1 cup for the filling. The sugar in the dough feeds the yeast, while the filling provides the sweet crunch. Use white granulated sugar for the best texture.
- Unsalted Butter: High-quality butter is key. You’ll need 1/2 cup melted for the dough and 1/2 cup softened for the filling. I recommend using European-style butter if you can find it for a richer flavor.
- Instant or Active Dry Yeast: One packet (2 1/4 teaspoons) is standard. Instant yeast is easier because you don’t need to proof it first, but active dry works great too. Just make sure it’s not expired.
- Eggs: Two large eggs, room temperature. These add structure and richness to the dough. Room temperature ingredients blend more evenly, creating a smoother dough.
- All-Purpose Flour: You’ll need about 3 to 3 1/2 cups. Spoon the flour into your measuring cup and level it off. Don’t scoop directly from the bag, as this packs the flour and can make the dough dense.
- Salt: 1 teaspoon of salt. This enhances the flavor and balances the sweetness. Don’t skip it!
- Ground Cinnamon: 1/2 cup for the filling. Use a good quality cinnamon, like Ceylon cinnamon, for a sweeter, more complex flavor. Cassia cinnamon is hotter and stronger.
- Cream Cheese: 8 ounces, softened. This is for the glaze. Full-fat cream cheese is necessary for the right texture. Light cream cheese will make the glaze runny.
- Powdered Sugar: 1 to 2 cups, depending on how sweet you like it. Sift this to avoid lumps in your glaze.
- Vanilla Extract: 1 teaspoon. Real vanilla makes a huge difference. Avoid imitation vanilla if you can.
- Milk or Cream for Glaze: 2-3 tablespoons to thin the glaze to the right consistency.
One tip I’ve learned over the years is to weigh your flour if you have a kitchen scale. It’s much more accurate than cup measurements. If you must use cups, be gentle with the flour. Also, ensure your butter for the filling is softened but not melted. It needs to spread easily but hold its shape when rolled. For the glaze, make sure your cream cheese is completely smooth before adding the sugar. Lumps in the cream cheese will end up in your final glaze, and nobody wants that.
Equipment Needed
You don’t need a fancy kitchen to make these rolls, but having the right tools makes the process smoother. A large mixing bowl is essential for combining the dough. I prefer a glass or ceramic bowl because it’s easy to see the dough rising. A stand mixer with a dough hook is helpful, but you can absolutely knead this by hand. If you knead by hand, it takes about 10 minutes of effort, which is good arm exercise.
A large baking sheet or a 9×13 inch baking dish is needed for baking the rolls. If you have a cast-iron skillet, that works well too and gives you crispy edges. You’ll also need a rolling pin. A standard wooden rolling pin is fine, but a marble one stays cool, which helps keep the butter from melting while you roll the dough. A sharp knife or dental floss is great for cutting the rolls cleanly without squishing them. Dental floss is my secret weapon for perfect, round rolls.
Don’t forget a whisk for the glaze and a spatula for spreading the filling. A pastry brush is useful for brushing any extra melted butter on the rolls before baking. If you don’t have a thermometer for the milk, you can test it by sprinkling a little on your wrist—it should feel warm, like a baby’s bath. These tools are basic, but they ensure consistency. You don’t need expensive gadgets, just reliable ones.
Preparation Method
- Activate the Yeast: In a small bowl, combine the warm milk and 1 tablespoon of sugar. Sprinkle the yeast over the top and stir gently. Let it sit for 5-10 minutes until it becomes foamy. If it doesn’t foam, your yeast might be dead, and you should start over. This step ensures your rolls will rise properly.
- Mix the Dough: In a large bowl, combine the remaining sugar, melted butter, eggs, salt, and the activated yeast mixture. Beat these together until smooth. Gradually add the flour, one cup at a time, stirring until a shaggy dough forms. If using a stand mixer, switch to the dough hook on low speed.
- Knead the Dough: Turn the dough onto a lightly floured surface. Knead for 5-7 minutes until the dough is smooth and elastic. It should pass the “windowpane test”—stretch a small piece thin enough to see light through it without tearing. If the dough is too sticky, add a little more flour. If it’s too dry, add a splash of milk.
- First Rise: Place the dough in a greased bowl, turning once to coat. Cover with plastic wrap or a damp towel. Let it rise in a warm, draft-free place for 1-1.5 hours, or until doubled in size. This slow rise develops flavor.
- Prepare the Filling: While the dough rises, mix the softened butter, cinnamon, and 1 cup of sugar in a bowl. It should form a thick paste. Set aside. This is the heart of the flavor profile.
- Roll and Shape: Punch down the risen dough to release air. Roll it out on a floured surface into a large rectangle, about 12×18 inches. Spread the cinnamon butter mixture evenly over the dough, leaving a small border at the far edge. Starting from the long edge, roll the dough tightly into a log. Use a sharp knife or dental floss to cut the log into 12 equal rolls.
- Second Rise: Place the rolls in a greased 9×13 inch baking dish, leaving some space between them. Cover and let rise again for 30-45 minutes. They should look puffy and touch each other. This is crucial for soft, connected rolls.
- Bake: Preheat your oven to 350°F (175°C). Bake the rolls for 25-30 minutes, or until they are golden brown on top. If they brown too quickly, tent them with foil. The internal temperature should reach 190°F (88°C).
- Make the Glaze: While the rolls bake, beat the softened cream cheese until smooth. Add powdered sugar, vanilla, and milk. Beat until creamy and spreadable. Adjust consistency with more milk or sugar as needed.
- Glaze and Serve: Let the rolls cool in the pan for 10 minutes. Spread the glaze generously over the warm rolls. The warmth will help the glaze melt slightly into the crevices. Serve immediately while warm.
Pay attention to the dough’s texture during kneading. It should feel soft like an earlobe. If it’s too sticky, resist the urge to add too much flour. A slightly sticky dough results in softer rolls. Also, when rolling the dough, keep the edges even. If one end is thicker, your rolls will be uneven. Take your time with the rolling and cutting. Rushing this step leads to messy shapes.
Cooking Tips & Techniques
Mastering yeast dough takes practice, but these tips will help you succeed. The temperature of your liquid is critical. If it’s too hot, you kill the yeast. If it’s too cold, the yeast won’t activate. Aim for 110°F (43°C). If you don’t have a thermometer, use your wrist—it should feel warm but not hot.
Another common mistake is over-flouring the surface when rolling. Too much flour can make the dough tough and dry. Use a light dusting. Also, ensure your second rise is complete. If you bake them too soon, they won’t be fluffy. They should look puffy and jiggle slightly when you shake the pan. This indicates they are ready for the oven.
I’ve learned that baking times can vary based on your oven. Some ovens run hot, so keep an eye on the color. You want a deep golden brown, not pale. If the tops are browning too fast, cover them loosely with foil after 15 minutes. This allows the centers to cook without burning the tops.
For the glaze, don’t rush the mixing. Beat the cream cheese until it’s completely smooth before adding sugar. Any lumps will show up in the final product. Also, add the milk gradually. You want a glaze that is thick enough to stay on the roll but thin enough to spread easily. It should drizzle slowly off the spoon.
One personal tip: if you like a chewier crust, brush the tops of the rolls with a little melted butter immediately after taking them out of the oven. This adds shine and a slight crispness. It’s a small detail that makes a big difference in texture and appearance.
Variations & Adaptations
While the classic version is beloved, there are fun ways to twist this recipe. For a nutty variation, add chopped pecans or walnuts to the cinnamon filling. They add a nice crunch and pair beautifully with the cream cheese glaze. I often add a handful of pecans for my family, and they love the extra texture.
If you want a chocolate twist, sprinkle a layer of semi-sweet chocolate chips over the cinnamon filling before rolling. The melted chocolate creates pockets of gooey goodness. It’s like a cinnamon roll meets a brownie. It’s indulgent but delicious.
For a fruitier option, add a layer of sliced apples or berries to the filling. Apples work particularly well, especially in the fall. Use thin slices of Granny Smith apples for a tart contrast to the sweet dough. It’s a seasonal favorite that feels rustic and homey.
You can also make these gluten-free by using a 1-to-1 gluten-free flour blend. Keep in mind that gluten-free doughs can be stickier, so you may need to adjust the flour amount. The texture will be slightly different, but still delicious. For a dairy-free version, use plant-based butter and cream cheese alternatives. The flavor might be slightly less rich, but it’s still a great option.
I once tried making these with whole wheat flour. The result was denser and nuttier. It’s a healthier option, but it changes the texture significantly. If you want to try it, substitute up to half of the all-purpose flour with whole wheat. This gives you the best of both worlds.
Serving & Storage Suggestions
These rolls are best served warm, fresh from the oven. The glaze should be slightly melted, coating every nook and cranny. Pair them with a strong cup of coffee or a glass of cold milk. They are also great for brunch buffets, served alongside bacon or sausage. The sweetness balances well with savory dishes.
For storage, let the rolls cool completely before covering. You can keep them at room temperature for up to 2 days in an airtight container. For longer storage, freeze them. Place the cooled rolls in a freezer-safe container with parchment paper between layers. They will last for up to 3 months.
To reheat, thaw the rolls overnight in the refrigerator. Then, warm them in the microwave for 30-60 seconds, or in the oven at 350°F for 10 minutes. If you froze them with glaze, the glaze might separate slightly upon reheating. You can always add a fresh drizzle of glaze after reheating for the best result.
Flavors develop over time. The cinnamon and sugar meld together as the rolls sit, becoming more intense. This is why they taste great the next day too. However, the texture is best on the day they are made. The yeast continues to work slightly, even after baking, keeping them soft for a while.
I usually make a double batch. One batch for immediate enjoyment, and one for freezing. This way, I always have a quick breakfast ready. It’s a lifesaver on busy mornings. Just pop one in the microwave and you’re set. It’s like having a bakery in your freezer.
Nutritional Information & Benefits
These rolls are a treat, so they are higher in calories and sugar than a typical breakfast item. Each roll contains approximately 350-400 calories, depending on the size and glaze amount. They are a good source of carbohydrates for energy. The eggs provide protein, and the butter offers healthy fats.
While they are indulgent, making them at home allows you to control the ingredients. You can choose high-quality butter and real vanilla. You can also adjust the sugar level in the filling and glaze to suit your taste. This is a benefit over store-bought versions, which often contain preservatives and artificial ingredients.
For those with dietary restrictions, note that these rolls contain gluten, dairy, and eggs. They are not suitable for vegans or those with celiac disease unless modified with alternative ingredients. The cream cheese glaze is particularly rich, so a little goes a long way. Moderation is key.
I view these rolls as a special occasion breakfast. They are not for every day, but that makes them more special. Enjoy them slowly. Savor the flavors. They are a reminder that breakfast can be a pleasurable, unhurried experience. Nutrition is important, but so is joy. These rolls deliver both.
Conclusion
Making Homemade Amish Cinnamon Rolls is an investment of time, but the reward is immense. These rolls are soft, flavorful, and deeply comforting. They bring a sense of warmth to your kitchen and your table. Whether you are hosting a brunch or treating yourself to a lazy Sunday morning, these rolls are the perfect choice.
I encourage you to try this recipe. Don’t be afraid of the dough. It’s forgiving and easy to work with. Take your time with the rising and the rolling. The patience you invest will pay off in every bite. Customize the filling to your liking, and make it your own.
I love these rolls because they connect me to the tradition of home baking. They are simple yet sophisticated. I hope they become a staple in your home too. Please share your results with me in the comments. I’d love to hear how they turned out and see your photos. Happy baking!
Frequently Asked Questions
Can I use instant yeast instead of active dry yeast?
Yes, you can use instant yeast. You can mix it directly with the dry ingredients without proofing it first. The result will be the same, and it saves a step. Just ensure the liquid isn’t too hot, as it can kill the yeast.
Why are my cinnamon rolls dense?
Dense rolls are usually caused by over-flouring the dough or not letting them rise long enough. Make sure you don’t add too much flour during kneading. Also, ensure the second rise is complete—they should look puffy before baking.
Can I make the dough ahead of time?
Yes, you can let the dough rise in the refrigerator overnight. After shaping the rolls, cover them and refrigerate for up to 24 hours. Let them come to room temperature and rise for 30-45 minutes before baking.
How do I store leftover cinnamon rolls?
Store leftovers in an airtight container at room temperature for up to 2 days. For longer storage, freeze them. Thaw and reheat before serving for the best texture.
Can I add nuts to the filling?
Absolutely. Chopped pecans or walnuts are a delicious addition. Sprinkle them over the cinnamon butter before rolling. They add a nice crunch and complement the cream cheese glaze perfectly.
Pin This Recipe!
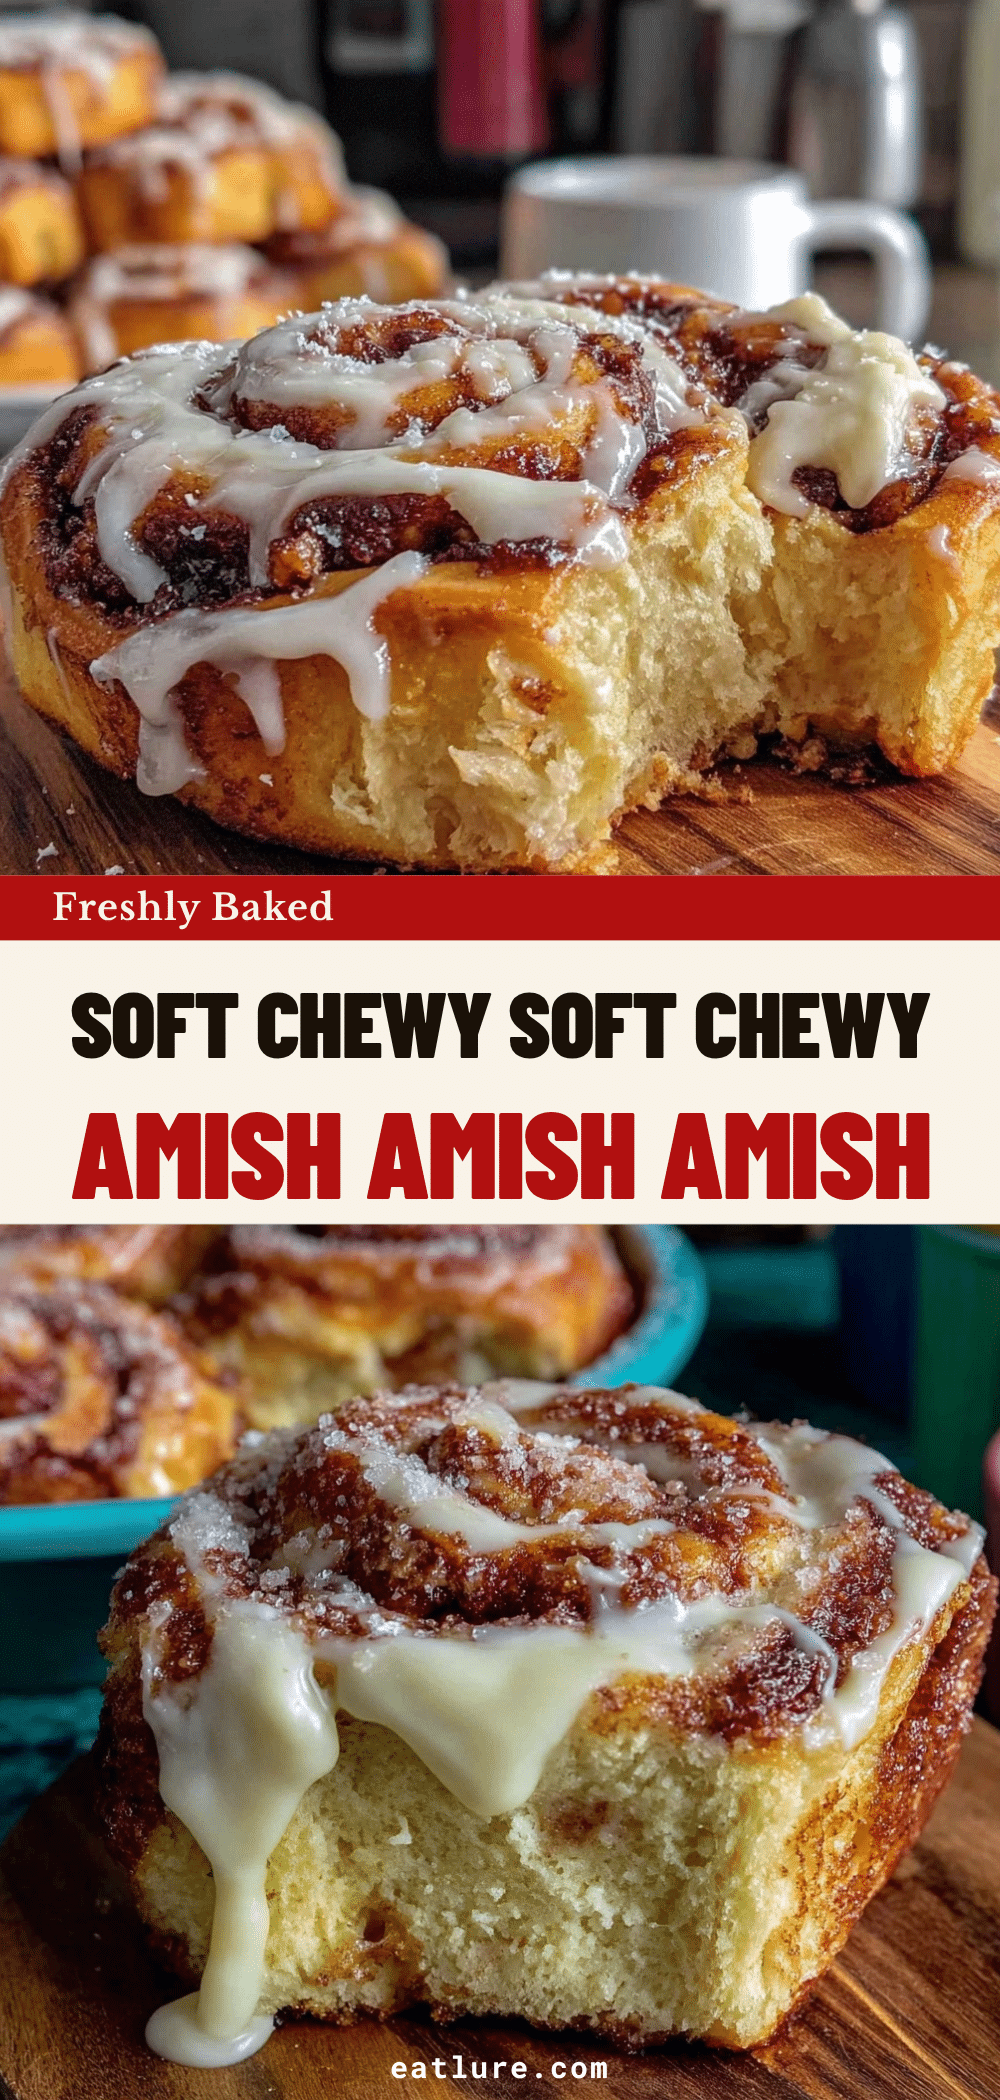
Homemade Amish Cinnamon Rolls: Best Fluffy Breakfast
- Total Time: 2 hours 15 minutes
- Yield: 12 servings 1x
Description
These homemade Amish cinnamon rolls are pillowy soft, rich, and fluffy, featuring a tangy cream cheese glaze. Made with simple pantry ingredients and patience, they offer a superior texture compared to store-bought versions.
Ingredients
- 1 cup warm milk (110°F/43°C)
- 1/3 cup granulated sugar (for dough)
- 1/2 cup unsalted butter, melted (for dough)
- 1 packet (2 1/4 tsp) instant or active dry yeast
- 2 large eggs, room temperature
- 3 to 3 1/2 cups all-purpose flour
- 1 teaspoon salt
- 1 cup granulated sugar (for filling)
- 1/2 cup unsalted butter, softened (for filling)
- 1/2 cup ground cinnamon
- 8 ounces cream cheese, softened (for glaze)
- 1 to 2 cups powdered sugar (for glaze)
- 1 teaspoon vanilla extract
- 2–3 tablespoons milk or cream (for glaze)
Instructions
- Activate the yeast: Combine warm milk and 1 tablespoon of sugar in a small bowl. Sprinkle yeast over the top and let sit for 5-10 minutes until foamy.
- Mix the dough: In a large bowl, combine remaining sugar, melted butter, eggs, salt, and the activated yeast mixture. Beat until smooth. Gradually add flour, one cup at a time, until a shaggy dough forms.
- Knead the dough: Turn dough onto a lightly floured surface and knead for 5-7 minutes until smooth and elastic (passing the windowpane test).
- First rise: Place dough in a greased bowl, cover, and let rise in a warm place for 1-1.5 hours until doubled in size.
- Prepare the filling: Mix softened butter, cinnamon, and 1 cup of sugar to form a thick paste.
- Roll and shape: Punch down risen dough and roll into a 12×18 inch rectangle. Spread filling evenly, leaving a border. Roll tightly into a log and cut into 12 equal rolls.
- Second rise: Place rolls in a greased 9×13 inch baking dish. Cover and let rise for 30-45 minutes until puffy.
- Bake: Preheat oven to 350°F (175°C). Bake rolls for 25-30 minutes until golden brown and internal temperature reaches 190°F.
- Make the glaze: While rolls bake, beat cream cheese until smooth. Add powdered sugar, vanilla, and milk. Beat until creamy and spreadable.
- Glaze and serve: Let rolls cool in pan for 10 minutes. Spread glaze generously over warm rolls and serve immediately.
Notes
Ensure milk is warm (110°F) but not hot to avoid killing yeast. Weigh flour for accuracy if possible. Use dental floss to cut rolls cleanly without squishing. Rolls freeze well for up to 3 months.
- Prep Time: 45 minutes
- Cook Time: 30 minutes
- Category: Breakfast
- Cuisine: American
Nutrition
- Serving Size: 1 large cinnamon rol
- Calories: 375
- Sugar: 28
- Sodium: 250
- Fat: 18
- Saturated Fat: 11
- Carbohydrates: 45
- Fiber: 1
- Protein: 6
Keywords: Amish cinnamon rolls, homemade cinnamon rolls, fluffy breakfast, cream cheese glaze, yeast dough, weekend brunch, comfort food


